Oh, hello there! Come on in, pull up a chair. I’ve got a fresh pot of coffee brewing, and I’ve been itching to chat with you about one of my absolute favorite lavenders: Lavandula mairei.
Why You’ll Love Lavandula Mairei (and Want to Grow More!)
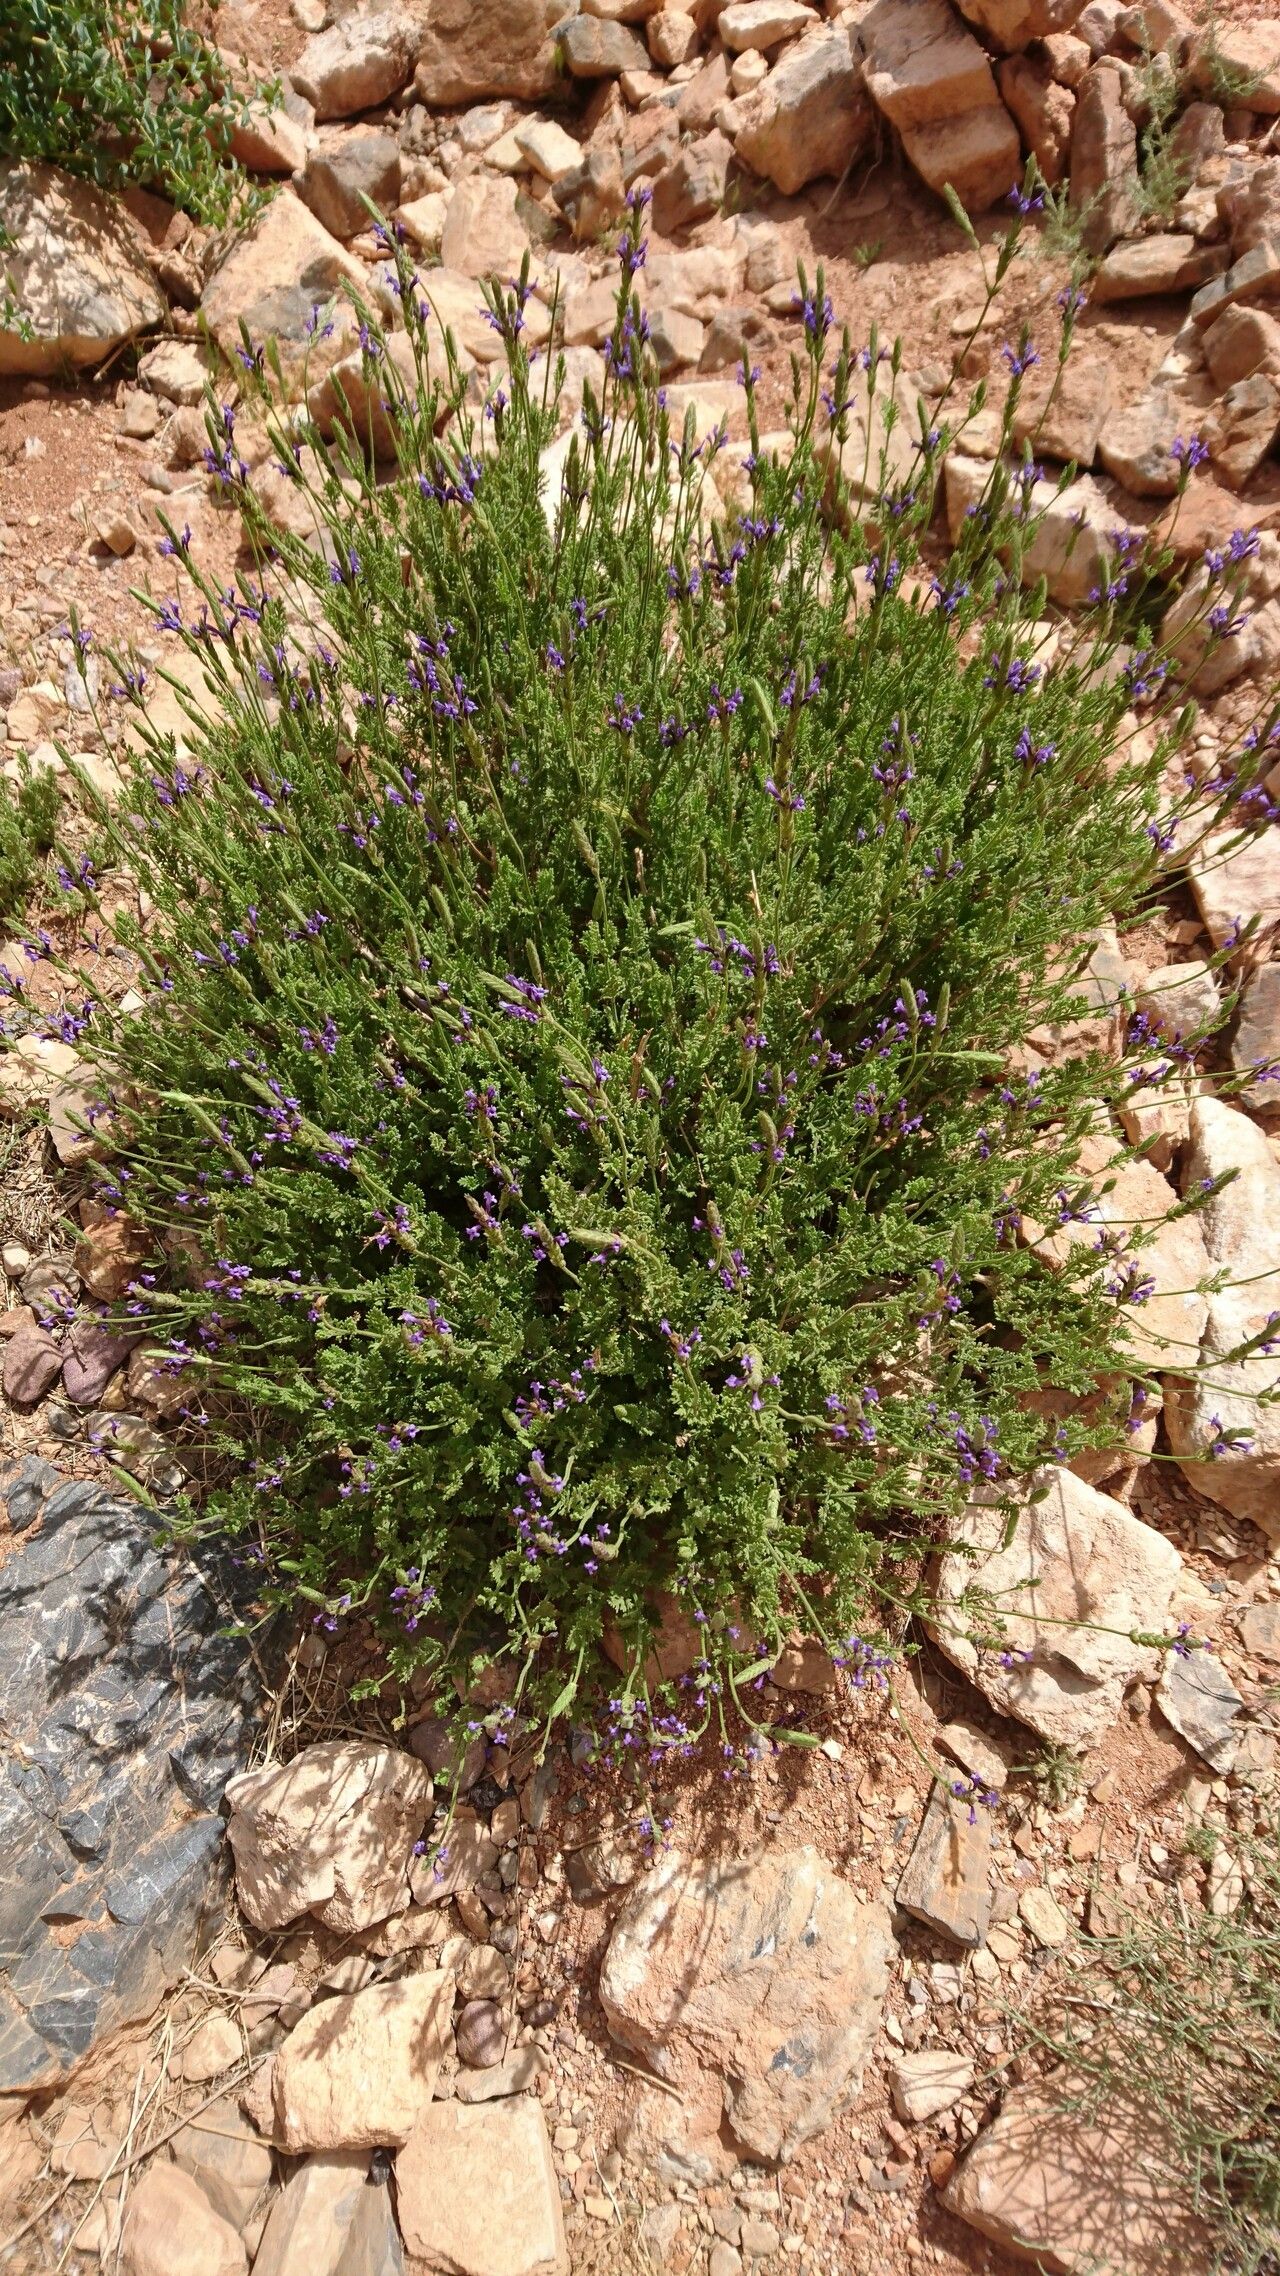
This Spanish beauty is a stunner, isn’t it? Lavandula mairei boasts those wonderfully bushy, grey-green foliage and produces a profusion of vibrant, deep purple flower spikes that are just pure perfume. It’s a little different from your common English lavender, offering a richer scent and an even more abundant bloom. And the best part? Bringing a new plant to life from a simple cutting or division is incredibly rewarding. It’s not the absolute easiest plant for a complete beginner to propagate, but with a little care and patience, you’ll be surprised at how successful you can be!
When to Get Your Hands Dirty
The sweet spot for propagating Lavandula mairei is definitely late spring to early summer. This is when the plant is actively growing and has plenty of healthy, vigorous new shoots with good energy. You’re looking for stems that are firm and have just finished flowering, or are about to. Avoid anything too soft and floppy or overly woody.
Your Propagation Toolkit
Here’s what you’ll want to have on hand before you begin:
- Sharp, clean pruning shears or a sharp knife: For making clean cuts.
- A rooting hormone powder or gel: This really helps give your cuttings a boost.
- A well-draining potting mix: I like to use a mix of equal parts perlite and peat moss, or a commercial cactus/succulent mix. Lavender hates wet feet!
- Small pots or a propagation tray: Clean pots are a must to prevent disease.
- A spray bottle: For misting.
- Plastic bags or a propagation dome: To create a humid environment.
- Labels and a permanent marker: To keep track of your babies!
Spreading the Lavender Love: Propagation Methods
I find stem cuttings to be the most reliable method for Lavandula mairei.
- Take Your Cuttings: Select healthy, disease-free stems that are about 4-6 inches long. Using your clean shears or knife, make a clean cut just below a leaf node. A leaf node is where a leaf joins the stem.
- Prepare the Cuttings: Gently remove the lower leaves from the cutting, leaving perhaps 2-3 sets of leaves at the top. The bare stem is what will root. This also prevents leaves from touching the soil or water, which can cause rot.
- Dip in Rooting Hormone: Lightly dip the cut end of the stem into your rooting hormone. Tap off any excess.
- Planting Time: Fill your small pots or tray with your chosen potting mix. Moisten it thoroughly. Make a small hole in the center of the soil using a pencil or your finger.
- Insert the Cuttings: Place the hormone-coated end of the cutting into the hole and gently firm the soil around it. Make sure the leaves are not touching each other or the sides of the pot.
- Create Humidity: Water the soil gently. Then, either cover the pot with a clear plastic bag (making sure the leaves don’t touch the inside of the bag) or place it under a propagation dome. This keeps the humidity high, which is crucial for cuttings to root.
- Placement: Place your pots in a bright spot, but out of direct, hot sunlight. A warm spot on a windowsill away from intense sun is perfect.
My “Secret Sauce” for Lavender Success
- Bottom Heat is Your Friend: If you have a heated propagator mat, use it! A little bit of gentle warmth from below can dramatically speed up root development. It’s like giving your cuttings a warm hug to encourage them.
- Don’t Drown Them! While humidity is important, overwatering the soil is the fastest way to see your cuttings succumb to rot. The soil should feel moist but not waterlogged. I often let the surface dry out just a tiny bit before watering again.
- Patience with a Purpose: Don’t pull up your cuttings too soon to check for roots! It can take anywhere from 4-8 weeks for them to establish a good root system. You’ll know they’re ready when you see new leaves emerging and they feel resistant when you give them a very gentle tug.
After All That Waiting: Aftercare & Troubleshooting
Once you see signs of new growth, those little leaves unfurling, it’s a cause for celebration! Gradually acclimate your new lavender plants to the normal environment by opening the plastic bag or propagation dome a little more each day for about a week. Continue to keep the soil consistently moist but not soggy.
The most common problem you’ll encounter is rot. If you see stems turning mushy and black, or if they just wilt and refuse to perk up, it’s usually a sign of too much moisture or a lack of air circulation. Unfortunately, once rot sets in, it’s very difficult to save a cutting. Learn from it, adjust your watering, and try again!
Happy Propagating!
Growing new plants is such a joy, isn’t it? It’s a little bit of magic and a whole lot of patience. Don’t get discouraged if your first few attempts aren’t perfect. Every gardener has those moments! Just keep at it, enjoy the process of nurturing these little cuttings, and soon you’ll have a whole garden full of fragrant Lavandula mairei. Happy gardening!
Resource:
https://identify.plantnet.org/k-world-flora/species/Lavandula%20mairei%20Humbert/data