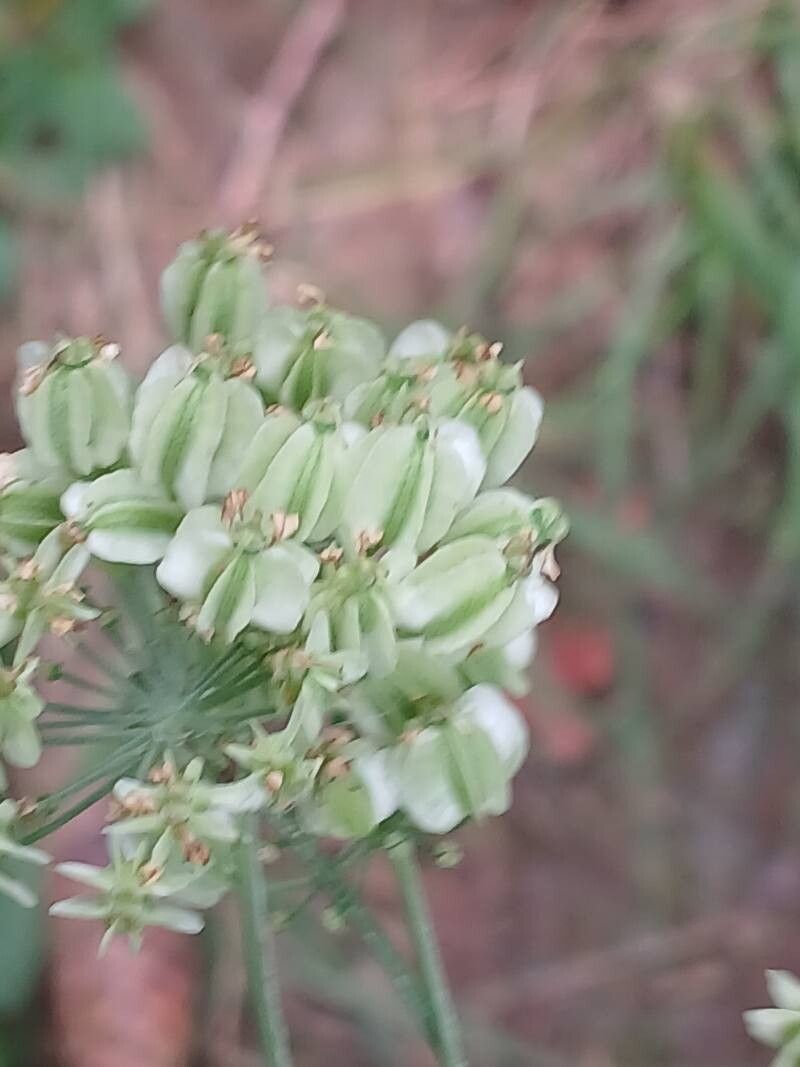
Hello fellow garden enthusiasts! It’s so wonderful to be sharing my passion with you today. We’re diving into the world of Laserpitium latifolium, also known as Broadleaf Laserwort. This is a magnificent plant, with its delicate, airy foliage and intriguing umbelliferous flowers that attract all sorts of beneficial insects. Growing it from scratch is incredibly satisfying, like watching a tiny seed become a grand presence in your garden. Now, is it a walk in the park for absolute beginners? I’d say it requires a little bit of patience and attention, but it’s certainly achievable and a rewarding challenge!
The Best Time to Start
For the absolute best chance of success with Laserpitium latifolium, I find that early spring is your golden window. As the soil begins to warm up and new growth is just starting to emerge, the plant is full of energy and ready to bounce back from any propagation efforts. You can also have success with division in the fall, after the flowering season has finished, but spring propagation feels most vigorous to me.
Supplies You’ll Need
Before we get our hands dirty, let’s gather our tools. Having everything ready makes the process so much smoother:
- Sharp, clean pruning shears or a knife: For making precise cuts.
- Well-draining potting mix: A mix designed for perennials or a blend of compost, perlite, and seed-starting mix works wonderfully.
- Small pots or propagation trays: Clean containers with drainage holes are essential.
- Rooting hormone (optional, but recommended): Especially for cuttings, this can give them a helpful boost.
- Watering can with a fine rose: To water gently without disturbing delicate new roots.
- Labels and a permanent marker: To keep track of what you’ve planted!
- A propagation mat or warm windowsill (optional): For methods that benefit from gentle bottom heat.
Propagation Methods
Laserpitium latifolium is most commonly and successfully propagated through division of established clumps. While you can try from seed, it can be a slower and sometimes less predictable route.
Division:
- Dig carefully: In early spring, before the plant is in full swing, gently dig around the base of an established clump. I like to use a garden fork for this, as it’s less likely to damage the roots than a spade. Try to lift the entire root ball out of the ground.
- Inspect and divide: Gently shake off excess soil. You should see distinct crowns within the clump. Using your hands or a clean, sharp knife, carefully separate the clump into smaller sections. Each section should have at least one healthy root system and a few visible buds or growing points.
- Replant immediately: Don’t let those divisions dry out! Replant each new division into your prepared potting mix, ensuring the roots are spread out and the crown is just at soil level. Water them in thoroughly.
The “Secret Sauce” (Pro Tips)
Here are a few little tricks I’ve picked up over the years working with these lovely plants:
- Don’t overwater early divisions: While they need moisture, soggy soil is the quickest way to invite rot. Water deeply initially, then allow the surface to dry slightly between waterings. Think of it as mimicking their preference for well-drained conditions.
- Gentle is key: When handling the roots during division, be as gentle as possible. These are living things, and they appreciate a soft touch. Any damage to roots can set back their recovery.
- Consider the parent plant’s health: Always choose to divide a robust, healthy specimen. A struggling plant won’t have the energy to produce strong new divisions.
Aftercare & Troubleshooting
Once your divisions are tucked back into their pots or garden beds, keep them consistently moist but not waterlogged. Watch for new leaf growth – that’s your signal that roots are forming and the plant is establishing itself.
The most common issue you might encounter is rot, often caused by overwatering. Signs of rot include mushy stems at the base, leaves turning yellow and limp despite adequate watering, or a foul smell. If you spot this, try to remove the affected part immediately. Ensure excellent drainage and adjust your watering schedule. If you don’t see any signs of life after a few weeks, don’t despair! Sometimes they just take their time to settle in. Give them a bit more patience.
A Little Encouragement
See? It’s not so daunting, is it? Propagating Laserpitium latifolium is a wonderful way to fill your garden with these beautiful plants and share them with gardening friends. Be patient with the process, trust your instincts, and most importantly, remember to enjoy the journey of coaxing new life from the soil. Happy gardening!
Resource:
https://identify.plantnet.org/k-world-flora/species/Laserpitium%20latifolium%20L./data