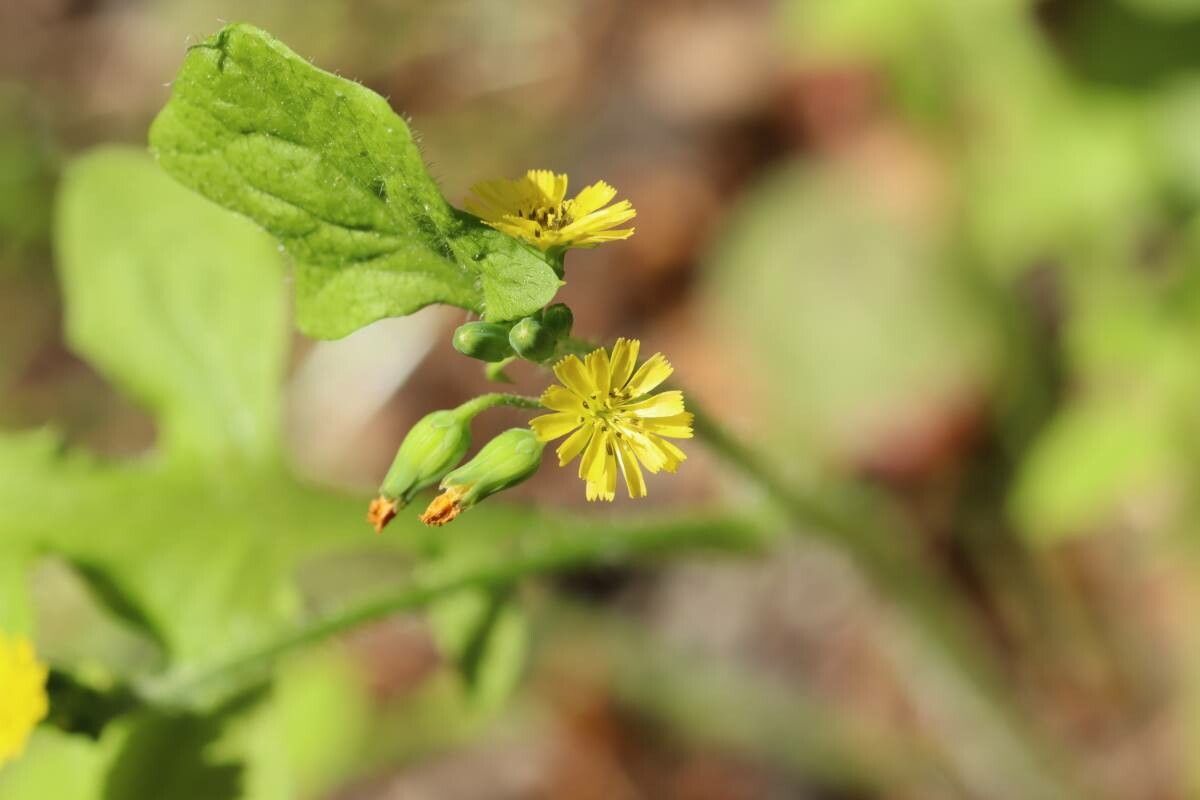
Hello, fellow plant lovers! Today, I want to chat about a charming little plant that’s been bringing a smile to my garden for years: Lapsanastrum humile. You might know it as Korean Daisy, with its cheerful, daisy-like yellow flowers and lovely, slightly fuzzy foliage. It’s a real gem, especially for adding a pop of sunny color to borders or containers.
Propagating Lapsanastrum humile is something I find incredibly rewarding. It’s a wonderful way to fill your garden or share with friends without breaking the bank. And the best part? For those of you just starting your gardening adventures, this one is quite forgiving! It’s definitely on the easier side of propagation, which makes it a perfect candidate for your first attempts.
The Best Time to Start
My favorite time to get stuck into propagating Lapsanastrum humile is late spring to early summer. This is when the plant is really hitting its stride, with plenty of healthy, new growth to work with. The warmer temperatures and longer days give cuttings a real boost, helping them root faster. You can also have some success in early autumn, but I find spring growth gives you the most vigor.
Supplies You’ll Need
Before we dive in, let’s make sure you have your toolkit ready. Here’s what I always have on hand:
- Sharp, clean pruning shears or a sharp knife: Essential for making clean cuts.
- Rooting hormone (optional, but helpful): A little dab can speed things up.
- A well-draining potting mix: I like a blend of coco coir, perlite, and a bit of compost. You can also use a seed-starting mix.
- Small pots or seed trays: Clean ones are a must to prevent disease.
- A clear plastic bag or propagation dome: To create a humid environment.
- Watering can or spray bottle: For gentle watering.
- Labels and a marker: Trust me, you’ll thank yourself later!
Propagation Methods
Lapsanastrum humile is quite adaptable, but I find the easiest and most successful method for me is stem cuttings.
Here’s how I do it:
- Take Cuttings: Head out to your healthy Lapsanastrum humile plant. Look for non-flowering shoots that are about 3-5 inches long. Using your clean shears, make a cut just below a leaf node. A leaf node is where a leaf attaches to the stem; this is where roots will most likely form.
- Prepare the Cuttings: Gently remove the lower leaves from the cutting, leaving just the top few leaves. If a leaf is very large, you can even cut it in half to reduce water loss.
- Apply Rooting Hormone (Optional): Dip the bottom inch of the cutting into your rooting hormone powder, tapping off any excess.
- Pot them Up: Fill your small pots or trays with your dampened, well-draining potting mix. Make a small hole in the center of the soil with your finger or a pencil.
- Insert Cuttings: Gently push the prepared end of each cutting into the soil, ensuring the leaf nodes are buried. Firm the soil around the base of the cutting so it stands upright.
- Create Humidity: Water gently to settle the soil, and then cover the pots with a clear plastic bag or propagation dome. This creates a mini-greenhouse effect, which is crucial for preventing the cuttings from drying out.
The “Secret Sauce” (Pro Tips)
Here are a couple of things I’ve learned over the years that really seem to make a difference:
- Don’t Let the Leaves Touch the Soil: When you’re preparing your cuttings, make sure none of the remaining leaves are touching the potting mix. If they are, they’re more prone to rotting instead of rooting.
- Bottom Heat is Your Friend: If you can, place your pots on a heat mat designed for seedlings. This gentle warmth from below encourages root development much faster. I’ve seen a significant difference when using one.
Aftercare & Troubleshooting
Once your cuttings are potted and covered, place them in a bright spot, but out of direct sunlight. The sun can scorch those tender baby leaves. Keep the soil consistently moist but not soggy. You should start to see signs of rooting within 3-6 weeks. You can gently tug on a cutting; if there’s resistance, roots have formed!
Now, what if things don’t go as planned? The most common issue is rot. If you see your cuttings turning mushy or black, it’s usually a sign of too much moisture or poor air circulation. Make sure your soil is draining well and consider removing the plastic cover for a few hours a day to let them breathe. If a cutting succumbs, remove it promptly to prevent it from affecting others. Don’t get discouraged; it happens to us all!
A Encouraging Closing
See? It’s really not that complicated! Propagating Lapsanastrum humile is a wonderfully accessible way to expand your garden’s beauty or share the joy with others. Be patient, keep an eye on them, and celebrate those tiny new roots when they appear. Happy propagating, and enjoy the sunshine your new plants will bring!
Resource: