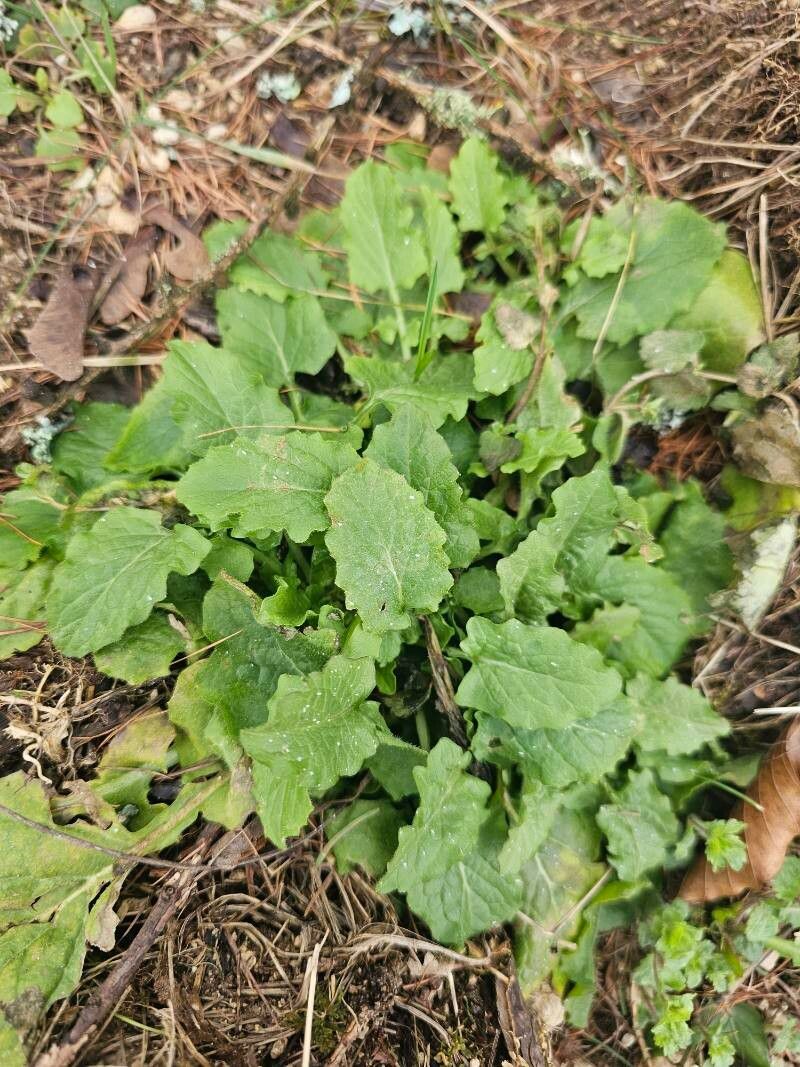
Hello there, fellow plant enthusiasts! Today, I want to chat about a charming little plant that often flies under the radar: Lapsana communis, or nipplewort. If you’re like me, you enjoy plants that are a bit wild, a bit unassuming, but pack a surprising punch of charm. Nipplewort fits that bill perfectly. It’s a hardy annual with delicate yellow flowers that attracts pollinators aplenty. And the best part? Propagating it is incredibly rewarding, and I’m happy to say it’s a fantastic plant for beginners to try their hand at. You’ll be creating a whole colony in no time!
The Best Time to Start
For the most success with Lapsana communis, start in late spring or early summer. This is when the plant is actively growing and has plenty of energy to put into developing new roots. You can also collect seeds directly from mature plants in late summer or early autumn for sowing the following spring. They are quite forgiving, but aiming for this active growth period will give you the best results.
Supplies You’ll Need
Gathering your supplies beforehand makes the whole process much smoother. Here’s what you’ll want to have on hand:
- Sharp pruning shears or a clean knife: For making clean cuts.
- Small pots or seed trays: With good drainage holes.
- Well-draining potting mix: A standard seedling mix or a blend of peat moss and perlite works wonderfully. You can also add a bit of compost.
- Watering can or spray bottle: For gentle watering.
- Rooting hormone (optional but helpful): Especially for stem cuttings.
- Plastic bags or a propagation dome: To create a humid environment.
Propagation Methods
Lapsana communis is wonderfully versatile, and you can propagate it in a couple of very straightforward ways.
1. From Seeds (The easiest way!)
This is your go-to method, especially for beginners. Nipplewort produces an abundance of tiny seeds.
- Collect seeds: Look for mature seed heads that have turned brown and dry on the plant. Gently shake them over a container to collect the seeds.
- Sow immediately or store: You can sow them directly into pots or trays filled with your potting mix. If you want to wait, store the seeds in a cool, dry place.
- Planting: Sprinkle the seeds thinly over the surface of the soil. Gently press them into the soil – they don’t need to be buried deeply. They actually benefit from light.
- Watering: Moisten the soil with a spray bottle or a gentle watering can. Keep the soil consistently moist but not waterlogged.
- Germination: You should see germination within 1 to 3 weeks.
2. From Stem Cuttings
This method is also quite successful and gives you more control over placement.
- Take cuttings: In late spring or early summer, choose healthy, non-flowering stems. Cut sections about 3-4 inches long, making sure each cutting has at least two sets of leaves. Use sharp shears for a clean cut just below a leaf node.
- Prepare the cuttings: Gently remove the lower leaves from the cutting. If you’re using rooting hormone, dip the cut end into it according to the package instructions.
- Plant the cuttings: Fill your small pots with the potting mix. Make a small hole with a pencil or your finger and insert the cut end of the stem. Gently firm the soil around the base.
- Water and cover: Water the soil well. Then, cover the pots with a plastic bag or place them under a propagation dome to maintain high humidity. This is crucial for cuttings to root.
The “Secret Sauce” (Pro Tips)
Here are a couple of little tricks I’ve picked up over my years of gardening that make a big difference:
- Bottom Heat for Cuttings: If you want to speed up root development on your stem cuttings, place the pots on a heating mat. This provides gentle warmth to the soil, encouraging roots to form more quickly. It’s like giving them a cozy bed for growing!
- Don’t Overcrowd: When sowing seeds or planting cuttings, resist the urge to cram too many into one pot. Give them space to breathe and grow. Overcrowding can lead to weak plants and increase the risk of fungal diseases. Each little plant needs its own territory!
Aftercare & Troubleshooting
Once you see new growth or roots emerging from the bottom of the pot, you’re on your way!
- Acclimatize: For cuttings in a plastic bag or dome, gradually introduce them to open air over a few days. Start by lifting the bag for an hour or two, then increasing the time. This prevents shock.
- Watering: Continue to water regularly, ensuring the soil stays moist. As the plants grow larger, you can start to let the top layer of soil dry out slightly between waterings.
- Light: Place your new plants in a brightly lit spot, but avoid direct, scorching sunlight for the first few weeks. A bit of dappled shade is perfect.
Now, what if things don’t go as planned? The most common issue you might encounter is rot. This usually happens when the soil is too wet and there’s not enough air circulation. If you see a cutting turn mushy and black, unfortunately, it’s usually a sign it won’t recover. Ensure your pots have drainage and don’t let them sit in water. If seeds fail to germinate, check if the soil has dried out too much. Sometimes, a second attempt is all it takes!
A Little Patience Goes a Long Way
There you have it! Propagating Lapsana communis is a simple and incredibly satisfying way to fill your garden with its cheerful yellow blooms. Don’t be discouraged if your first attempt isn’t perfect. Gardening is a journey of learning and observation. Just enjoy the process of nurturing these little lives, and I promise, you’ll soon be surrounded by the gentle beauty of nipplewort. Happy growing!
Resource:
https://identify.plantnet.org/k-world-flora/species/Lapsana%20communis%20L./data