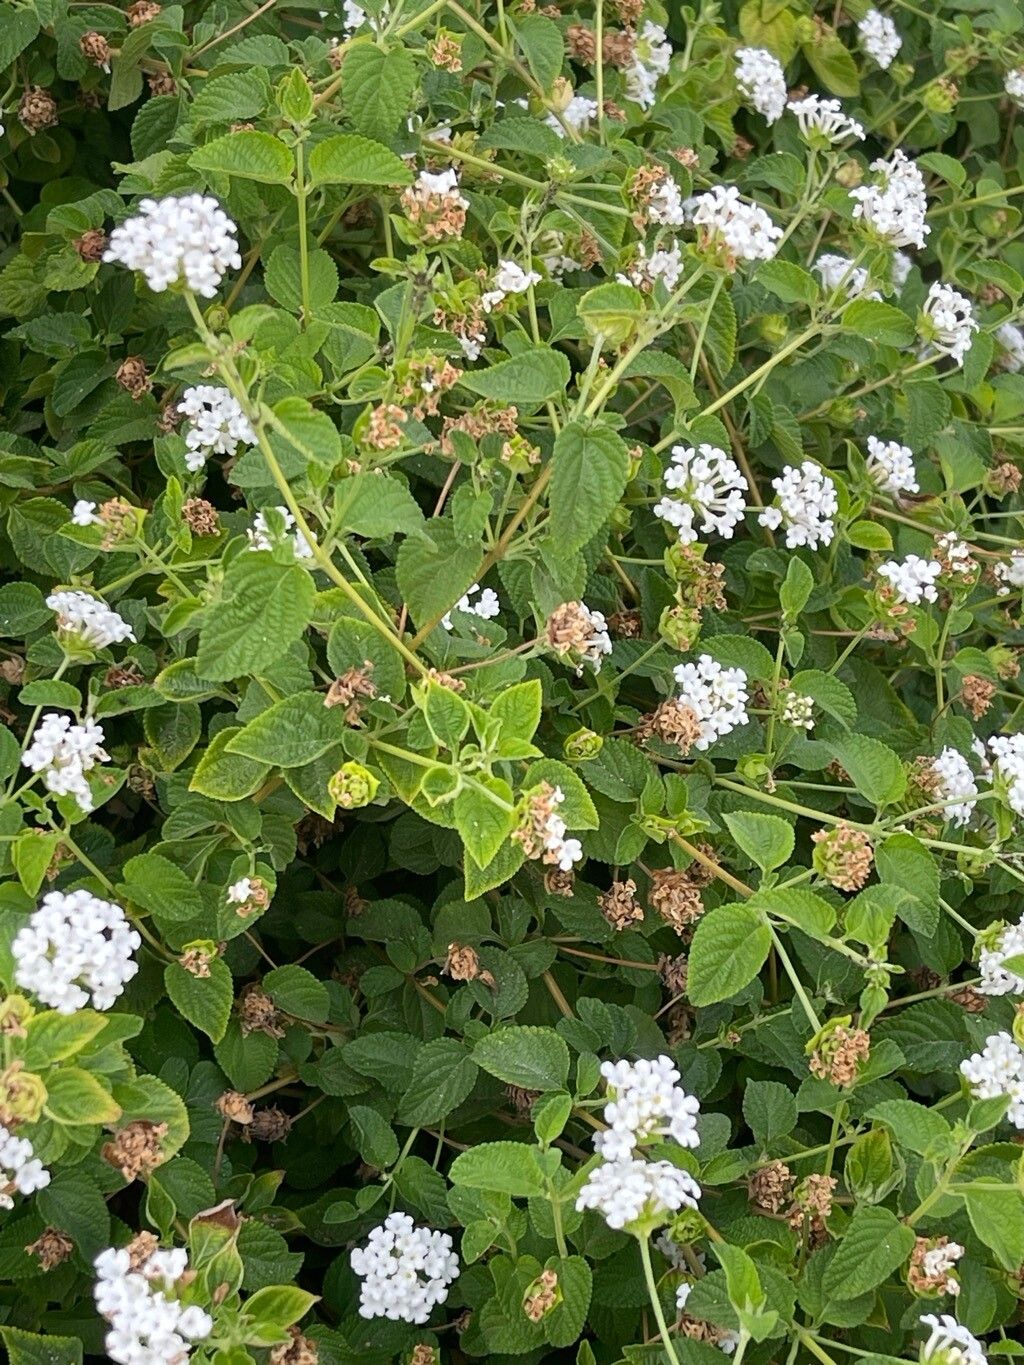
Hello fellow garden enthusiasts! It’s so lovely to have you here today. We’re going to dive into the wonderful world of Lantana velutina, a plant that brings such vibrant energy and a bit of gentle wildness to any garden. Its velvety leaves and clusters of delicate flowers are simply irresistible, and the best part? Propagating them is a surprisingly rewarding journey. For those of you just dipping your toes into plant propagation, I’d say Lantana velutina is a fairly forgiving plant, making it a great one to start with.
The Best Time to Start
For the highest success rate, I find late spring through early summer is your golden window. This is when the plant is in its active growth phase, brimming with energy. You want to look for new, semi-hardwood growth – not the spindly, brand-new shoots, nor the old, woody stems. Think of stems that are still flexible but have lost that completely soft, sappy feel.
Supplies You’ll Need
Gathering your tools beforehand makes the whole process smoother. Here’s what I always have on hand:
- Sharp, clean pruning shears or a sharp knife: Essential for making clean cuts.
- Rooting hormone (optional but helpful): I often use a powdered or gel form.
- Well-draining potting mix: A blend of peat moss, perlite, and a bit of compost works beautifully. You can also buy specific propagation mixes.
- Small pots or seed trays: Clean ones are a must to prevent disease.
- Watering can with a fine rose: Gentle watering is key.
- Plastic bags or a propagator: To create a humid environment.
- Gravel or small stones (for water propagation): To help keep cuttings upright.
Propagation Methods
Let’s get our hands dirty! Lantana velutina is wonderfully adaptable, and stem cuttings are my go-to method.
Stem Cuttings
- Select your cuttings: Choose healthy stems as described above. Aim for cuttings that are about 4-6 inches long.
- Make the cut: Using your clean shears or knife, make a clean cut just below a leaf node (the point where a leaf attaches to the stem). This is where the magic happens for root formation.
- Prepare the cutting: Gently remove the lower leaves, leaving just a few at the very top. If any leaves are particularly large, you can even cut them in half to reduce water loss.
- Apply rooting hormone (optional): Dip the cut end of the stem into your rooting hormone, tapping off any excess.
- Bury the stem: Fill your small pots with the well-draining mix. Make a small hole in the center with your finger or a pencil. Insert the prepared cutting into the hole, ensuring at least one leaf node is below the soil surface. Gently firm the soil around the stem.
- Water gently: Water thoroughly but carefully so you don’t dislodge the cuttings.
- Create humidity: Cover the pots with a clear plastic bag, securing it around the rim with a rubber band, or place them in a propagator. This creates a mini-greenhouse effect that keeps the cuttings from drying out. Place the pots in a bright spot away from direct, scorching sunlight.
Water Propagation (A Simpler Option)
- Prepare your cuttings: Follow steps 1-3 from the stem cutting method.
- Place in water: Find a clean jar or glass and fill it with fresh water. You can add a few small stones or gravel to the bottom to help the cuttings stand upright.
- Submerge the nodes: Place the cuttings in the water, making sure at least one leaf node is submerged. Avoid letting the leaves touch the water.
- Change water regularly: Replace the water every few days to keep it fresh and prevent bacterial growth.
- Watch for roots: You’ll begin to see tiny white roots emerging from the nodes within a week or two. Once the roots are about an inch long, you can pot them up into soil using the potting mix described above.
The “Secret Sauce” (Pro Tips)
Here are a few little tricks I’ve learned over the years that can really boost your success:
- Bottom Heat is Your Friend: If you can, place your pots on a heated propagator mat or even the top of a refrigerator (if it’s warm). This gentle warmth from below encourages root development much faster than ambient room temperature. Plus, it helps mimic spring soil conditions.
- Don’t Drown Your Cuttings: While humidity is crucial, soggy soil is the fastest way to invite rot. My trick is to slightly let the soil surface dry out between waterings. You want it to be consistently moist, not saturated. If using the plastic bag method, keep an eye out for excessive condensation. You might need to briefly air them out if they look too damp.
- Patience with the “Woody” Ones: Sometimes, you’ll get a cutting that seems stubbornly slow to root. Don’t give up immediately! If it’s still firm and hasn’t totally shriveled, it’s just on its own timeline. I’ve had “late bloomers” surprise me with roots after several weeks.
Aftercare & Troubleshooting
Once you see new leaf growth, that’s a fantastic sign that roots have formed! At this point, you can gradually reduce the humidity. If you were using a plastic bag, start by removing it for a few hours each day, then remove it completely over a week or so. Continue to water as needed, allowing the top inch of soil to dry out between waterings. When your new plants are strong enough, you can transplant them into slightly larger pots or into your garden.
The most common problem you’ll encounter is rot. If a cutting turns black and mushy, it’s a sign the conditions were too wet or there was a fungal issue. Don’t be discouraged; just discard the affected cutting and try again with a fresh, healthy one and ensure your soil mix is free-draining. Yellowing leaves can sometimes indicate overwatering or a lack of light.
A Encouraging Closing
Propagating plants is one of the most satisfying aspects of gardening. It’s like unlocking a secret superpower, turning one beautiful plant into many. Be patient with your Lantana velutina cuttings. Sometimes nature works on its own schedule, and the joy of success is all the sweeter for it. Enjoy the process, celebrate every little root, and soon you’ll have a garden bursting with these gorgeous flowers! Happy propagating!
Resource: