Hello there, fellow plant enthusiasts! It’s so wonderful to have you join me today. I’ve got something special to share, and if you’re anything like me, you’re always looking for ways to multiply those garden treasures. Today, we’re diving into the delightful world of propagating Lantana involucrata, often known as Wild Sage or Pigeon Berry.
Why Grow and Propagate Lantana Involucrata?
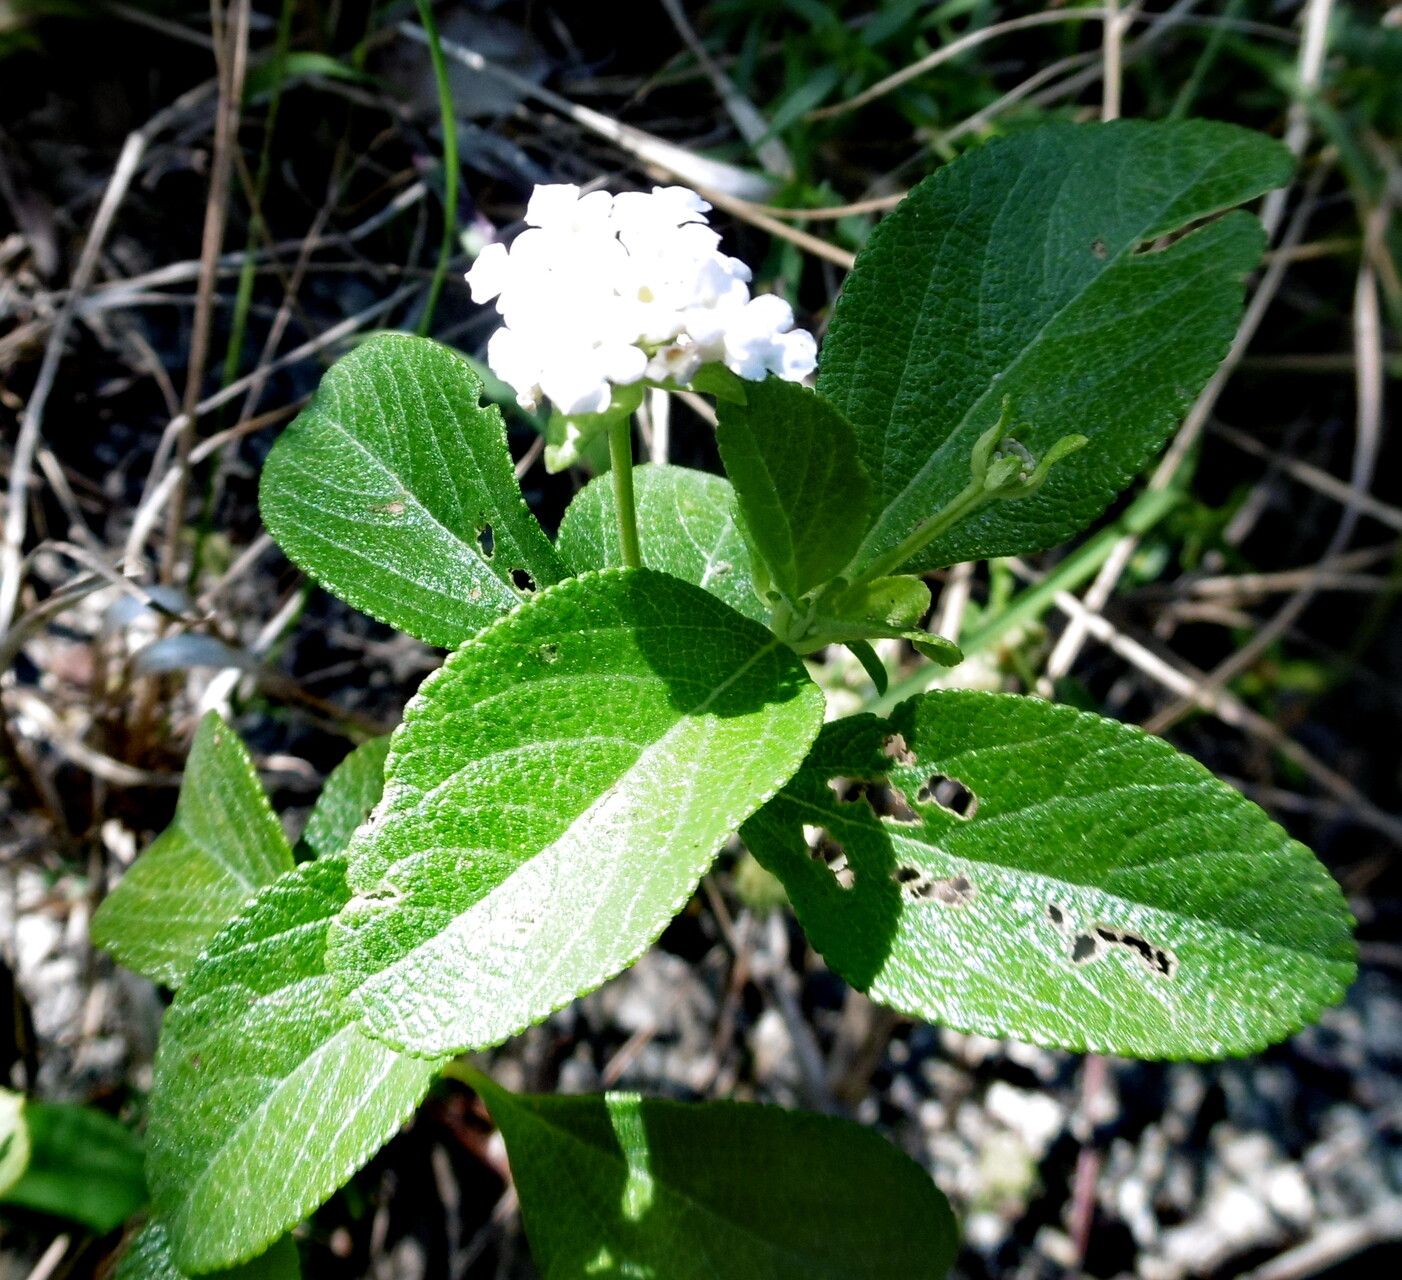
This charming shrub is a real workhorse in the garden. It’s loved for its beautiful clusters of lavender-blue flowers that bloom almost year-round, attracting a flurry of pollinators – bees, butterflies, you name it! And the little purple berries? Birds adore them. Beyond its beauty and wildlife appeal, it’s remarkably tough, handling heat and drought like a champ once established. Propagating it yourself is incredibly rewarding. It’s a fantastic way to fill out your garden beds, share with friends, or simply enjoy the satisfaction of creating new life from an existing plant. For those just starting out with propagation, I’m happy to say that Lantana involucrata is generally quite forgiving, making it a great choice for beginners.
The Best Time to Start
The sweet spot for propagating Lantana involucrata is typically during its active growing season. Late spring or early summer, after the worst of the heat has passed but while the plant is putting on new growth, is ideal. You want to work with stems that are somewhat softened but not woody. Think of it as taking cuttings from growth that’s about a year old.
Supplies You’ll Need
Gathering your supplies beforehand makes the whole process smoother. Here’s what I usually have on hand:
- Sharp Pruning Shears or a Knife: For clean cuts.
- Potting Mix: A well-draining mix is crucial. I like to use a blend of half potting soil and half perlite or coarse sand. For cuttings, a specialized seed-starting mix works well too.
- Small Pots or Seed Trays: Clean pots are a must to prevent disease. Yogurt cups with drainage holes poked in the bottom are great starters too!
- Rooting Hormone (Optional but Recommended): A hormone powder or gel can significantly boost your success rate.
- Plastic Bags or a Clear Dome: To create a humid environment for your cuttings.
- Watering Can with a Fine Rose or Mister: For gentle watering.
- Gloves: Always a good idea to protect your hands.
Propagation Methods: Let’s Get Our Hands Dirty!
Lantana involucrata is most successfully propagated from stem cuttings. It’s straightforward and gives you the best chance of success.
Method: Stem Cuttings
- Select Your Stems: Head out to your healthy Lantana involucrata plant. Look for young, semi-hardwood stems that are at least 4-6 inches long. The tip should be flexible, and the base should be somewhat firm but not old and woody. Pinching a leaf should reveal a clean break, not a tear.
- Make Your Cuts: Using your sharp pruners or knife, take cuttings just below a leaf node (where a leaf attaches to the stem). Make sure each cutting has at least two or three leaf nodes. Remove any flowers or developing berries; we want the plant to focus its energy on growing roots, not flowers or fruit.
- Prepare the Cuttings: Gently remove the leaves from the bottom half of each cutting. You’ll want to leave just one or two sets of leaves at the top. This reduces water loss and prevents leaves from rotting in the soil.
- Apply Rooting Hormone (Optional): If you’re using rooting hormone, dip the cut end of the stem into the powder or gel. Tap off any excess.
- Plant Your Cuttings: Fill your clean pots with your well-draining potting mix. Make a small hole in the center of the soil with a pencil or your finger. Insert the cut end of the Lantana cutting into the hole, ensuring the nodes where you removed the leaves are below the soil surface.
- Water Gently: Water the soil thoroughly but gently. You want it moist, not waterlogged.
- Create Humidity: This is key! Place a clear plastic bag over the pot, securing it around the rim with a rubber band. Alternatively, use a clear plastic dome if you’re using a seed tray. This creates a mini-greenhouse, keeping the humidity high, which is vital for cuttings to root. Place your pots in a bright location, but out of direct, hot sunlight.
Method: Water Propagation (A Quick Alternative)
While stem cuttings in soil are my preferred method for Lantana involucrata, you can also try water propagation for a visual treat.
- Follow steps 1-3 for stem cuttings.
- Instead of planting them in soil, place the prepared cuttings in a clean jar or glass filled with fresh water.
- Ensure that no leaves are submerged in the water. This is important to prevent rot.
- Place the jar in a bright spot out of direct sun. Change the water every few days to keep it fresh. You’ll be able to see the roots forming, which can be quite satisfying!
- Once the roots are about an inch long, you can carefully transplant them into pots with soil, following the aftercare steps below.
The “Secret Sauce” (Pro Tips)
Now, for a couple of tricks I’ve learned over the years that can really make a difference:
- Bottom Heat is Your Friend: If you have a seedling heat mat, placing your pots on it can significantly speed up the rooting process. The warmth encourages root development. Just make sure the mat isn’t too hot; it should feel comfortably warm to the touch.
- Don’t Disturb Too Soon: Resist the urge to tug on your cuttings to check for roots! You might damage delicate new growth. Wait at least 3-4 weeks, and you should start to feel a slight resistance when you very gently tug, or you might see new leaves popping out.
- The “Sacrificial” Stem: Sometimes, if a cutting looks a bit sad and droopy, I’ll take a tiny piece of the stem from the very bottom and carefully peel away a small sliver of the outer layer. This exposes the inner cambium layer and can sometimes encourage faster rooting. Use this technique sparingly and only on healthy-looking stems; it’s a bit more advanced!
Aftercare & Troubleshooting
Once you see signs of new growth or feel that tell-tale resistance when you check for roots, it’s time for continued care.
- Gradual Acclimation: If you’ve used a plastic bag or dome, slowly start to introduce your new plants to the outside air. Gradually remove the cover for longer periods over a few days to prevent shock.
- Watering: Keep the soil consistently moist but not soggy. Water when the top inch of soil feels dry to the touch.
- Fertilizing (Later): Once your new Lantana has established a good root system and is showing healthy top growth, you can begin fertilizing with a diluted, balanced liquid fertilizer every 4-6 weeks during the growing season.
- Repotting: When the new plants become root-bound in their small pots, it’s time to move them into larger ones.
Common Signs of Failure:
- Wilting or Yellowing Leaves: This could be a sign of overwatering (leading to root rot) or underwatering. Check your soil moisture.
- Rotting Stem: A clear sign of too much moisture and not enough air circulation. If you see this, often it’s best to discard the cutting and start again with fresh, clean materials. Ensure your mix drains well and isn’t waterlogged.
A Final Thought
Propagating plants is a journey of patience and observation. Don’t be discouraged if you have a few failures along the way – we all do! Each attempt teaches you something new. Enjoy the process, celebrate your successes, and soon you’ll have a whole garden full of beautiful Lantana involucrata to admire and share. Happy gardening!
Resource:
https://identify.plantnet.org/k-world-flora/species/Lantana%20involucrata%20L./data