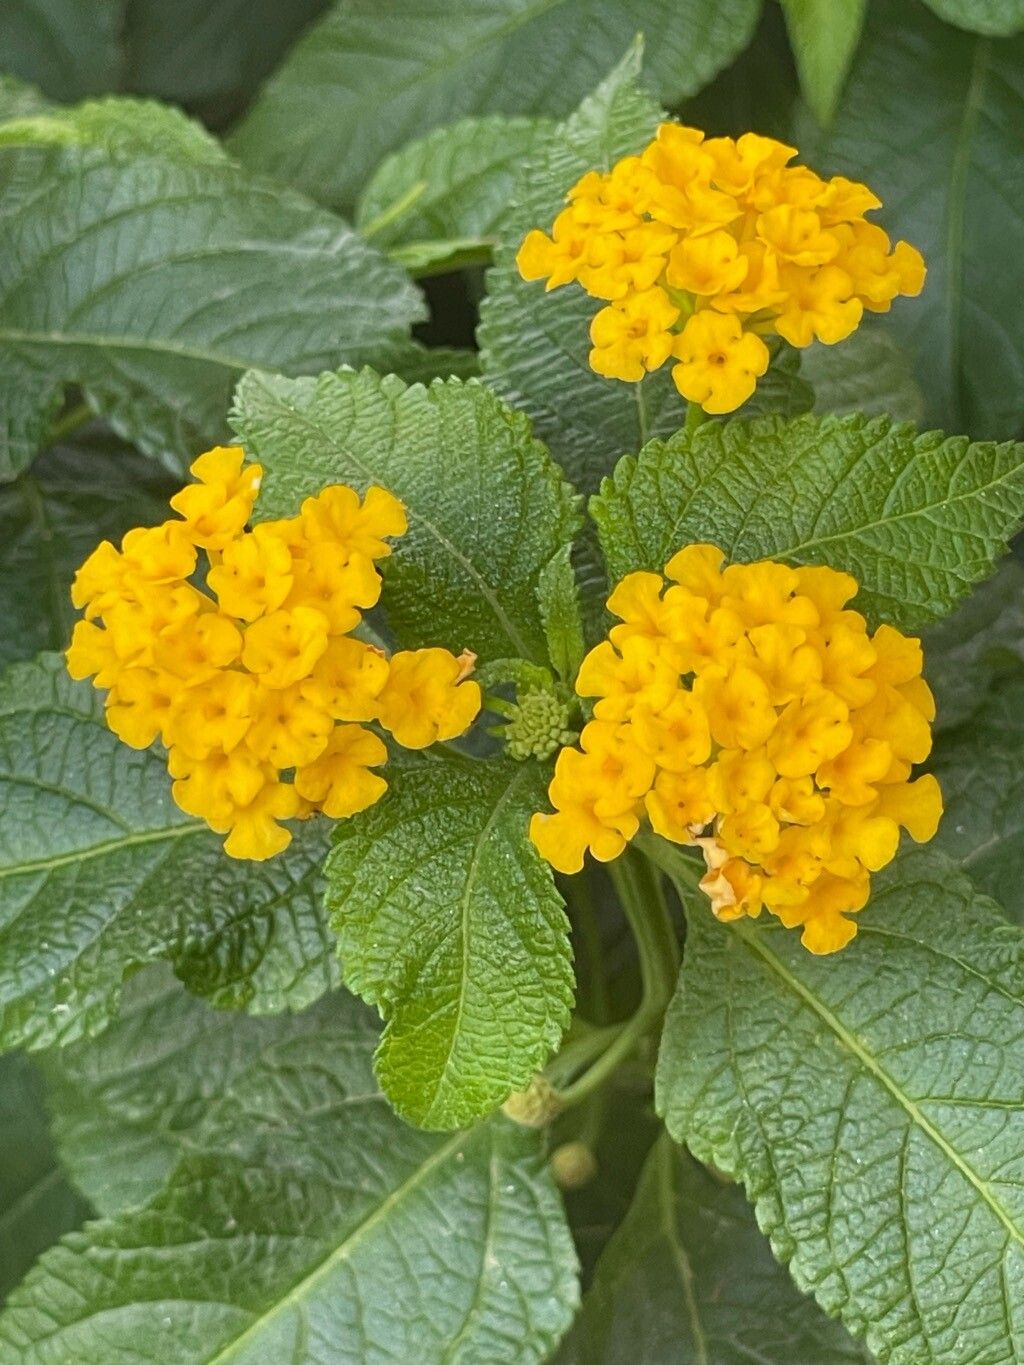
Oh, Lantana! I just love seeing those vibrant bursts of color pop up everywhere. And Lantana canescens, with its beautiful silvery foliage and charming blooms, is a real gem. If you’re looking to fill your garden or even just add a splash of joy to a patio pot, propagating this beauty is incredibly rewarding. And guess what? It’s quite forgiving, making it a fantastic project for beginners and seasoned gardeners alike. You’ll be amazed at how many new plants you can create from just one!
The Best Time to Start
For the absolute best chance of success with propagating Lantana canescens, I find that late spring or early summer is your sweet spot. This is when the plant is actively growing and has plenty of energy to put into creating new roots. You want to be taking cuttings from healthy, new growth that’s still a bit soft, not the woody stems of older branches.
Supplies You’ll Need
Gathering your tools beforehand makes the whole process so much smoother. Here’s what I always have on hand:
- Sharp Pruning Shears or a Clean Knife: For making clean cuts.
- Rooting Hormone (Optional but Recommended): A little dip can give your cuttings a nice boost.
- Well-Draining Potting Mix: I usually mix equal parts peat moss or coco coir with perlite or coarse sand. A store-bought seed-starting mix also works wonderfully.
- Small Pots or Trays: Clean pots are a must to prevent disease.
- Plastic Bags or a Clear Lid: To create a humid environment for your cuttings.
- Water-Misting Bottle: For keeping your cuttings moist.
Propagation Methods
There are a couple of ways to go about this, and both are pretty straightforward.
Stem Cuttings (My Favorite!)
- Select Your Cuttings: Head out to your healthy Lantana canescens plant and look for non-flowering shoots that are about 4-6 inches long. Make a clean cut just below a leaf node (where a leaf attaches to the stem).
- Prepare the Cuttings: Gently remove the lower leaves from your cuttings. You want to leave just a couple of leaves at the very top. This helps the plant focus its energy on rooting rather than supporting too many leaves.
- Apply Rooting Hormone (If Using): Dip the cut end of each stem into your rooting hormone. Tap off any excess.
- Plant Them Up: Fill your small pots or trays with your prepared potting mix. Make a small hole in the center of each with your finger or a pencil.
- Insert the Cuttings: Place one cutting into each hole, gently firming the soil around it. Make sure at least one leaf node is buried in the soil, as this is where roots will form.
- Water Gently: Water the soil lightly until it’s evenly moist.
- Create Humidity: Cover the pots with a plastic bag or place them under a clear dome. This traps moisture and mimics the humid conditions cuttings love. Place them out of direct, harsh sunlight.
Water Propagation (So Satisfying!)
- Prepare the Cuttings: Just like with stem cuttings, take 4-6 inch cuttings from new growth and remove the lower leaves.
- Place in Water: Find a clean glass or jar and fill it with water. Place your cuttings in so that the leaf nodes where you removed the leaves are submerged.
- Change Water Regularly: This is key! Change the water every couple of days to keep it fresh and prevent rot.
- Find a Bright Spot: Place your jar in a bright location, but again, no direct scorching sun. You’ll be amazed when you start seeing little white roots emerge!
The “Secret Sauce” (Pro Tips)
Here are a few little tricks I’ve learned over the years that can really make a difference:
- Don’t Let the Leaves Touch the Water in Stem Cuttings: If you’re doing stem cuttings, it’s crucial that the remaining leaves stay above the soil line. If they dip into the soil, they’re prone to rot and can take your cutting down with them.
- Bottom Heat is Your Friend: If you can, place your pots on a heat mat designed for plant propagation. This gentle warmth from below encourages root development remarkably well, especially in cooler conditions. You’ll see results much faster!
- Be Patient with the Woody Bits: Sometimes, you might be tempted to try a slightly woodier stem. While softer stems root best, if you do try a more mature stem, make sure it’s still flexible. It might just surprise you!
Aftercare & Troubleshooting
Once your cuttings have developed a good root system – you’ll see roots emerging from the drainage holes of the pot or you can gently tug on a water-propagated cutting and feel resistance – it’s time for them to move into their own pot with a good quality, free-draining potting mix. Continue to keep them moist, but not waterlogged, and gradually introduce them to more sunlight.
The most common issue you might encounter is rot. If a cutting turns black and mushy, or the leaves start to yellow and drop off rapidly, it’s usually a sign of too much moisture or not enough air circulation. If you see this happening, you might need to discard the affected cutting and try again, making sure your soil is well-drained and your environment isn’t overly damp.
A Little Encouragement to Finish
Remember, gardening is a journey, and propagation is a wonderful way to learn and grow. Don’t get discouraged if every single cutting doesn’t make it. Celebrate the successes, learn from the challenges, and most importantly, enjoy the process of bringing new life into your garden! Happy propagating!
Resource:
https://identify.plantnet.org/k-world-flora/species/Lantana%20canescens%20Kunth/data