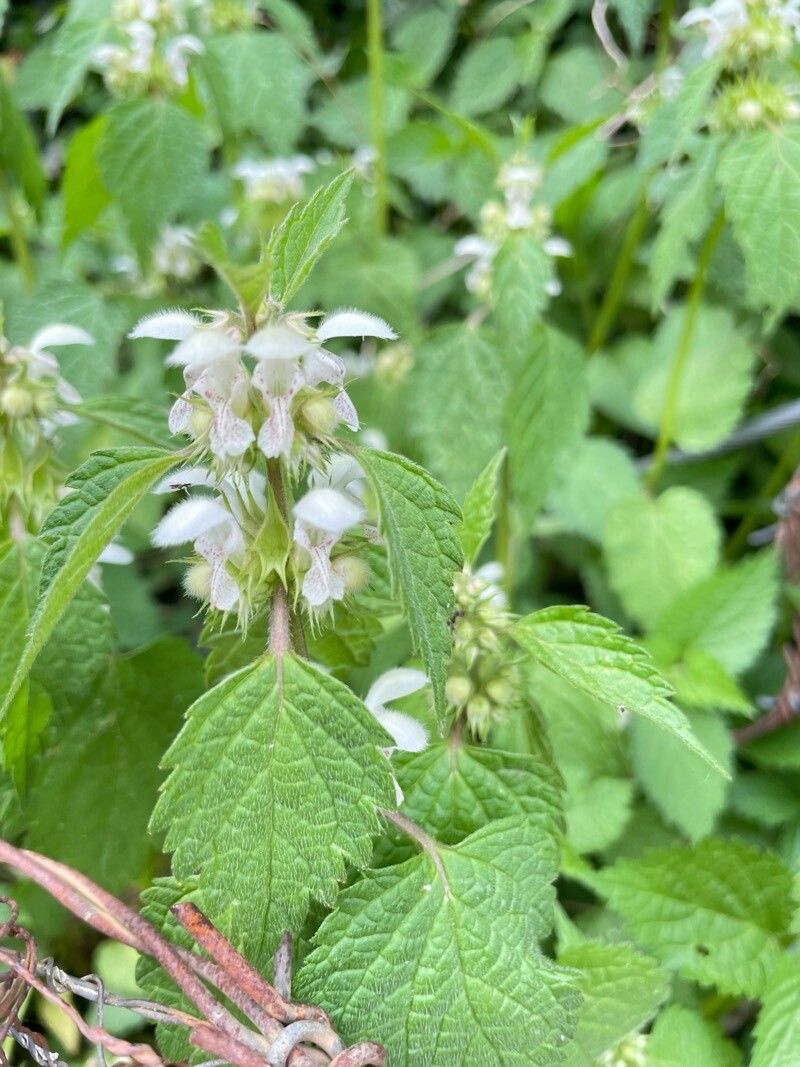
Oh, Lamium flexuosum! What a delightful plant to bring more of into your garden. Its trailing stems, often adorned with charming silver variegation and pretty little pink or white flowers, can really light up shady corners or spill beautifully from containers. If you’ve ever admired its lushness and wished for more, you’re in luck! Propagating Lamium flexuosum is a truly rewarding endeavor, and I find it’s quite forgiving, making it a great plant for beginners looking to dip their toes into the world of plant propagation.
The Best Time to Start
For Lamium flexuosum, the sweet spot for propagation is definitely during its active growing season. Think late spring through to mid-summer. This is when the plant has plenty of energy to put into developing new roots. Starting with healthy, vigorous stems from this period gives your cuttings the very best chance of success.
Supplies You’ll Need
Here’s what you’ll want to have on hand before you get started:
- Sharp Pruning Shears or a Craft Knife: Clean cuts are key!
- Potting Mix: A good quality, well-draining potting mix is essential. I often use a blend of peat moss, perlite, and a little compost.
- Small Pots or Seedling Trays: Whatever you have available. Ensure they have drainage holes.
- Rooting Hormone (Optional but Recommended): A rooting hormone powder or gel can give your cuttings a significant boost.
- Dibber or Pencil: For making planting holes.
- Plastic Bag or Humidity Dome: To keep moisture levels high.
- Watering Can or Spray Bottle: For gentle watering.
Propagation Methods
Let’s dive into how to create new Lamium plants!
Stem Cuttings
This is my go-to method for Lamium flexuosum, and it’s wonderfully effective.
- Take Your Cuttings: On a healthy stem, identify a section that’s about 4-6 inches long. Look for growth that’s not too soft and new, but not woody and old either – that “semi-hardwood” stage is perfect. Use your clean shears to make a clean cut just below a leaf node (where a leaf attaches to the stem).
- Prepare the Cuttings: Gently remove the lower leaves from the cutting, leaving just a couple of leaves at the very top. This helps prevent disease and encourages the plant to focus its energy on rooting. If you’re using rooting hormone, dip the cut end into the powder or gel now.
- Pot Them Up: Fill your small pots with your prepared potting mix. Use a pencil or dibber to make a hole for the cutting. Insert the cut end of the Lamium cutting into the hole. Gently firm the soil around the stem to ensure good contact.
- Create a Humid Environment: Water the soil lightly. Then, cover the pot with a clear plastic bag, securing it with a rubber band, or place it under a humidity dome. This traps moisture, which is crucial for cuttings that can’t yet absorb water through roots.
Water Propagation
This method is incredibly satisfying to watch!
- Select and Cut: Just like with stem cuttings, choose healthy semi-hardwood stems about 4-6 inches long and make a clean cut below a leaf node.
- Remove Lower Leaves: Strip away the leaves from the bottom half of the cutting.
- Place in Water: Fill a clean jar or glass with fresh, room-temperature water. Place the prepared cuttings into the water, ensuring that no leaves are submerged. This is super important to prevent rot.
- Find a Good Spot: Place the container in a bright location, out of direct sunlight.
- Change the Water: Change the water every few days, or whenever it starts to look cloudy. You’ll be amazed at how quickly you’ll see tiny white root nubs appearing.
The “Secret Sauce” (Pro Tips)
Over the years, I’ve learned a few little tricks that seem to give my Lamium cuttings a real edge:
- Don’t Overcrowd: When propagating by cuttings, give each one its own space in the pot, or at least a few inches between them. This improves air circulation and reduces the risk of fungal diseases spreading.
- Bottom Heat is Your Friend: If you happen to have a heat mat designed for seedlings, popping your pots of cuttings on it can significantly speed up the rooting process. It mimics the warmth of spring soil and really encourages those roots to get going.
- Gentle Watering is Key: I can’t stress this enough. Overwatering is the quickest way to doom a cutting. Water thoroughly when you first plant, and then only water again when the top inch of soil feels dry to the touch. Always water from the bottom if possible, letting the pot absorb water through the drainage holes.
Aftercare & Troubleshooting
Once you start to see signs of roots – a gentle tug revealing resistance on the cutting, or new leafy growth appearing – it’s time to transition them.
For cuttings in pots, you can gradually acclimate them to lower humidity by opening the plastic bag a little more each day over a week. Once they have a good root system, they are ready to be transplanted into slightly larger pots or directly into your garden. For those in water, you can gently transplant them into pots with soil once their roots are about an inch long.
The most common issue you’ll encounter is rot. If a cutting turns mushy and black, it’s unfortunately a lost cause. This is usually a sign of too much moisture and not enough air circulation. If you notice this, remove the affected cutting immediately to prevent it from spreading. Sometimes, cuttings just fail to root, and that’s okay too! Don’t get discouraged; a single failed cutting isn’t a reflection of your gardening skills.
A Little Patience Goes a Long Way
Propagating Lamium flexuosum is a wonderful way to share the beauty of this plant with friends or simply to fill your garden with more of its charm. It might take a few weeks for roots to establish, so be patient. Enjoy the process of nurturing these new plants, and soon you’ll have a whole collection of your own beautiful Lamium! Happy gardening!
Resource:
https://identify.plantnet.org/k-world-flora/species/Lamium%20flexuosum%20Ten./data