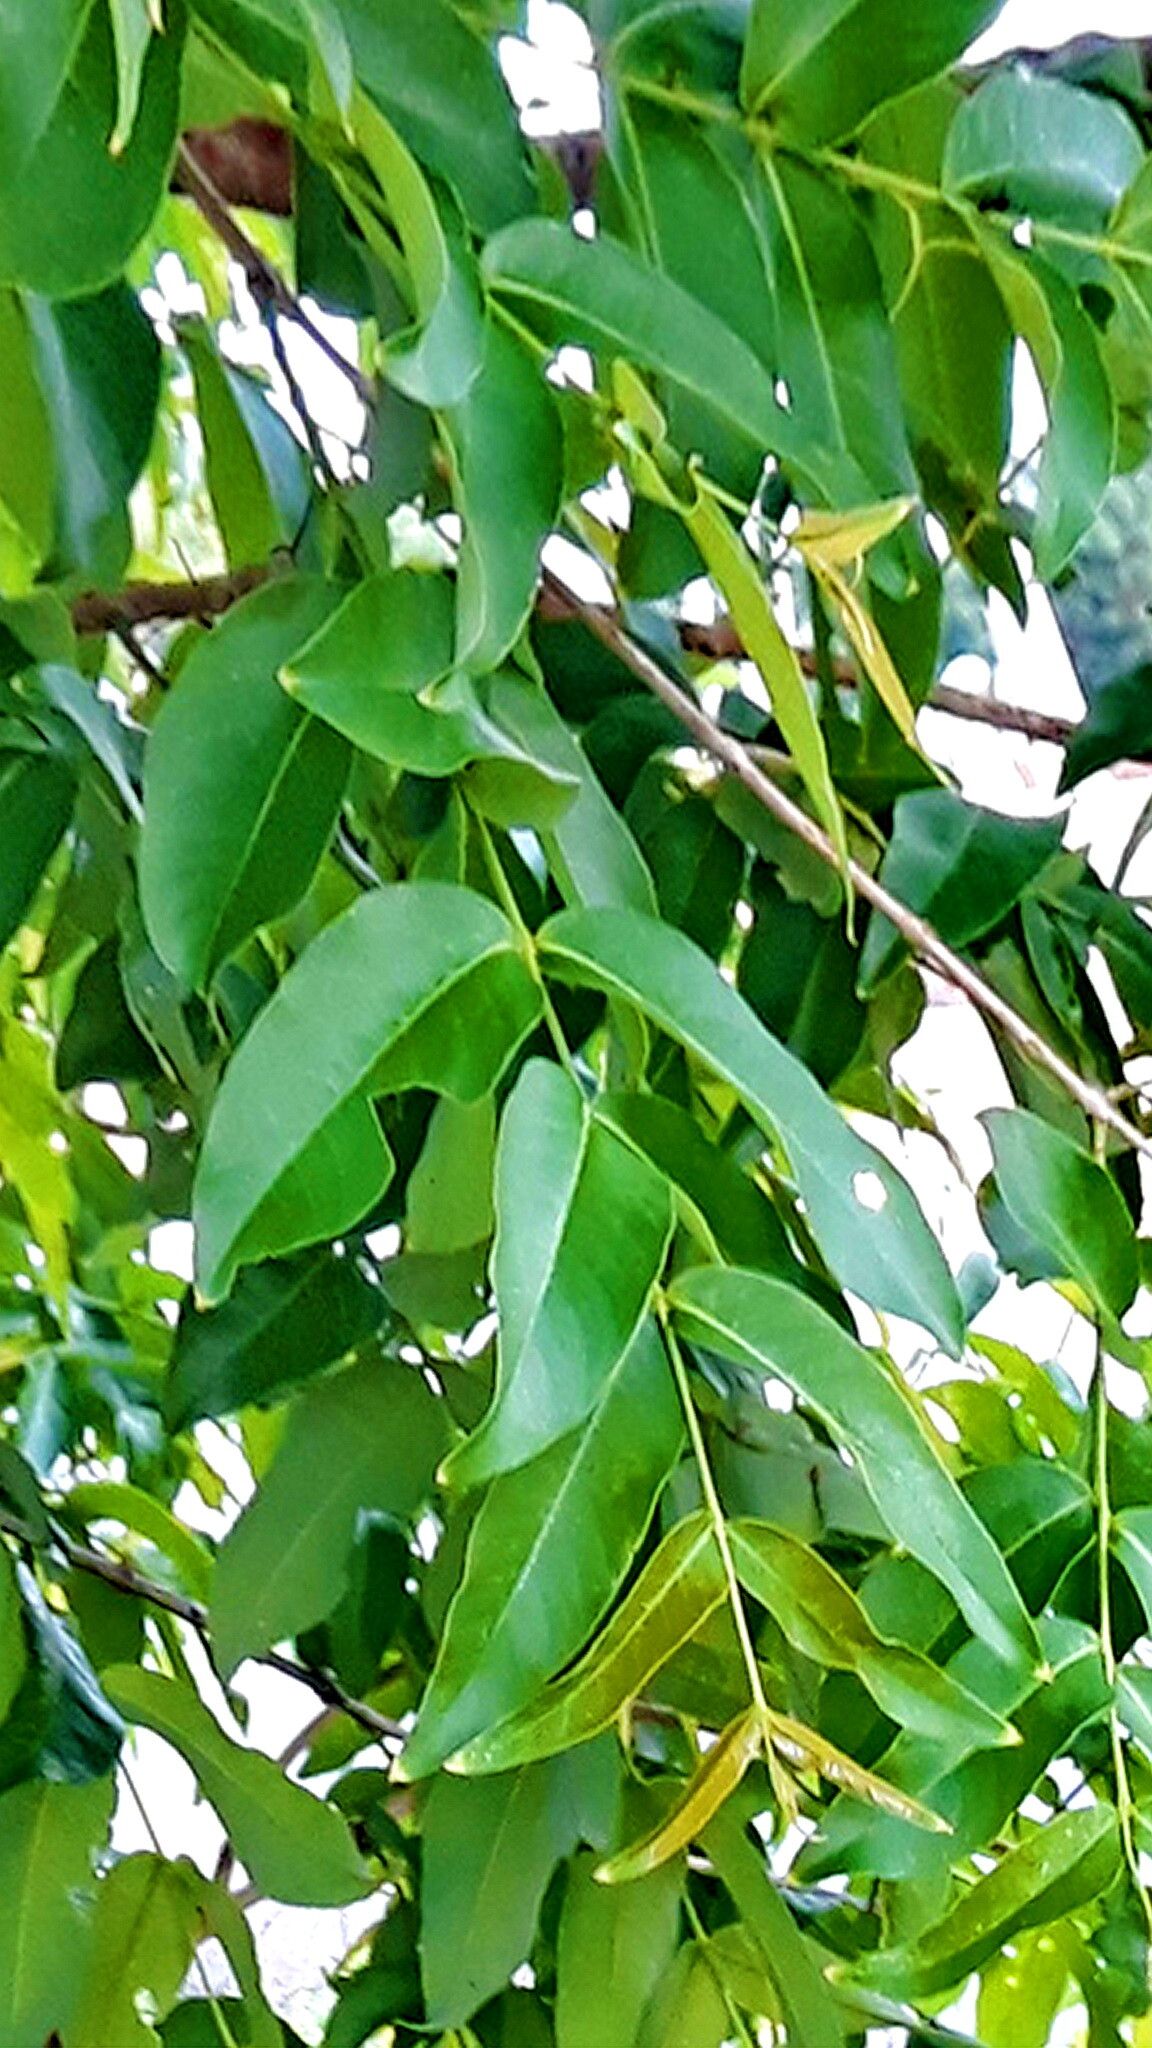
Hello, fellow garden enthusiasts! It’s so lovely to connect with you today. I’m here to chat about one of my absolute favorites: Lagerstroemia parviflora, or as it’s more commonly known, Small Flower Crape Myrtle. These beauties, with their delicate blooms and lovely form, bring such a unique charm to any garden. If you’ve ever admired one and wished you had more, you’re in luck! Propagating them is a truly rewarding experience, a chance to grow your own joy from a single cutting. And while some plants can be a bit fussy, I find Lagerstroemia parviflora to be quite agreeable—a good choice even for those just starting their propagation journey.
The Best Time to Start
For the highest success rate, late spring or early summer is absolutely your golden ticket. This is when the plant is actively growing, sending out lovely new shoots that are still somewhat soft and pliable. We’re aiming for semi-hardwood cuttings, meaning they’re not brand new and tender, but also not yet woody and stiff. Think of a pencil – firm, but with a bit of bend.
Supplies You’ll Need
Before we get our hands dirty, let’s gather everything we need:
- Sharp, clean pruning shears or a strong knife: Essential for making clean cuts.
- Rooting hormone powder or gel: This really gives your cuttings a boost.
- A well-draining potting mix: I like a 50/50 blend of perlite and peat moss or coco coir. Some people also swear by a sterile seed-starting mix.
- Small pots or propagating trays: Think 4-inch pots, or even repurposed yogurt containers with drainage holes.
- Plastic bags or a propagation dome: To create a humid environment.
- A spray bottle: For misting.
- Labels: So you don’t forget what you’ve planted!
Propagation Methods
Let’s dive into the most reliable ways to get more Lagerstroemia parviflora into your life.
Stem Cuttings
This is my go-to method for crape myrtles, and it’s incredibly effective.
- Take Your Cuttings: On a mild morning, select healthy, non-flowering shoots. Make a clean cut just below a leaf node (where a leaf attaches to the stem). Aim for cuttings that are about 4 to 6 inches long.
- Prepare the Cuttings: Gently remove the lower leaves, leaving just two or three at the tip. If the leaves are quite large, I’ll often cut them in half horizontally to reduce water loss.
- Apply Rooting Hormone: Dip the cut end of each cutting into your rooting hormone, tapping off any excess.
- Plant Your Cuttings: Fill your pots with your prepared potting mix. Make a small hole with a pencil or your finger and gently insert the cutting. Firm the soil gently around it, ensuring the leaf nodes that were underground are covered.
- Water and Cover: Water the soil thoroughly until it runs out of the drainage holes. Then, cover the pots with a plastic bag or propagation dome to trap humidity.
Water Propagation
For a simpler approach, you can try water propagation.
- Select and Prepare Cuttings: Similar to stem cuttings, take 4-6 inch cuttings from healthy new growth. Remove all but the top leaves.
- Place in Water: Fill a clean jar or glass with lukewarm water. Place the cuttings in the water, ensuring no leaves are submerged.
- Change Water Regularly: Change the water every few days to keep it fresh and prevent rot.
- Watch for Roots: You should start to see tiny roots forming within a few weeks. Once the roots are about an inch long, you can transplant them into soil, treating them like small seedlings.
The “Secret Sauce” (Pro Tips)
Here are a couple of things I’ve learned over the years that can make a big difference:
- Bottom Heat is Your Friend: If you have a seedling heat mat, placing your pots on it can significantly speed up root development. Consistent warmth from below really encourages those roots to take off.
- Don’t Rush the Potting Up: Even when you see roots starting to emerge from the drainage holes, don’t be too eager to transplant them into larger pots. Let them establish a good root system in their initial container first. Patience is key here!
Aftercare & Troubleshooting
Once your cuttings have rooted (you’ll know because they’ll resist a gentle tug), it’s time to give them a bit more room and care.
- Gradual Acclimation: If you used a plastic bag, slowly start to open it up over a few days to acclimate your new plants to normal room humidity.
- Light and Water: Place your newly rooted plants in bright, indirect light. Water them when the top inch of soil feels dry.
- Watch for Rot: The most common sign of trouble is rot. If your cutting turns mushy and black, it’s likely succumbed to rot. This is often due to too much moisture and not enough air circulation. Ensure good drainage and don’t overwater. If you see signs of mold on the soil surface, try to remove it and increase airflow.
Closing Thoughts
Propagating Lagerstroemia parviflora is a journey of patience and observation. There will be successes, and perhaps a few learning opportunities along the way—that’s all part of the fun! Don’t get discouraged if not every cutting takes. Just keep trying, enjoy the process, and soon you’ll have a little grove of these wonderful trees to grace your garden. Happy propagating!
Resource:
https://identify.plantnet.org/k-world-flora/species/Lagerstroemia%20parviflora%20Roxb./data