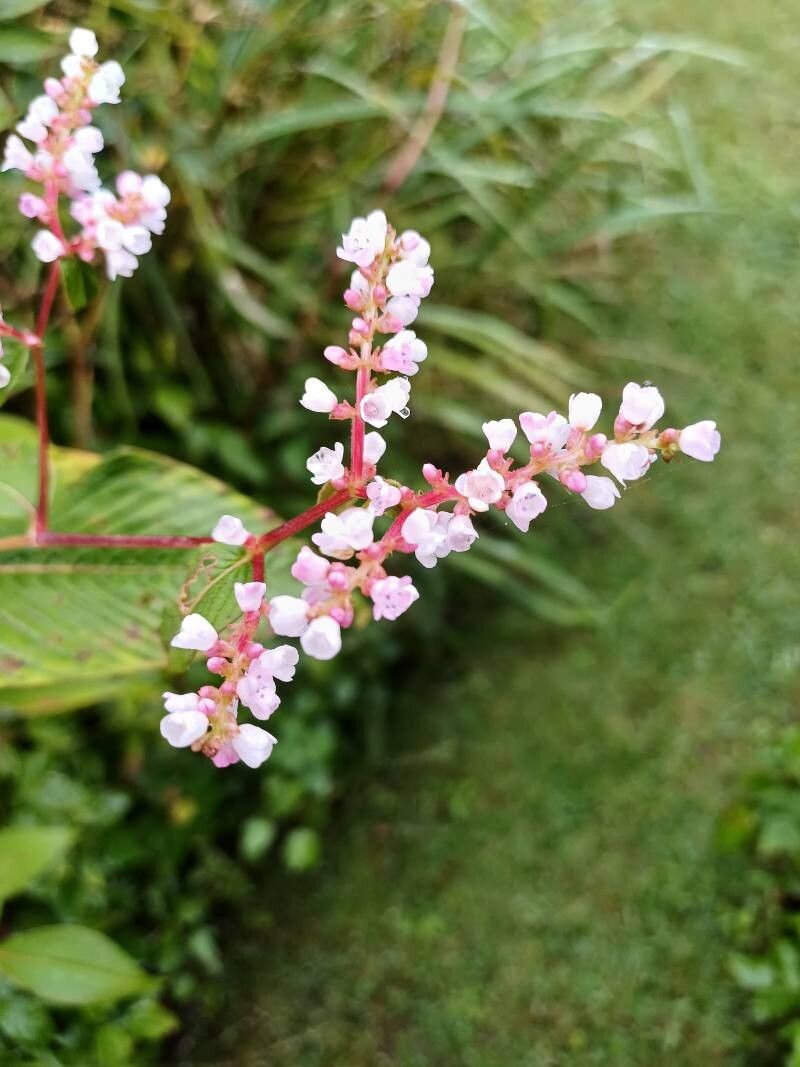
Oh, Koenigia campanulata! If you’ve ever seen this beauty gracing a shady corner with its delicate, bell-shaped flowers and lovely foliage, you’re probably smitten. I know I was. And the wonderful thing is, it’s not as tricky to propagate as you might think. Sharing these plants with friends, or simply expanding your own collection, is such a satisfying part of gardening. For beginners, it’s a pretty rewarding project, with a good chance of success if you follow a few simple steps.
The Best Time to Start
Hands down, the spring or early summer is your golden window for propagating Koenigia campanulata. This is when the plant is actively growing, full of vigor, and ready to channel that energy into making new roots. Aim for when the new growth is starting to elongate but hasn’t yet become woody and stiff.
Supplies You’ll Need
- Sharp pruning shears or a clean knife: For making clean cuts.
- Small pots or seed trays: For your cuttings.
- A good quality potting mix: Something well-draining is key. I like a mix of peat moss, perlite, and a little compost.
- Rooting hormone (optional but recommended): This really gives your cuttings a boost.
- Clear plastic bag or propagation dome: To create a humid environment.
- Watering can with a fine rose: For gentle watering.
- Labels: So you don’t forget what you’ve propagated!
Propagation Methods
While there are a few ways to go about it, I find stem cuttings to be the most reliable and straightforward for Koenigia campanulata.
Stem Cuttings
- Take your cuttings: In spring or early summer, look for healthy, non-flowering shoots. Using your sharp shears, make a clean cut just below a leaf node (where the leaf joins the stem). You’re looking for pieces that are about 3-4 inches long.
- Prepare the cuttings: Gently remove the lower leaves from your cuttings. You want to expose at least one or two leaf nodes along the stem where roots will form.
- Apply rooting hormone (if using): Dip the cut end of each stem into your rooting hormone powder, tapping off any excess.
- Pot them up: Fill your small pots with your prepared potting mix. Make a small pilot hole in the center of the soil with a pencil or your finger.
- Insert the cuttings: Gently place the prepared cuttings into the holes, making sure the leaf nodes are buried in the soil. Firm the soil around the stem to ensure good contact.
- Water gently: Give your newly potted cuttings a good, gentle watering. The soil should be moist but not waterlogged.
- Create humidity: Cover the pots with a clear plastic bag (supported so it doesn’t touch the leaves) or place them under a propagation dome. This is vital for keeping the humidity high, which prevents the cuttings from drying out before they form roots.
- Find a good spot: Place the pots in a bright location, but out of direct, scorching sunlight. A windowsill that gets bright, indirect light is perfect.
The “Secret Sauce” (Pro Tips)
Here are a couple of things I’ve learned over the years that really make a difference:
- Bottom heat is your friend: If you have a very cool house, consider placing your pots on a gentle heat mat. This encourages root growth from below, giving your cuttings an extra edge. You just want it warm, not hot.
- Don’t let the leaves touch the water: If any of your cuttings are in water propagation (though I find cuttings in soil more successful for Koenigia), make absolutely sure that no leaves are submerged. Not even a tiny one! This will almost always lead to rot. For soil cuttings, this means removing lower leaves diligently.
Aftercare & Troubleshooting
Once your cuttings are potted and covered, keep an eye on them. Check the soil moisture regularly and mist the inside of the plastic bag if it seems dry. You’re looking for tiny white roots to emerge from the drainage holes. This can take anywhere from 4-8 weeks, so be patient!
If your cuttings start to look limp or yellow, it could be a sign they are drying out or experiencing rot. Rot often looks like a mushy, black stem. If you see this, it’s best to discard the affected cutting to prevent it from spreading. Overwatering is a common culprit for rot, so ensure your potting mix drains well.
A Encouraging Closing
Seeing those first little roots emerge is one of gardening’s purest joys. Don’t get discouraged if a few don’t make it – it’s all part of the learning curve. Enjoy the process, celebrate your successes, and soon you’ll have a whole new family of Koenigia campanulata to love! Happy propagating!
Resource: