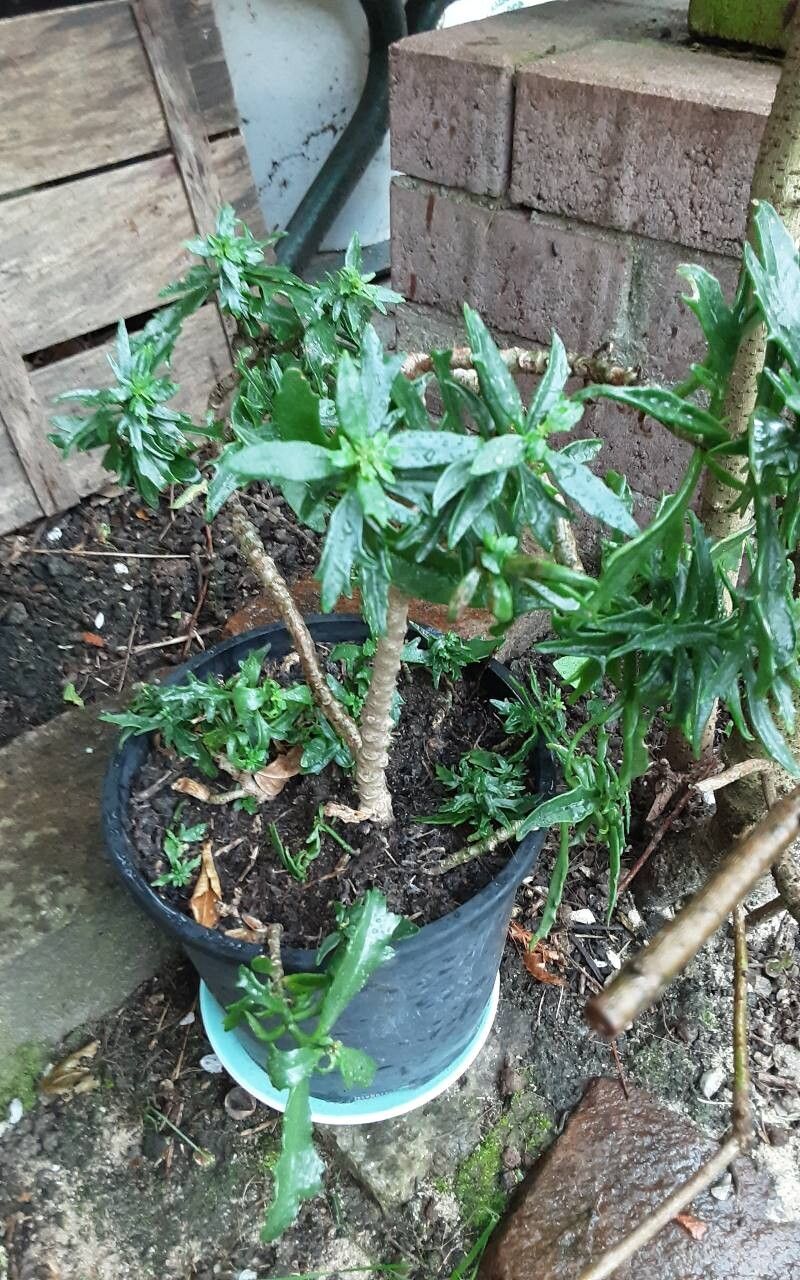
Hello, fellow plant lovers! It’s so nice to have you over for a virtual cup of coffee. Today, we’re going to talk about a plant that brings a little bit of sunshine into any home – Kalanchoe laciniata, often called the “Christmas Tree Plant” or “Upside-Down Flower”. Its lobed, almost hand-like leaves are quite striking, and seeing new plants sprout from your own efforts feels incredibly rewarding. The great news? If you’ve ever wanted to try your hand at propagating succulents, this is an absolutely fantastic one to start with. It’s quite forgiving, even for beginners.
The Best Time to Start
When is the sweet spot for giving propagation a go? Generally, you’ll have the best luck with Kalanchoe laciniata during its active growing season. For most of us, that means late spring through early fall. You want to start when the plant is healthy, robust, and actively putting on new growth. Avoid propagating if the plant is stressed, perhaps from extreme heat or cold, or if it’s just finished flowering.
Supplies You’ll Need
Gathering your tools beforehand makes the process so much smoother. Here’s what I usually have on hand:
- Sharp Pruning Shears or a Clean Knife: For making clean cuts.
- Well-Draining Potting Mix: A cactus or succulent mix is ideal. I often add perlite or pumice to make mine even grittier.
- Small Pots or Seedling Trays: With drainage holes, of course!
- Optional: Rooting Hormone: While not always necessary for Kalanchoe, it can give things a little boost.
- Watering Can or Spray Bottle: For gentle watering.
- A Sunny Spot: To place your new cuttings.
Propagation Methods
Kalanchoe laciniata is a champion of propagation, and I find these two methods the most reliable:
1. Stem Cuttings: The Classic Approach
This is my go-to for a reason! It’s straightforward and yields great results.
- Select a Healthy Stem: Look for a stem that’s not too old and woody, but also not brand new and fragile. About 4-6 inches long is a good target.
- Make a Clean Cut: Using your sanitized shears or knife, make a clean cut just below a leaf node (where a leaf attaches to the stem).
- Remove Lower Leaves: Gently pull off the bottom two or three leaves. This exposes the node, which is where roots will emerge.
- Let it Callous: This is crucial! Place your cuttings on a dry surface in a warm, well-ventilated spot out of direct sunlight for 2-5 days. You want the cut end to dry out and form a protective callus. This prevents rot.
- Potting Up: Once calloused, you can stick the cut end about an inch deep into your prepared potting mix. You can place a few cuttings in the same pot, leaving a bit of space between them.
- Water Sparingly: Wait a few days after potting before watering. Then, water thoroughly but allow the soil to dry out completely between waterings.
2. Leaf Cuttings: A Bit More Patience, Big Rewards
Sometimes, a leaf might break off. Don’t toss it! You can often grow a whole new plant from a single leaf.
- Select a Healthy Leaf: Choose a mature, firm leaf.
- Make a Clean Break: Gently twist or cut the leaf off at the stem. Ensure you get a small bit of the stem attached if possible.
- Let it Callous: Just like stem cuttings, allow the cut end of the leaf to dry and form a callus for a few days.
- Lay on Soil: Place the calloused end of the leaf on top of your well-draining potting mix. Don’t bury it!
- Mist Regularly: Lightly mist the soil surface occasionally, just enough to keep it from drying out completely. Avoid getting the leaves themselves too wet.
- Be Patient! This method takes longer. You’ll eventually see tiny roots emerge from the cut end, and then – hooray! – a baby plant will start to form.
The “Secret Sauce” (Pro Tips)
Here are a few little tricks I’ve picked up over the years that can really help your propagation game:
- Don’t Let Leaves Touch the Water: If you’re brave enough to try water propagation (though I find soil easier for Kalanchoe), make sure the cut end is just touching or very close to the water, but the leaves themselves are not submerged. Rot is your enemy here.
- Bottom Heat is Your Friend: If you have a propagation mat or can place your pots on top of a gently warming surface (like a cable box, but be careful!), you’ll find roots develop much faster. It mimics the warmth of spring soil.
- Don’t Overwater, Ever: This is the cardinal sin for succulents. When in doubt, wait another day or two before watering your cuttings. They store water in their leaves, so they can handle a bit of dryness.
Aftercare & Troubleshooting
Once you see those precious little roots appearing, your job isn’t quite done yet. Continue to water the same way – letting the soil dry out between waterings. As the new plant grows and establishes itself, you can gradually treat it like a mature Kalanchoe laciniata.
The most common issue you’ll encounter is rot. If your cutting looks mushy, black, or just sad and wilting despite watering, it’s likely rot. This usually happens from too much moisture or if the callus wasn’t properly formed. If you catch it early, you can sometimes cut away the rotten part and try to re-root the healthy section.
A Little Patience Goes a Long Way
Growing new plants is one of life’s simple pleasures. Don’t get discouraged if your first attempt isn’t perfect. Every garden, and every propagation attempt, is a learning experience. Observe your little green babies, be patient with them, and enjoy the journey of seeing them thrive. Happy propagating!
Resource:
https://identify.plantnet.org/k-world-flora/species/Kalanchoe%20laciniata%20(L.)%20DC./data