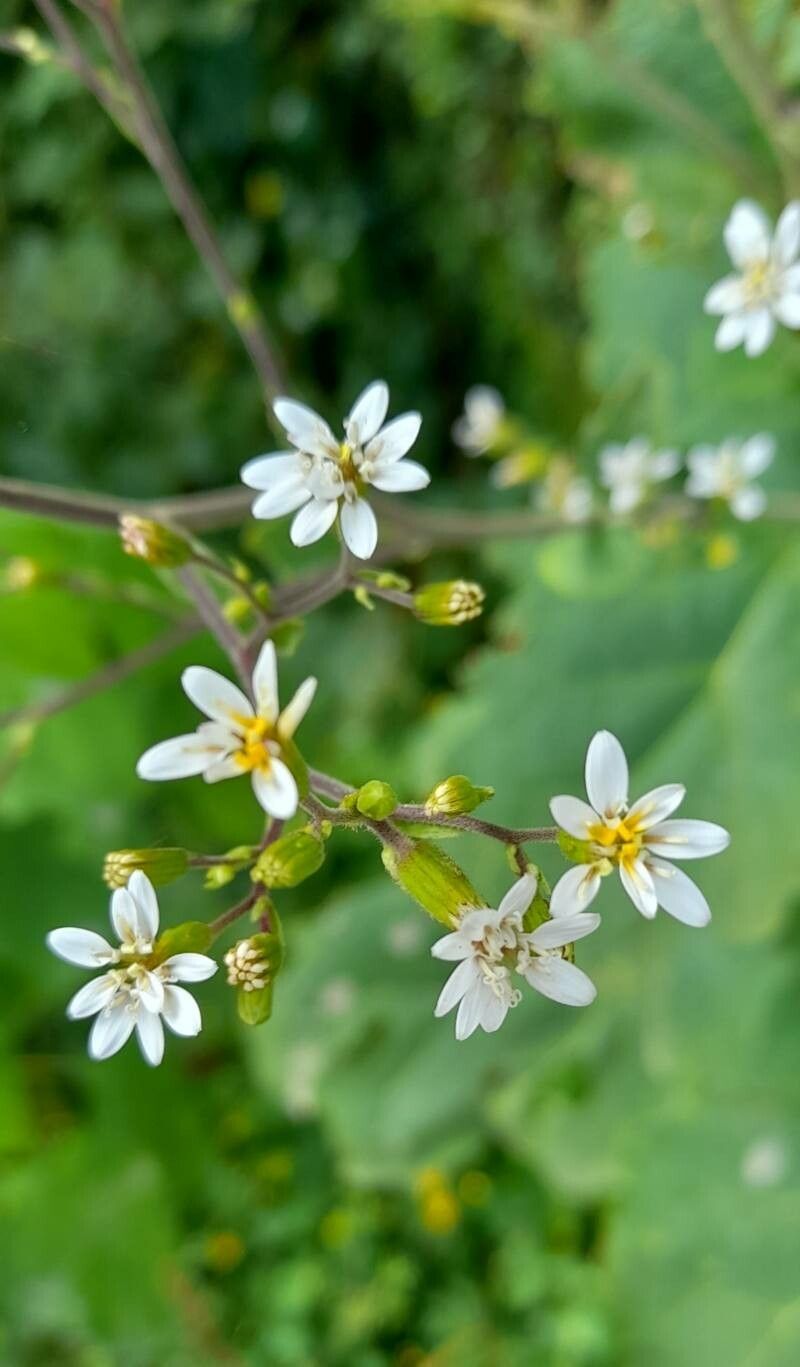
Hello there, fellow plant lovers! I’m so excited to chat with you today about a delightful plant that’s been a favorite of mine for years: Jungia pauciflora. If you’re looking for a plant that brings a burst of vibrant color and a touch of the exotic to your garden, Jungia pauciflora is it! Its beautiful, daisy-like flowers are a magnet for pollinators, and watching them unfurl is a pure joy. Propagating it yourself? Even more rewarding. You’ll have a whole new generation of these beauties to share and enjoy. Let’s dive in!
The Best Time to Start
For Jungia pauciflora, the absolute sweet spot for propagation success is late spring to early summer. This is when the plant is actively growing and has plenty of energy to put into developing new roots. You’re looking for healthy, vigorous stems that aren’t producing flowers. Think of it as capturing that youthful exuberance!
Supplies You’ll Need
Gathering your supplies beforehand makes the whole process smoother. Here’s what you’ll want to have on hand:
- Sharp pruning shears or a clean, sharp knife: For making clean cuts.
- Rooting hormone (optional but recommended): A powder or liquid can give your cuttings a helpful boost.
- Well-draining potting mix: A blend of peat moss, perlite, and a bit of compost works wonderfully. You want good aeration.
- Small pots or trays: Clean containers are crucial to prevent disease.
- Plastic bags or a propagator: To create a humid environment.
- Spray bottle: For misting.
Propagation Methods
Jungia pauciflora is a pretty forgiving plant when it comes to propagation. I’ve had the most success with stem cuttings.
Stem Cuttings:
- Take Your Cuttings: Choose healthy, non-flowering stems. Using your sharp shears or knife, make a clean cut just below a leaf node. A leaf node is that little bump on the stem where leaves emerge. Aim for cuttings that are about 4-6 inches long.
- Prepare the Cuttings: Gently remove the lower leaves from the cutting, leaving just a couple of leaves at the top. This prevents them from rotting in the soil. If the remaining leaves are very large, you can even cut them in half to reduce water loss.
- Apply Rooting Hormone (Optional): Dip the cut end of the stem into your rooting hormone. Tap off any excess.
- Pot Them Up: Fill your clean pots with the well-draining potting mix. Make a small hole in the center with your finger or a pencil.
- Insert the Cuttings: Place your prepared cuttings into the holes, ensuring the leaf nodes are buried under the soil. Gently firm the soil around the stem.
- Water Gently: Water the soil thoroughly but gently, so you don’t dislodge the cuttings.
- Create Humidity: Cover the pots with a clear plastic bag or place them in a propagator. This creates a mini-greenhouse effect, keeping humidity high, which is vital for cuttings. You can use stakes to keep the plastic from touching the leaves.
The “Secret Sauce” (Pro Tips)
Here are a few things I’ve learned over the years that really make a difference:
- Don’t Let the Leaves Touch the Water: If you opt for a water propagation method (which can work for Jungia, though I prefer soil), make absolutely sure that the leaves of your cutting do not sit in the water. Only the cut stem should be submerged. Rot happens fast when leaves are submerged!
- Bottom Heat is Your Friend: If you have the luxury of a heat mat designed for seedlings, placing your pots on it can significantly speed up root development. It mimics that lovely warm soil feeling that plants adore.
- Patience with the Potting Mix: Some gardeners are tempted to water heavily after potting to settle the soil. While you need it moist, avoid waterlogging. Let the top inch of soil dry out slightly between waterings. This encourages roots to search for moisture and develop strength.
Aftercare & Troubleshooting
Once your cuttings have been happily nestled in their humid environment for a few weeks, you’ll start to see new growth. This is a great sign!
- Rooted! You can gently tug on a cutting. If there’s resistance, roots are forming! Gradually acclimate your new plants to lower humidity by opening the plastic bag a little more each day over about a week.
- Transplanting: Once they’re well-rooted and showing good top growth, you can transplant them into slightly larger pots. Continue to use that excellent well-draining potting mix.
- Watch for Rot: The most common problem is stem rot. This usually happens from too much moisture and poor air circulation, especially in the early stages. If you see a cutting turning mushy and brown, sadly, it’s probably a goner. Remove it immediately to prevent it from spreading. Yellowing leaves can sometimes indicate overwatering, while wilting might mean it’s too dry or not yet rooted.
A Little Encouragement
Propagating plants is a journey, and like all good journeys, it has its moments of anticipation and sometimes, a little bit of trial and error. Don’t be discouraged if not every cutting takes. Each attempt teaches you something new. Be patient, observe your plants, and most importantly, enjoy the process of bringing new life into your garden! Happy growing!
Resource:
https://identify.plantnet.org/k-world-flora/species/Jungia%20pauciflora%20Rusby/data