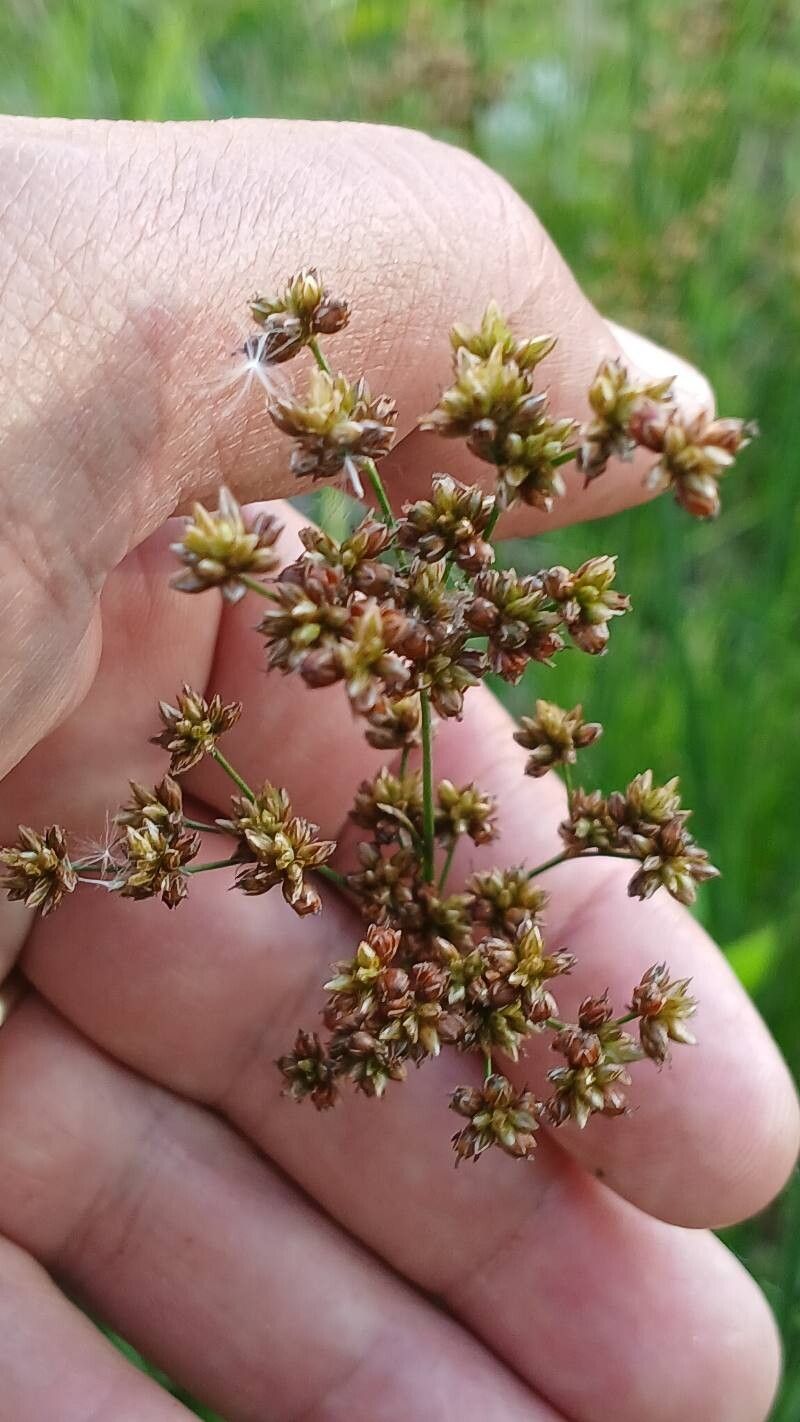
Oh, hello there! Come on in, grab a mug. Today, we’re going to talk about a plant that brings a touch of wild beauty to any garden: Juncus marginatus, or the grassleaf rush. Its graceful, grass-like foliage and charming little clusters of flowers are just lovely, especially when they catch the light along a pond’s edge or in a moist border. And you know what’s even better? Bringing more of that beauty into your own garden by propagating it yourself! It’s a really satisfying process, and I think you’ll find it surprisingly rewarding, even if you’re just starting out.
The Best Time to Start
For Juncus marginatus, spring is your absolute best friend when it comes to propagation. Think of it as giving your new plant babies the longest possible growing season to establish themselves. Wait until after the last frost, when the soil is warming up and everything is starting to burst with new growth. That initial surge of energy is exactly what cuttings or divisions need to get going.
Supplies You’ll Need
Don’t worry, you probably have most of these things already!
- Sharp pruning shears or a clean knife: For making nice, clean cuts.
- Rooting hormone (optional but helpful): A little boost never hurts.
- Well-draining potting mix: I like a blend of peat moss, perlite, and a bit of compost. For Juncus, you can even get away with a slightly sandier mix.
- Small pots or trays: With drainage holes, of course!
- Watering can or spray bottle: For gentle watering.
- Plastic bag or propagation dome: To create a humid environment.
- Labels: So you don’t forget what you planted where!
Propagation Methods
Let’s dive into how you can grow more of these beauties. Juncus marginatus is quite forgiving, and division is usually the easiest and most successful method.
Division
This is my go-to for Juncus. It’s like giving your plant a haircut and getting new plants out of it at the same time!
- Gently unpot your Juncus. If it’s in the ground, carefully dig around the roots and lift the whole clump.
- Inspect the root ball. You’re looking for natural breaks where the plant divides easily into smaller sections.
- Use your hands or a clean trowel to separate the clump. Try to get a piece that has both roots and some leafy shoots. If it’s being stubborn, your sharp pruning shears can help make a clean cut through tough roots.
- Trim any damaged roots.
- Replant the divisions. Pop them into pots filled with your well-draining potting mix, planting them at the same depth they were before. Water them in gently.
Stem Cuttings (a little trickier, but doable!)
While division is king, you can try cuttings too.
- Take your cuttings in spring. Look for healthy, new stems that are about 4-6 inches long.
- Make a clean cut just below a leaf node. This is where the plant will naturally want to root.
- Remove the lower leaves. You want to expose the nodes.
- Dip the cut end in rooting hormone (optional). This helps encourage root development.
- Pot the cuttings. Stick them about an inch deep into your well-draining potting mix.
- Create a humid environment. Water gently, then cover the pot with a plastic bag or propagation dome. Make sure the leaves aren’t touching the bag if possible.
The “Secret Sauce” (Pro Tips)
Here are a couple of things I’ve learned over the years that make a big difference:
- Don’t drown your cuttings. While Juncus likes moisture, overwatering is a fast track to rot. Let the surface of the potting mix dry out slightly between waterings. If you see condensation building up heavily inside your dome, open it for a few hours to let things air out.
- Bottom heat is your friend for cuttings. If you’re trying stem cuttings and they seem a bit sluggish, placing the pot on a gentle heat mat can really speed things up. It mimics the warmth of spring soil. Juncus is a cool-season grass, but for rooting, a little warmth helps.
Aftercare & Troubleshooting
Once your divisions or cuttings have started to show signs of life – new shoots or tiny roots peeking out of the drainage holes – you’re well on your way!
- Gradually introduce them to more light. Start by moving them from their shadier propagation spot to a brighter location, but avoid direct, harsh sunlight initially.
- Keep watering consistently. As they grow, they’ll need more water, but always ensure good drainage.
- Watch for rot. The most common problem is rot, which looks like mushy, brown stems or leaves. This usually happens from too much moisture and poor air circulation. If you see it, remove the affected parts immediately and try to let the soil dry out a bit more.
And there you have it! Propagating Juncus marginatus is a journey, not a race. Be patient with your new plants. Watch them unfurl and grow. There’s such a quiet joy in seeing something you nurtured from a small piece thrive. Happy gardening!
Resource:
https://identify.plantnet.org/k-world-flora/species/Juncus%20marginatus%20Rostk./data