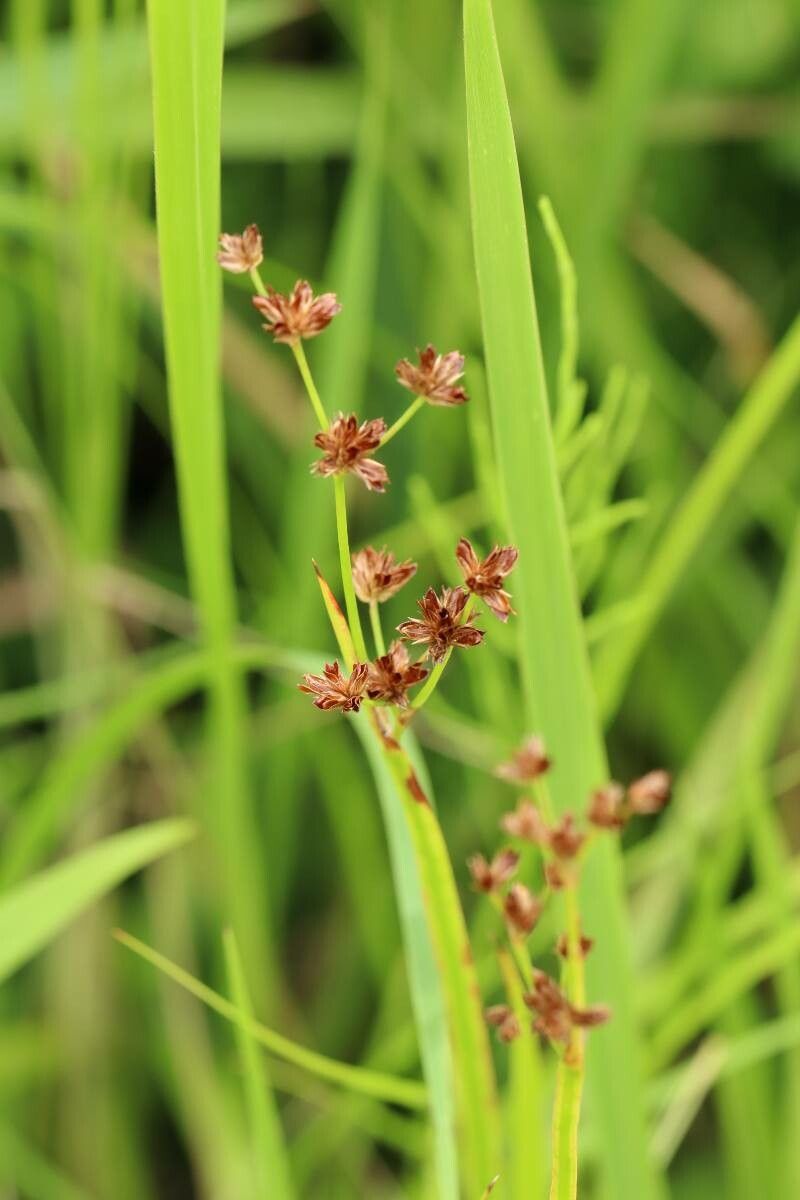
Oh, hello there, fellow plant enthusiast! It’s so lovely to have you join me for a chat about Juncus alatus. If you’re looking for something a little different, something that brings a whisper of the wild to your garden or even just a sunny windowsill, you’ve found it. Juncus alatus, also known as Winged Rush, is a fantastic choice. Its architectural, upright stems with those distinctive winged seed heads offer a unique texture and movement that I just adore. And the best part? Propagating it is incredibly rewarding. You’ll soon have more of these beauties to share or fill every sunny nook you’ve got!
Now, I know some propagation can feel a bit daunting, but I’m happy to say that Juncus alatus is generally quite forgiving. It’s a wonderful plant for those dipping their toes into the world of plant multiplication. You’ve got this!
The Best Time to Start
For the highest success rates, I always like to start my Juncus alatus propagation in late spring or early summer. This is when the plant is in its most vigorous growth phase. You’ll see fresh shoots emerging and the plant is just bursting with life, making it the perfect time to encourage new beginnings.
Supplies You’ll Need
Here’s a little gathering of what you’ll want on hand:
- Sharp pruning shears or a clean knife: For making precise cuts.
- A well-draining potting mix: I like a blend of equal parts compost, perlite, and coarse sand.
- Small pots or trays: With drainage holes, of course!
- Optional: Rooting hormone: While Juncus alatus often roots well without it, a little can give you an extra boost.
- Watering can or spray bottle: For gentle hydration.
- A bright spot with indirect light: No scorching sun required!
Propagation Methods
Let’s get our hands dirty with how we can create more of these lovely rushes. The most straightforward method for Juncus alatus is division.
Division: Giving Your Rush a “Split”
This is my go-to for Juncus alatus, and it’s wonderfully effective.
- Gently unpot your Juncus alatus plant. You can do this any time of year, but as mentioned, spring is ideal.
- Loosen the soil around the root ball. You can do this with your fingers or a clean trowel.
- Inspect the root system. Look for natural divisions within the plant. You’ll see clumps of stems emerging from the soil.
- Carefully pull or cut the plant apart. You can use your hands to gently tease the root ball into smaller sections, or if it’s a bit tough, use your sharp pruning shears to cut through the roots. Make sure each new division has a healthy portion of roots and at least a few stems attached.
- Pot up your new divisions. Plant each section into its own pot filled with your well-draining potting mix. Water them in thoroughly so the soil settles around the roots.
Stem Cuttings (Less Common, but Possible):
While division is usually preferred, you can occasionally attempt stem cuttings.
- Select a healthy, new shoot. Look for one that’s about 4-6 inches long.
- Make a clean cut just below a node (where a leaf emerges).
- Optional: Dip the cut end in rooting hormone.
- Plant the cutting into your well-draining potting mix.
- Keep the soil consistently moist but not waterlogged. This method is less reliable than division for Juncus alatus, so don’t be discouraged if it doesn’t work every time.
The “Secret Sauce” (Pro Tips)
Here are a couple of things I’ve learned over the years that can make a real difference:
- Don’t Mulch Too Deeply: When you pot up your divided Juncus, resist the urge to bury the crown of the plant too deeply in soil. The stems should emerge just at the soil surface. Too much soil can lead to rot.
- Give Them Some Warmth Underneath: If you’re attempting stem cuttings or find your divisions are being a bit slow to establish, a heat mat placed under the pots can significantly speed up root development. It mimics the warmth of spring soil beautifully.
Aftercare & Troubleshooting
Once your new Juncus alatus babies are potted up, give them some primo real estate.
- Watering: Keep the soil consistently moist for the first few weeks. You don’t want them to dry out completely. As they establish, you can ease back slightly, but Juncus generally likes a good drink.
- Light: Place them in a bright location with indirect sunlight. Avoid direct, harsh sun, which can scorch their new, tender growth.
- Signs of Trouble: The most common issue is rot, which usually signals overwatering or poor drainage. You might see stems turning mushy and brown. If you spot this, ease up on the watering and ensure good air circulation. If a division completely fails, don’t beat yourself up; it happens to all of us!
A Encouraging Closing
Propagating Juncus alatus is a beautiful way to multiply your joy and connect with the natural process of growth. Be patient with your new plants, and trust your instincts. Enjoy the journey of watching those little shoots emerge and knowing you helped bring them to life. Happy gardening!
Resource:
https://identify.plantnet.org/k-world-flora/species/Juncus%20alatus%20Franch.%20&%20Sav./data