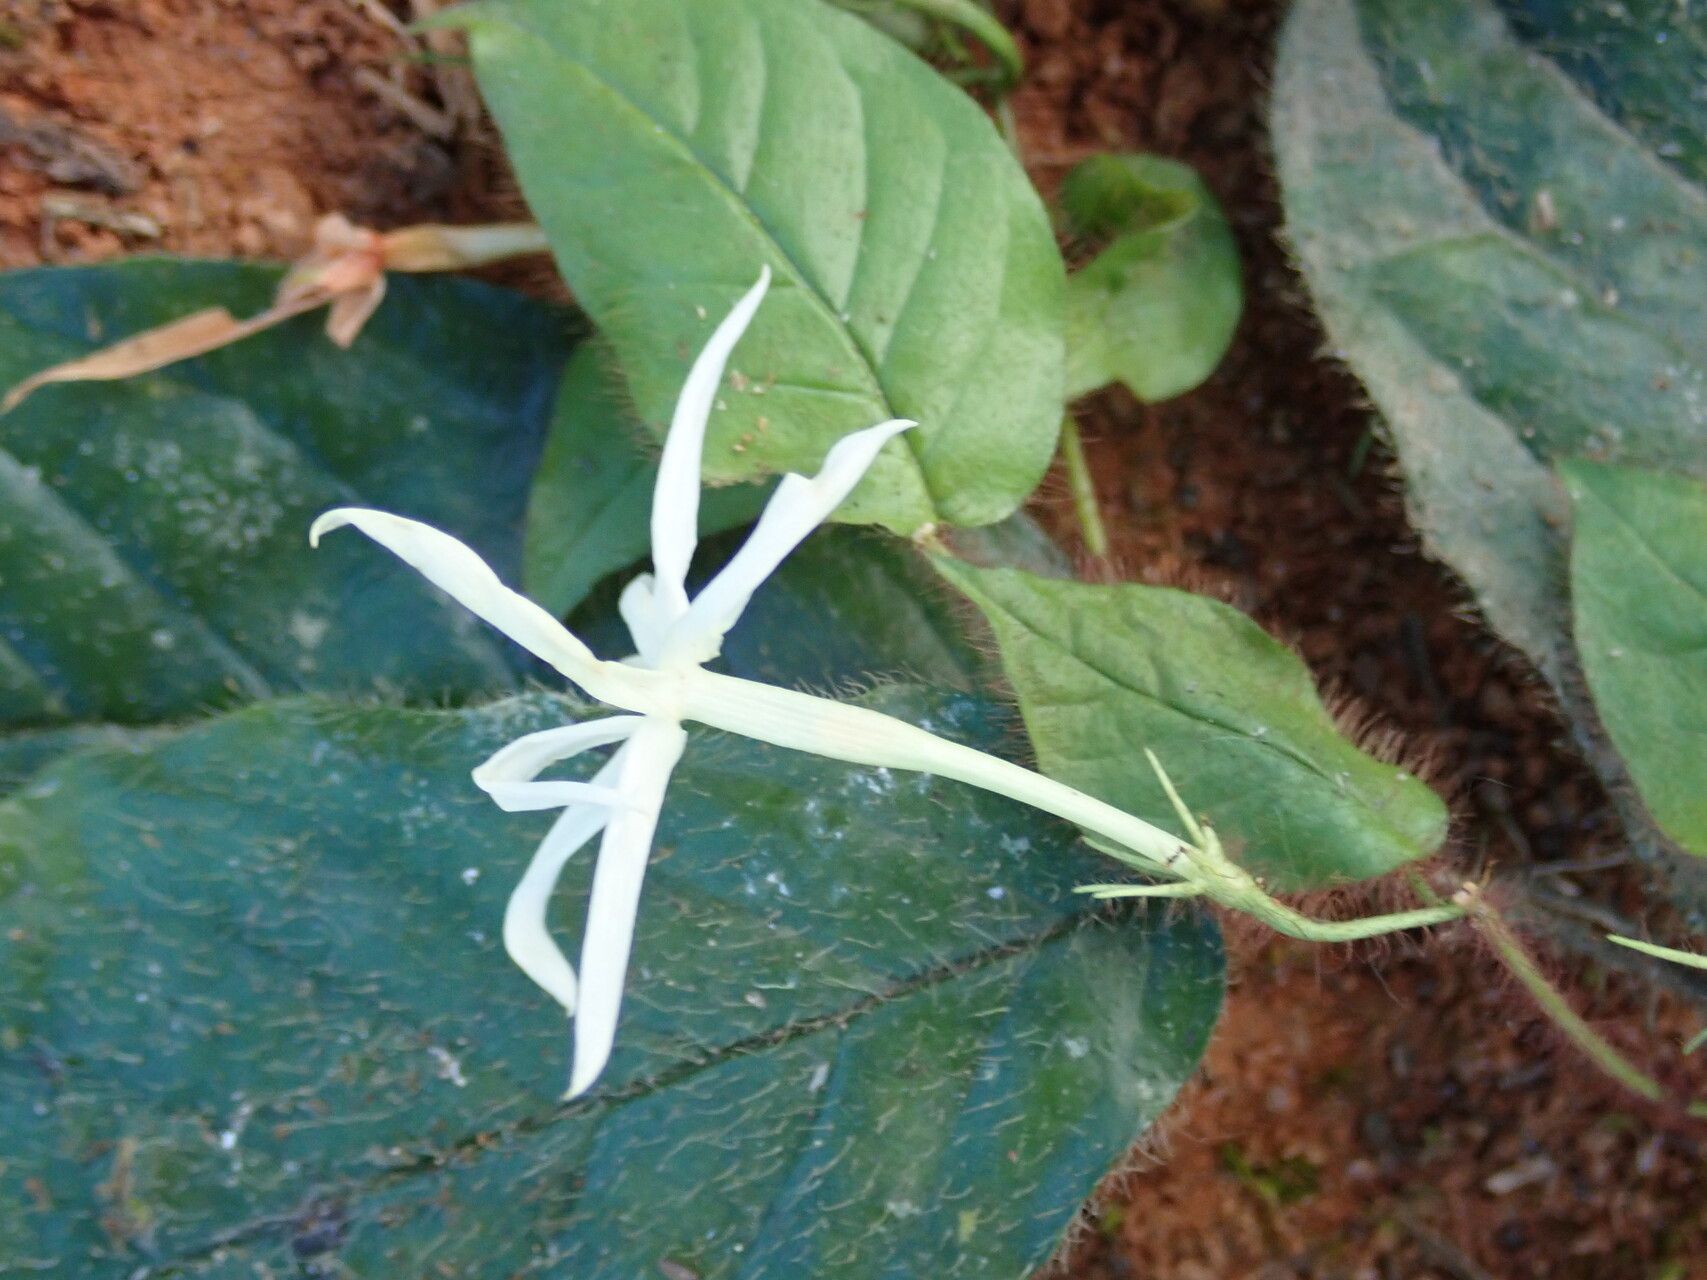
Hello, lovely gardeners! I’m so excited to chat about a plant that has stolen my heart over the years: Jasminum preussii. If you’ve ever caught that intoxicating, sweet perfume wafting on a warm evening, you know exactly what I’m talking about. This jasmine variety is a real treasure, and the joy of nurturing a brand new plant from a tiny cutting to something spectacular is truly unmatched. For those new to the propagation game, I’ll be honest, Jasminum preussii can be a little bit of a diva sometimes, but with a few pointers, we’ll have you singing its praises in no time.
The Best Time to Start
My absolute favorite time to get busy with stem cuttings for Jasminum preussii is during the late spring or early summer, just as the plant has finished its main flush of blooms. You’re looking for semi-hardwood cuttings. Think of it as growth that’s starting to firm up but still has a bit of flexibility. Avoid taking cuttings from brand new, soft, floppy growth, as these tend to rot before they can root.
Supplies You’ll Need
Here’s a little kit to gather before we get our hands dirty:
- Sharp, clean pruning shears or a sharp knife: Essential for clean cuts that heal well.
- Rooting hormone powder or gel: This really gives your cuttings a helping hand.
- A well-draining potting mix: I usually use a blend of equal parts perlite and peat moss, or I’ll add some coarse sand.
- Small pots or seed trays: Clean ones, please!
- A clear plastic bag or a propagation dome: To create a humid environment.
- Water: For moistening the soil and, if you choose, for water propagation.
- Labels and a marker: So you don’t forget what you’ve planted!
Propagation Methods
Let’s get down to the nitty-gritty! I find stem cuttings to be the most reliable for Jasminum preussii.
Stem Cuttings:
- Take your cuttings: Select a healthy stem and make a clean cut just below a leaf node. Your cutting should be about 4-6 inches long. Remove the lower leaves, leaving just two or three at the top.
- Apply rooting hormone: Dip the cut end into your rooting hormone, tapping off any excess.
- Prepare your pots: Fill your clean pots with your moistened potting mix. Make a little hole in the center with your finger or a pencil.
- Plant the cuttings: Gently insert the hormone-dipped end of the cutting into the hole and firm the soil around it.
- Create humidity: Water the soil gently. Then, cover the pots with a clear plastic bag or place them under a propagation dome. Ensure the leaves don’t touch the plastic, as this can encourage rot.
- Find a warm, bright spot: Place the pots in a spot that gets bright, indirect light, away from harsh, direct sun.
Water Propagation (less common for this one, but possible):
If you’re feeling adventurous, you can try water propagation. Take your cuttings as described above, but instead of potting mix, place them in a jar of clean water. Make sure no leaves are submerged – this is crucial! Change the water every few days to keep it fresh. You should see tiny white roots emerging in a few weeks. Once these roots are about an inch long, you can carefully transplant them into potting mix. This method is a bit trickier as the roots developed in water can be more fragile when moving to soil.
The “Secret Sauce” (Pro Tips)
Here are a few things I’ve learned over the years that really make a difference:
- Bottom heat is your best friend: If you have a seedling heat mat, placing your pots on it will dramatically speed up root development. Jasmines love warmth from below!
- Don’t overwater, but keep it consistently moist: This balance is key. The soil should feel like a wrung-out sponge. Too wet, and they rot; too dry, and they shrivel.
- A gentle misting can help too: Especially in the early days, a light misting of the leaves can help keep them turgid while they try to root, but avoid wetting the soil excessively.
Aftercare & Troubleshooting
Once you see signs of new growth – tiny leaves emerging from the top or gentle tugs on the cutting revealing resistance (meaning roots have formed!), it’s time for a little adjustment. Gradually remove the plastic cover over a few days to let the new plant acclimate to normal humidity. Continue to keep the soil consistently moist but not soggy.
The most common issue you’ll face is rot. If a cutting turns black and mushy, it’s unfortunately a goner. This usually means it was too wet, not enough air circulation, or the cutting wasn’t healthy to begin with. If you see leaves wilting and turning yellow without any apparent rot, it could be a sign that it’s just not rooting and getting enough water from the parent plant. Don’t give up on them too soon! Patience is a virtue in the garden.
A Hug Goodbye
Growing your own jasmine is such a rewarding journey. Be patient with your new little sprouts, give them the love and attention they deserve, and soon you’ll have your very own fragrant Jasminum preussii to enjoy. Happy propagating!
Resource:
https://identify.plantnet.org/k-world-flora/species/Jasminum%20preussii%20Engl.%20&%20Knobl./data