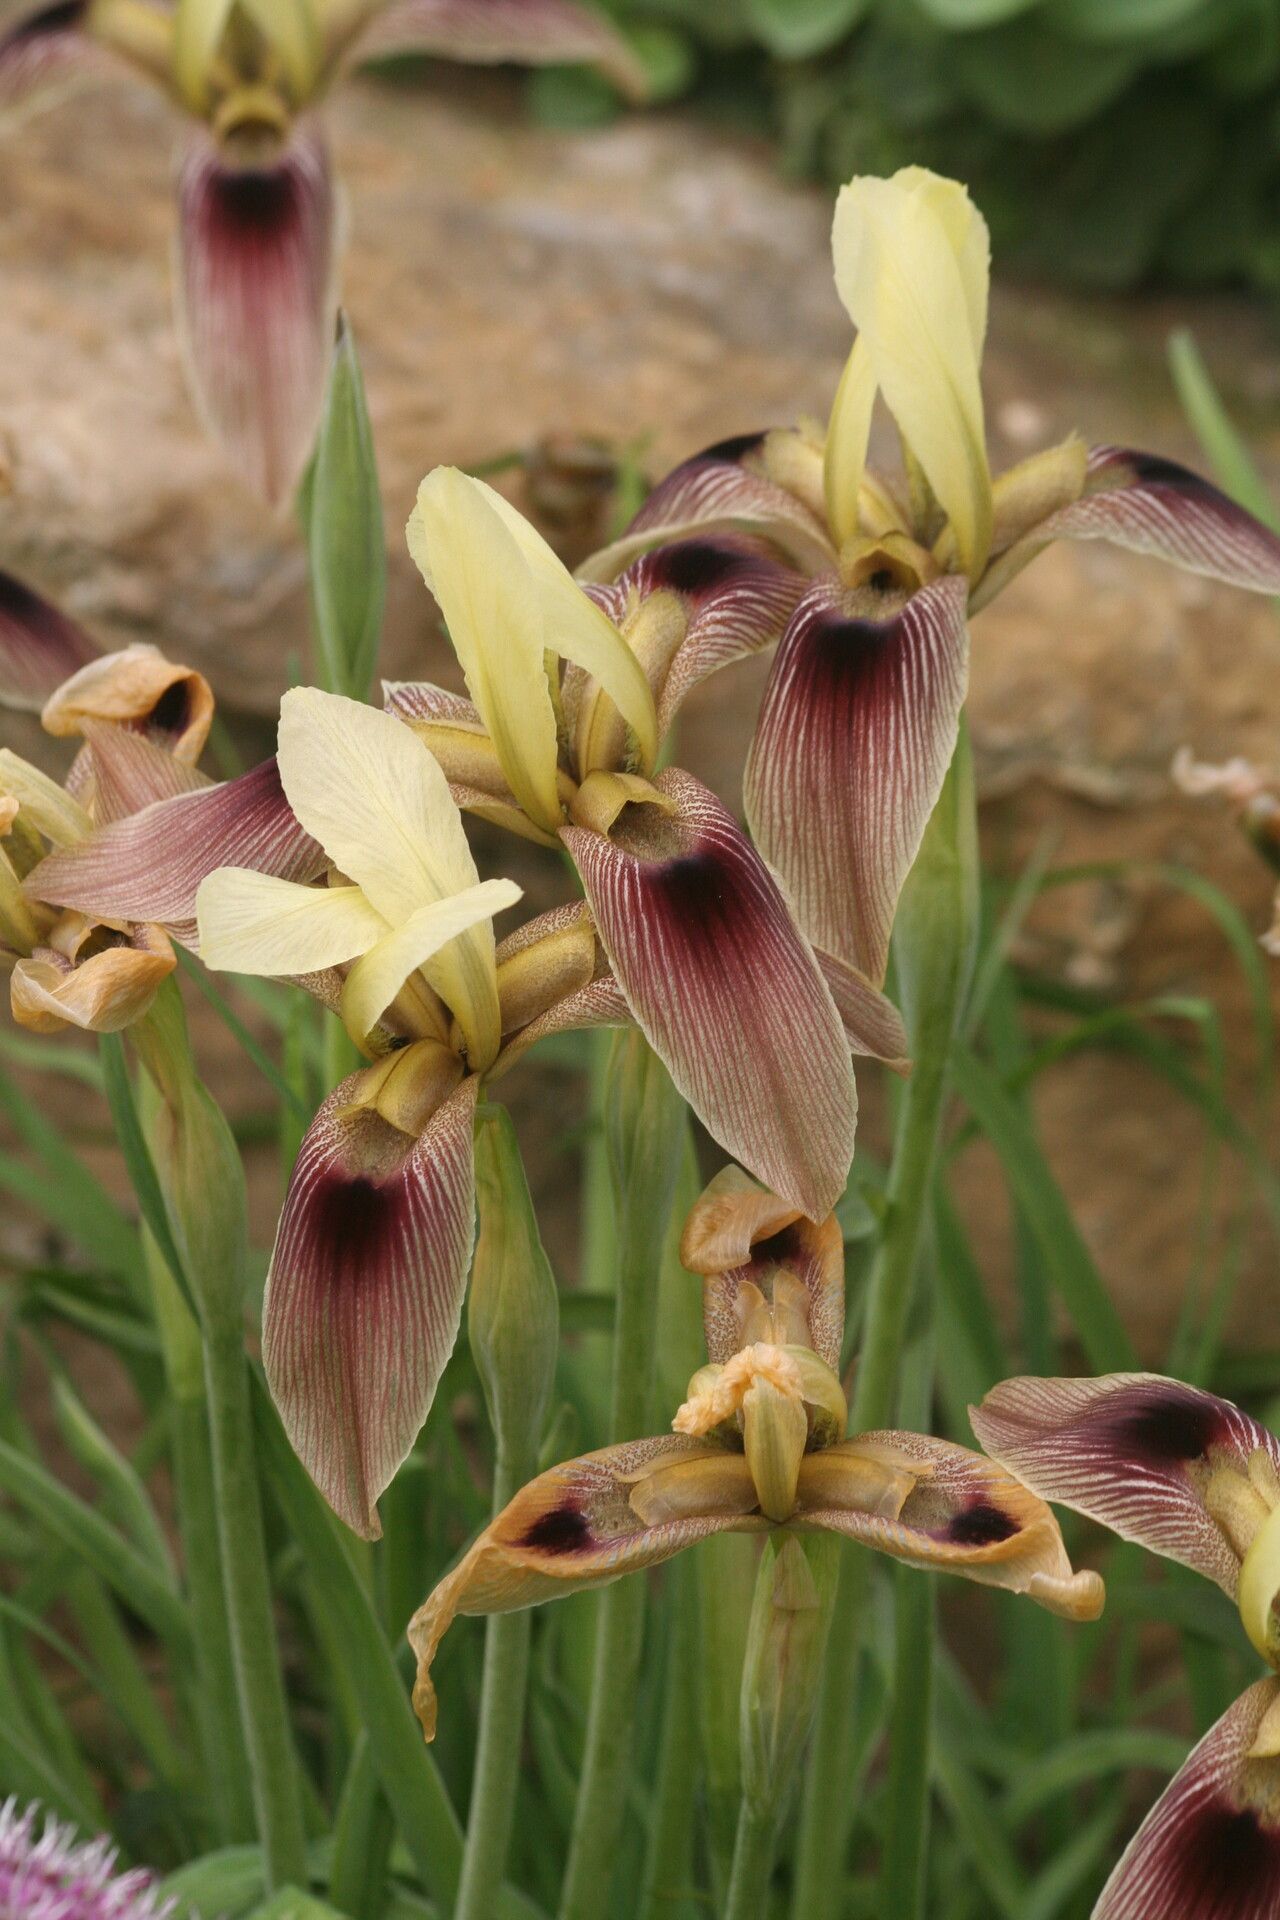
Oh, Iris afghanica! What a beauty. With those elegant, often richly colored blooms, it’s a stunner in any garden space. And the best part? Bringing more of these beauties into your life by propagating them yourself is incredibly satisfying. It’s a wonderful way to share your garden’s magic with friends or simply to fill your own beds with even more of these delightful flowers. For those of you just dipping your toes into the gardening world, I’d say Iris afghanica is moderately easy to propagate. It requires a little bit of observation and timing, but with these tips, you’ll be well on your way.
The Best Time to Start
Timing is everything, isn’t it? For Iris afghanica, the sweet spot for propagation is typically late summer to early autumn, just as the plant is finishing its bloom cycle and before the really intense cold sets in. This gives the new divisions or cuttings enough time to establish some roots before winter dormancy. You can also attempt propagation in early spring, right as new growth begins to emerge, but I’ve found the autumn window often yields the most success.
Supplies You’ll Need
Before we get our hands dirty, let’s gather our toolkit. Having everything ready makes the process so much smoother.
- Sharp Pruning Shears or a Clean Knife: For making clean cuts.
- Rooting Hormone (Optional but Recommended): A powder or gel to encourage root development.
- Well-Draining Potting Mix: I like a mix of equal parts peat moss or coco coir and perlite or coarse sand. You can also use a dedicated succulent or cactus mix.
- Small Pots or Trays: For starting your new plants. Make sure they have drainage holes!
- Watering Can or Spray Bottle: For gentle watering.
- Trowel or Scoop: For handling your soil.
- Labels: To keep track of what you’ve planted and when.
Propagation Methods
There are a couple of reliable ways to get more Iris afghanica plants, and I find division to be the most straightforward for this particular iris.
Division
This is my go-to method for iris. It’s essentially splitting up a mature plant into smaller, viable pieces.
- Gently Excavate: Carefully dig up the entire iris plant using your trowel. You want to lift it from the soil without damaging the rhizomes (those fleshy underground stems).
- Clean the Rhizomes: Once out of the ground, gently brush away as much soil as you can to clearly see the rhizomes and their connections.
- Identify Division Points: Look for natural points where the rhizomes are growing apart. You’ll see healthy-looking side shoots or smaller rhizomes attached to the main one.
- Make the Cut: Using your sharp pruning shears or knife, carefully cut the rhizomes apart. Ensure each division has at least one healthy rhizome section and a couple of healthy leaves. If the rhizome looks mushy or diseased, discard it.
- Trim Roots and Leaves (Optional but helpful): If the roots are very long, you can trim them back slightly. You can also cut the leaf fans in half, which helps reduce water loss as the new plant establishes.
- Let it Callous: This is a crucial step for iris! Allow the cut surfaces of the rhizomes to dry and “callous over” for a day or two in a warm, dry, shady spot. This prevents rot when you replant.
- Replant: Now, plant your divisions in pots filled with your well-draining mix. The top of the rhizome should be just at or slightly above the soil surface. Firm the soil gently around the base.
Stem Cuttings (Less Common for Afghanica, but Possible)
While division is king for this iris, you can sometimes get cuttings to root.
- Take a Cutting: In late spring or early summer, select a healthy, non-flowering shoot from the plant. It should be about 4-6 inches long.
- Prepare the Cutting: Remove the lower leaves, leaving a few at the top.
- Apply Rooting Hormone: Dip the cut end into a rooting hormone powder or gel.
- Plant the Cutting: Insert the cut end into a pot filled with your well-draining mix. Make a small hole with a pencil to avoid rubbing off the hormone.
- Water Gently: Water lightly and keep the potting mix consistently moist but not soggy.
The “Secret Sauce” (Pro Tips)
Here are a few little tricks I’ve picked up over the years that really make a difference:
- Don’t Bury the Rhizome Deep: For divisions, remember that iris rhizomes need air. Plant them so the top of the rhizome is exposed to sunlight. Too deep, and they’re prone to rot.
- Consider Bottom Heat: If you’re struggling with cuttings, or it’s a bit early in the season, placing your pots on a seedling heat mat can significantly speed up root development. It mimics the warmth of spring soil.
- Patience with Water Propagation: While less common for iris rhizomes, if you’re experimenting with leaf cuttings, never let the leaves touch the water. Submerge only the stem base. Fungus is the enemy here!
Aftercare & Troubleshooting
Once your new Iris afghanica babies have roots, it’s time to nurture them.
- Watering: After planting divisions, water them in well. For cuttings, keep the soil consistently moist but not waterlogged. As new growth appears and the plants mature, gradually transition to watering as you would your established irises – letting the soil dry out slightly between waterings.
- Light: Give your new plants bright, indirect light initially. Once they are visibly growing and seem well-established, you can introduce them to more direct sunlight.
- Troubleshooting – The Dreaded Rot: The most common issue is rot, often caused by overwatering or planting the rhizome too deeply. If you see mushy, brown sections on your rhizomes or wilting leaves that seem beyond saving, it’s likely rot. You can try to cut away the rotted portions with a sterile knife and let the remaining healthy part callous before replanting in fresh, dry soil. Sometimes, all is lost, but don’t get discouraged!
A Warm Closing
Propagating Iris afghanica is such a rewarding journey. It’s about patience, observation, and a little bit of gardening magic. Don’t be afraid to experiment, and celebrate every tiny bit of progress. Before you know it, you’ll have a whole collection of these stunning flowers to enjoy. Happy planting!
Resource:
https://identify.plantnet.org/k-world-flora/species/Iris%20afghanica%20Wendelbo/data