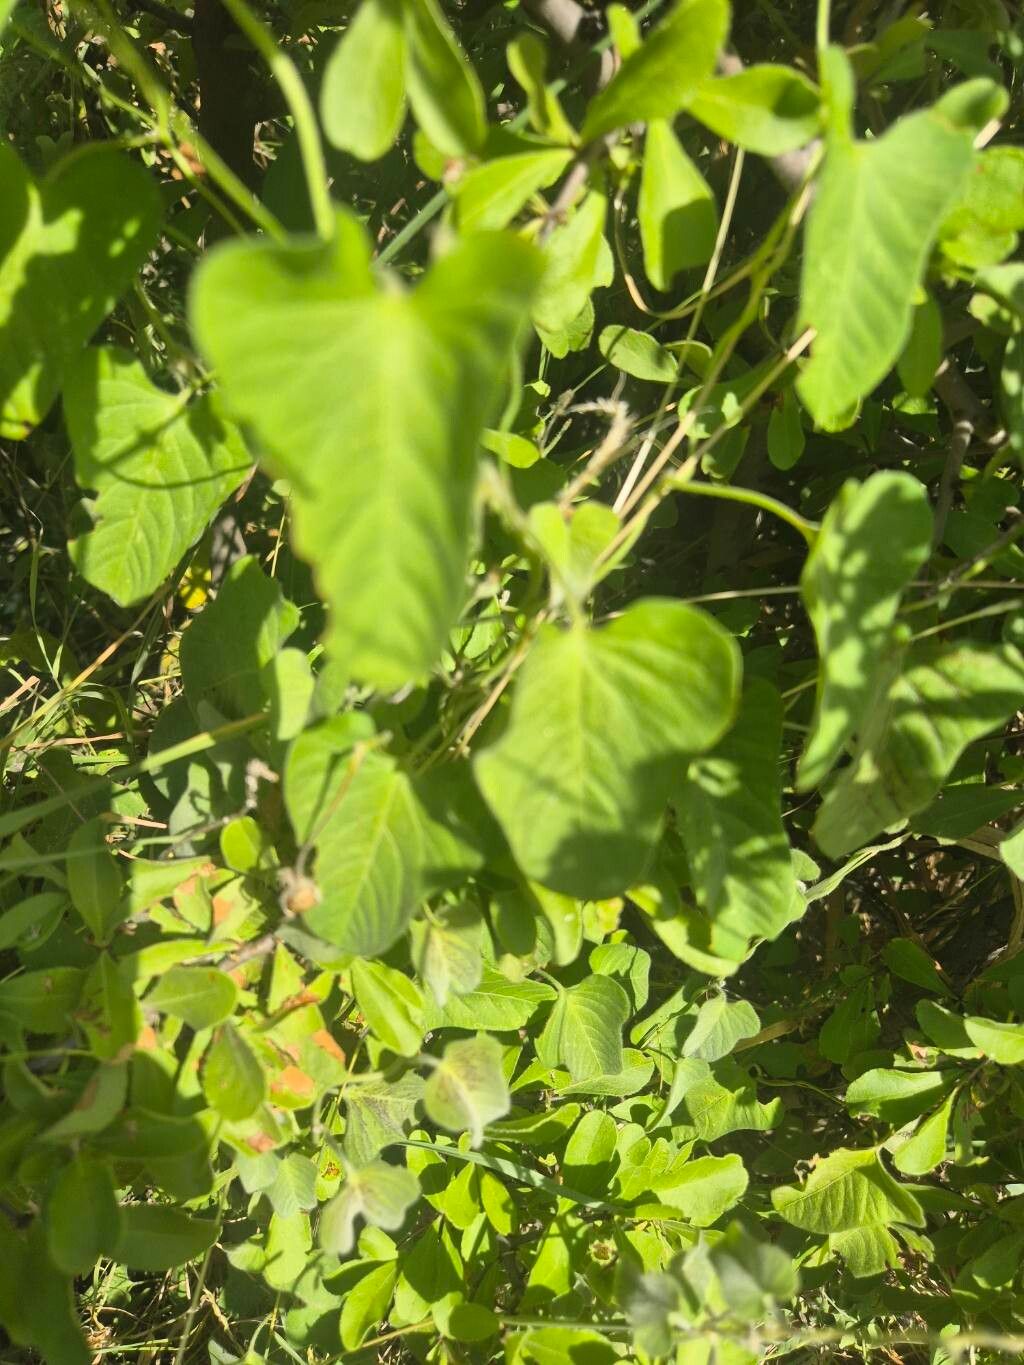
Hello, green thumbs! It’s always so lovely to connect with fellow plant lovers. Today, we’re diving into one of my absolute favorites: the Ipomoea biflora, often known as the twin-flowered morning glory. Honestly, there’s something magical about the way these vines unfurl their trumpet-shaped blossoms, usually two per stem, in the soft light of morning. They add such a vibrant splash of color to any garden, climbing gracefully over trellises, fences, or even spilling from hanging baskets.
The best part? Propagating Ipomoea biflora is a wonderfully rewarding endeavor. You get more of these beauties to spread around your garden, or even to share with friends and family. And for those of you just starting out on your propagation journey? I’m thrilled to tell you that Ipomoea biflora is generally quite easy to propagate, making it a fantastic plant to get your hands dirty with!
The Best Time to Start
When it comes to getting the most bang for your buck (or rather, your snipping efforts!), late spring is your golden ticket. As the weather warms up consistently, and your established Ipomoea biflora is in a vigorous growth phase, you’ll find its stems are brimming with life and ready to root. Aim for a time when you’re seeing new, healthy growth but before the plant gets too leggy and stressed with heavy flowering.
Supplies You’ll Need
Gathering your tools before you begin will make the whole process smoother. Here’s what I like to have on hand:
- Sharp, clean pruning shears or a sharp knife: Essential for making clean cuts that heal well.
- Rooting hormone powder or gel: While not always necessary, it can give your cuttings a helpful boost. I find it particularly useful when propagating from slightly older stems.
- Small pots or seed trays: About 4-6 inch pots are perfect for individual cuttings.
- Well-draining potting mix: A good quality potting mix blended with perlite or coarse sand is ideal. You want it to hold moisture without becoming waterlogged. I often use a 50/50 mix of peat moss and perlite.
- Plastic bags or a clear plastic dome: To create a mini-greenhouse effect for your cuttings.
- Watering can or spray bottle: For gentle watering.
- Labels: So you don’t forget what you’ve planted!
Propagation Methods
Ipomoea biflora is quite versatile, but stem cuttings are my go-to method for its reliability and speed.
Stem Cuttings
- Take your cuttings: On a healthy, non-flowering stem, look for a section that has at least two to three sets of leaves. Using your clean shears, make a cut just below a leaf node (where the leaf attaches to the stem). You want cuttings that are about 4-6 inches long. Remove the lower leaves, leaving only the top set.
- Prepare the cuttings: If you’re using rooting hormone, dip the cut end of each stem into it, tapping off any excess. Don’t go overboard; a light coating is enough.
- Plant your cuttings: Fill your small pots with the prepared potting mix. Make a small hole in the center with your finger or a pencil. Gently insert the cut end of the stem into the hole, ensuring the leaf node is below the soil surface.
- Water gently: Water the soil thoroughly until it’s evenly moist. You want it to be damp, not soggy.
- Create humidity: Place a plastic bag over the pot, securing it around the rim with a rubber band. Alternatively, use a clear plastic dome. This will help trap moisture around the leaves.
- Find a bright spot: Place the pots in a location that receives bright, indirect light. Avoid direct sun, which can scorch the delicate cuttings.
The “Secret Sauce” (Pro Tips)
Here are a couple of insider tricks that have served me well over the years:
- Don’t let those leaves touch the water! If you opt for water propagation (which also works if you keep the water changed frequently), make sure the leaves are above the water line. Any submerged leaves will quickly rot and can compromise the entire cutting. For stem cuttings in soil, this means trimming off lower leaves so they don’t sit against the soil surface and draw excess moisture.
- Bottom heat is a game-changer. If you have a seed starting mat, placing your pots on it can significantly speed up root development. The gentle warmth encourages root growth from below, giving your cuttings a real head start.
Aftercare & Troubleshooting
Once your cuttings are nestled in their pots, patience is key!
- Check for moisture: Keep the soil consistently moist but not waterlogged. Gently feel the soil every few days. If the top inch feels dry, it’s time to water. Mist the leaves occasionally if you haven’t used a plastic cover.
- Watch for roots: After a few weeks, you should start to see signs of new growth, or if you gently tug on the cutting, you’ll feel a slight resistance, indicating roots have formed. You can also peek at the drainage holes – sometimes you’ll see roots peeking out!
- The dreaded rot: The most common issue is rot, which usually happens due to overwatering or poor drainage. If you see the stem turning black and mushy, or the leaves wilting and turning yellow despite moist soil, it’s likely rot. Unfortunately, at that point, it’s best to discard the cutting and try again, focusing on ensuring good air circulation and not overwatering.
- Transplanting: Once your new plants are well-rooted and have a few sets of healthy leaves, you can gradually acclimate them to the outside environment (if starting indoors). Remove the plastic cover for a few hours each day, then increase the time until they are ready to be planted in their permanent home.
Keep Growing!
Propagating Ipomoea biflora is a beautiful way to extend the magic of these blooms. Don’t be discouraged if your first attempts aren’t perfect; gardening is a journey of learning and experimentation. Just keep tending to your plants with care and observe what works best in your environment. Happy propagating, and may your gardens be ever vibrant!
Resource:
https://identify.plantnet.org/k-world-flora/species/Ipomoea%20biflora%20(L.)%20Pers./data