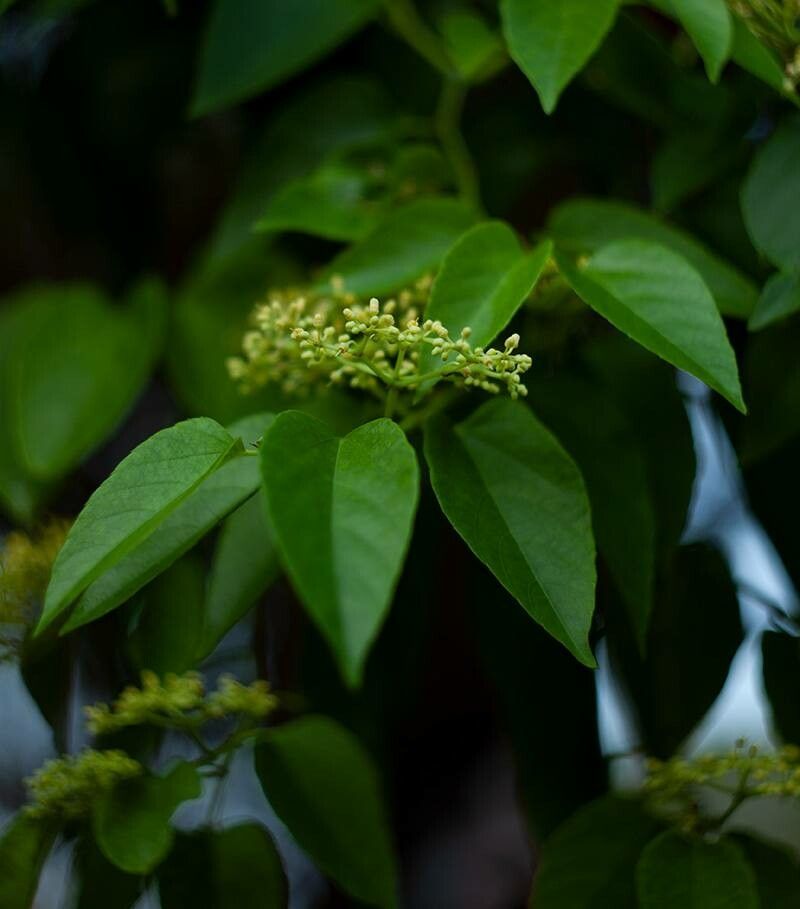
Hello there, fellow plant lovers! I’m absolutely delighted you’ve stopped by. Today, we’re diving into the world of Iodes vitiginea, a truly enchanting plant that brings a touch of delicate beauty and whimsical charm to any garden. Its lacy foliage and charming, often subtle blooms make it a favorite for many of us who appreciate a bit of understated elegance.
Propagating Iodes vitiginea is such a rewarding endeavor. It’s like creating life right in your hands! For those just starting out with plant propagation, I’d say Iodes vitiginea falls somewhere in the middle. It’s not the absolute easiest, but with a little patience and these tips I’m about to share, you’ll be well on your way to success.
The Best Time to Start
For the highest success rate with Iodes vitiginea, late spring to early summer is your golden window. This is when the plant is actively growing and has plenty of energy to put into rooting. Look for stems that are developing but not yet woody. Think of tender, new growth that still has some flexibility.
Supplies You’ll Need
Gathering your supplies beforehand makes the whole process so much smoother! Here’s what I keep on hand:
- Sharp, clean pruning shears or a sharp knife: Cleanliness is key to preventing disease.
- Rooting hormone (optional but recommended): This gives your cuttings a little boost. I prefer a powdered form for ease of use.
- Well-draining potting mix: A standard seed-starting mix or a blend of peat moss and perlite works beautifully. This ensures good aeration.
- Small pots or propagation trays: Clean, small containers are perfect.
- Plastic bags or a propagation dome: To create a humid environment for your cuttings.
- Watering can or spray bottle: For gentle watering.
- Labels and a marker: Always label your propagated plants! You’ll thank yourself later.
Propagation Methods
I’ve found that stem cuttings are the most reliable way to propagate Iodes vitiginea. Let’s walk through it together.
- Select Your Cuttings: Gently inspect your Iodes vitiginea. Look for healthy, non-flowering stems that are about 4-6 inches long. Make a clean cut just below a leaf node. A leaf node is a small bump on the stem where a leaf grows; this is where roots are most likely to form.
- Prepare the Cuttings: Carefully remove the lower leaves from the cutting, leaving just a few at the top. If the remaining leaves are very large, you can cut them in half to reduce water loss through transpiration.
- Apply Rooting Hormone: If you’re using rooting hormone, dip the cut end of the stem into the powder, tapping off any excess. This creates a sticky surface for the hormone to adhere to.
- Plant Your Cuttings: Fill your small pots with the well-draining potting mix. Make a small hole in the center of the soil with your finger or a pencil. Gently insert the cut end of the Iodes vitiginea cutting into the hole, making sure it makes good contact with the soil. You can often fit 2-3 cuttings per pot, as long as they don’t touch each other.
- Provide Humidity: This is crucial! Water the soil gently, then cover the pot with a clear plastic bag or place it under a propagation dome. This creates a mini-greenhouse effect, keeping the humidity high around your cuttings, which significantly aids in root development.
The “Secret Sauce” (Pro Tips)
Here are a couple of things I’ve learned over the years that can really make a difference:
- Don’t let the leaves touch the water: If you were to try water propagation (which I find less successful for Iodes), it’s vital that the leaves stay above the water surface. Any submerged foliage is a prime candidate for rot. For cuttings in soil, this tip is less directly applicable, but it emphasizes keeping things clean and dry where they shouldn’t be.
- Consider bottom heat: If you have a seedling heat mat, placing your pots on it can significantly speed up rooting. The gentle warmth encourages root formation from below. I find this especially helpful if the ambient temperature in my propagation area is a bit cooler.
Aftercare & Troubleshooting
Once your Iodes vitiginea cuttings have developed roots – you can often gently tug on them or look for new leaf growth as indicators – it’s time to start giving them a bit more individual attention.
Continue to water them gently, allowing the soil to dry slightly between waterings. As they get stronger, you can gradually introduce them to more light. If you’ve used a plastic bag, start by ventilating it daily and then remove it for longer periods before eventually taking it off completely.
The most common issue you might encounter is rot. This usually happens if the soil stays too wet, or if the cuttings aren’t getting enough air circulation. If you see stems turning mushy or blackening, discard those cuttings immediately to prevent the rot from spreading. Don’t be discouraged if some don’t make it; it’s a natural part of the process.
A Grateful Closing
So there you have it! Propagating Iodes vitiginea is a journey of patience and observation. Don’t be afraid to experiment and learn from each attempt. Seeing those tiny roots form and new leaves unfurl is one of gardening’s greatest joys. Happy propagating, and may your gardens flourish!
Resource:
https://identify.plantnet.org/k-world-flora/species/Iodes%20vitiginea%20(Hance)%20Hance/data