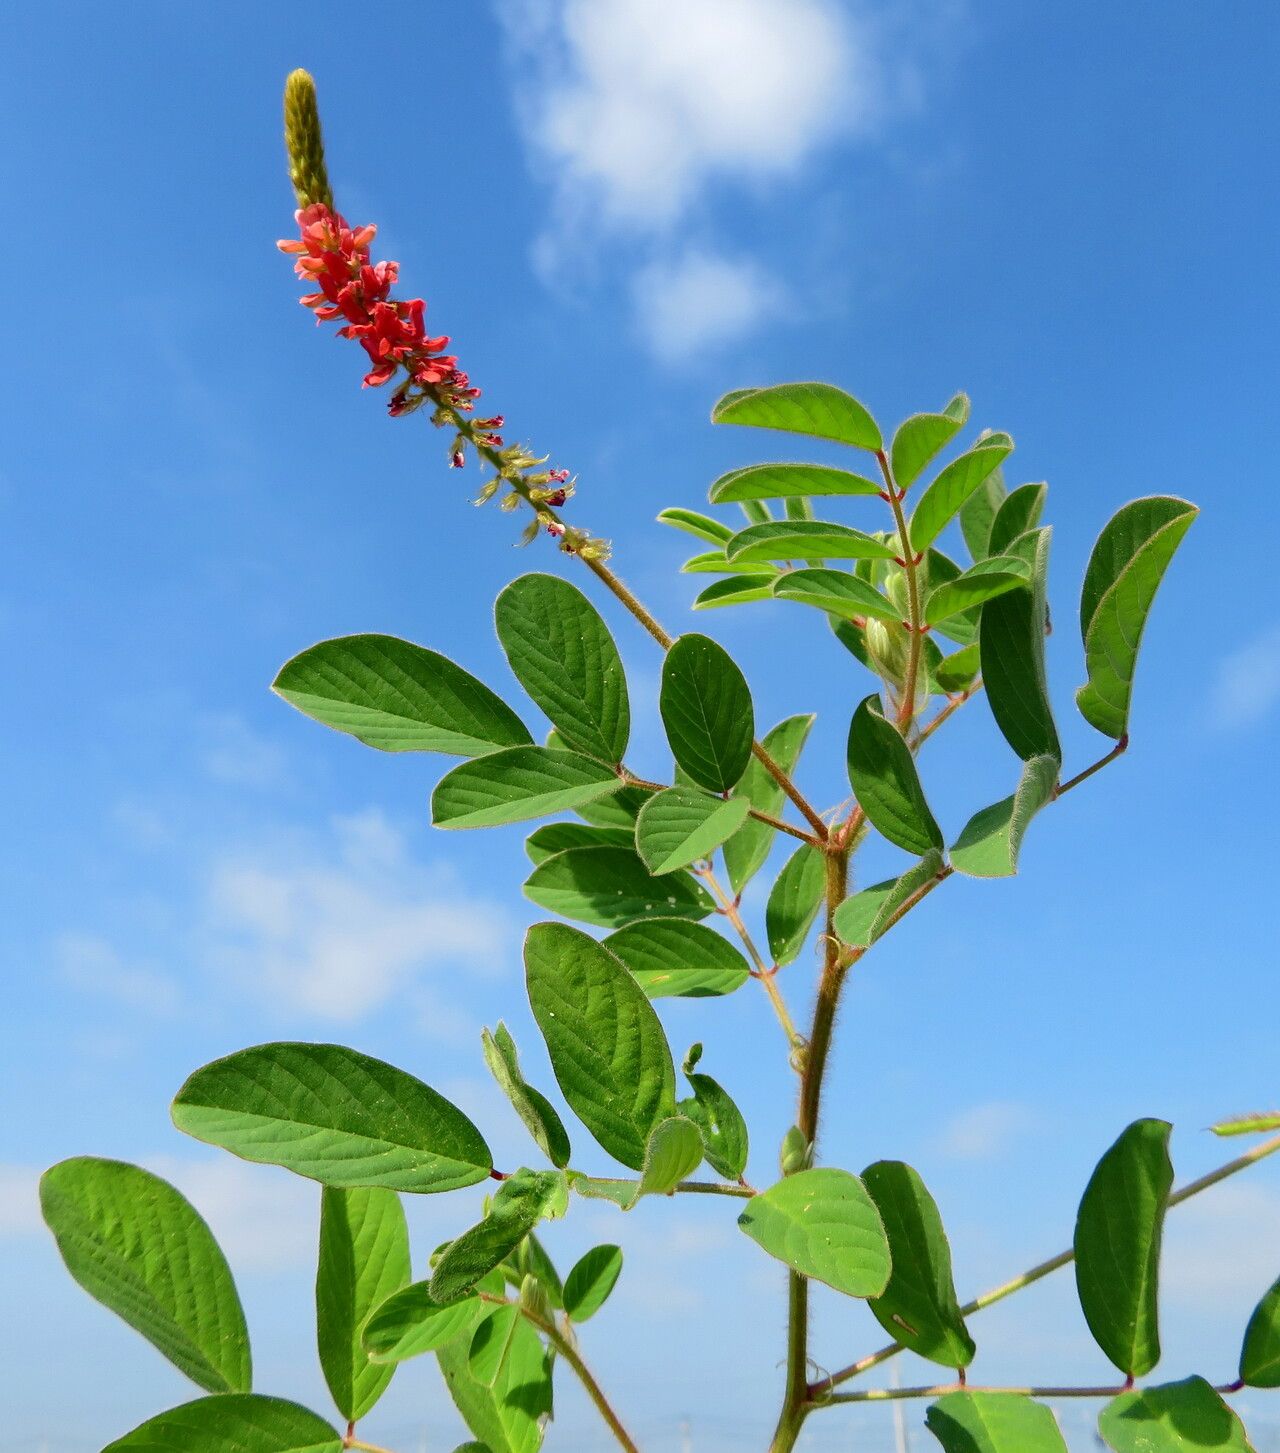
Hello, fellow garden lovers! I’m so excited to chat with you today about a plant that brings a real splash of color and interest to any garden: Indigofera hirsuta, or hairy indigo. Its beautiful, pea-like flowers are a magnet for pollinators, and its fuzzy leaves give it a wonderfully soft texture. There’s something incredibly satisfying about taking a tiny cutting or a seed and watching it grow into a whole new plant. It feels like magic, doesn’t it? And the best part? Propagating Indigofera hirsuta is quite achievable, even for those of you who are newer to the wonderful world of plant propagation.
The Best Time to Start
For the highest success rate, I’ve found that late spring to early summer is the sweet spot for propagating Indigofera hirsuta from cuttings. This is when the plant is actively growing and has plenty of healthy, vigorous new stems to work with. If you’re thinking about seed propagation, they can be sown in early spring indoors, or directly outdoors once all danger of frost has passed.
Supplies You’ll Need
Gathering your tools before you start makes the whole process much smoother. Here’s what I always have on hand:
- Sharp pruning shears or a clean, sharp knife: This ensures a clean cut, which is crucial for healthy rooting.
- Rooting hormone (optional but recommended): This little helper can give your cuttings a significant boost.
- A lightweight, well-draining potting mix: I like a mix of equal parts perlite and peat moss, or a good quality seed starting mix.
- Small pots or seedling trays: Choose ones with drainage holes.
- Clear plastic bags or a propagation dome: To create a humid environment for your cuttings.
- Watering can with a fine rose attachment: For gentle watering.
Propagation Methods
Let’s dive into how you can give your Indigofera hirsuta more company in the garden!
Stem Cuttings
This is my go-to method for Indigofera hirsuta.
- Take your cuttings: Select healthy, non-flowering stems that are about 4-6 inches long. Make a cut just below a leaf node (where a leaf attaches to the stem).
- Prepare the cuttings: Gently remove the lower leaves, leaving just a few at the top. If you’re using rooting hormone, dip the cut end into it now, tapping off any excess.
- Plant the cuttings: Fill your pots or trays with your potting mix. Make a small hole with your finger or a pencil and insert the cut end of the stem. Gently firm the soil around it.
- Water and cover: Water the soil thoroughly but gently. Then, cover the pots with a clear plastic bag or your propagation dome to maintain humidity.
Seed Propagation
If you have access to seeds, this is also a viable option!
- Sow the seeds: Fill your pots or trays with your potting mix. Sow the seeds about ¼ inch deep.
- Water gently: Water the soil well.
- Provide warmth: Keep the pots in a warm spot, ideally with a little bottom heat if you have it. A sunny windowsill is usually perfect.
- Maintain moisture: Keep the soil consistently moist but not waterlogged.
The “Secret Sauce” (Pro Tips)
Here are a few little tricks I’ve learned over the years that can really make a difference:
- Don’t let the leaves touch the water: If you’re trying water propagation (which can work for Indigofera hirsuta but is a bit trickier than soil), make sure the leaves themselves aren’t submerged. They’ll rot very quickly if they are!
- Bottom heat is your friend: For cuttings, especially, placing your pots on a heat mat can dramatically speed up root development. It mimics the warmth of spring soil.
- Be patient with hard wood: Indigofera hirsuta can sometimes be a bit slower to root than softer-stemmed plants. Don’t get discouraged if you don’t see roots immediately.
Aftercare & Troubleshooting
Once your cuttings have started to root (you might see new leaf growth or feel a slight tug when you gently pull on a stem), it’s time to adjust their care.
- Gradually increase airflow: If you’ve been using a plastic bag, start to open it up a little each day to acclimate your new plants to the drier air.
- Keep them consistently moist: Continue to water gently, ensuring the soil stays moist but never soggy.
- Provide bright, indirect light: A sunny spot is good, but direct, harsh sun can scorch young plants.
The most common issue you’ll encounter is rot. This usually happens from overwatering or poor drainage. If a cutting wilts, turns black, or feels mushy, it’s likely succumbed to rot. Don’t be too disheartened if a few don’t make it. It’s part of the learning process! Just remove the failed cutting and continue caring for the others.
Happy Propagating!
See? It’s really not as daunting as it might seem! Propagating Indigofera hirsuta is a rewarding way to expand your garden and share your love of plants. Be patient with the process, observe your new little charges closely, and don’t be afraid to experiment. The joy of nurturing a new life from a tiny piece of your favorite plant is simply unparalleled. Happy gardening!
Resource:
https://identify.plantnet.org/k-world-flora/species/Indigofera%20hirsuta%20L./data