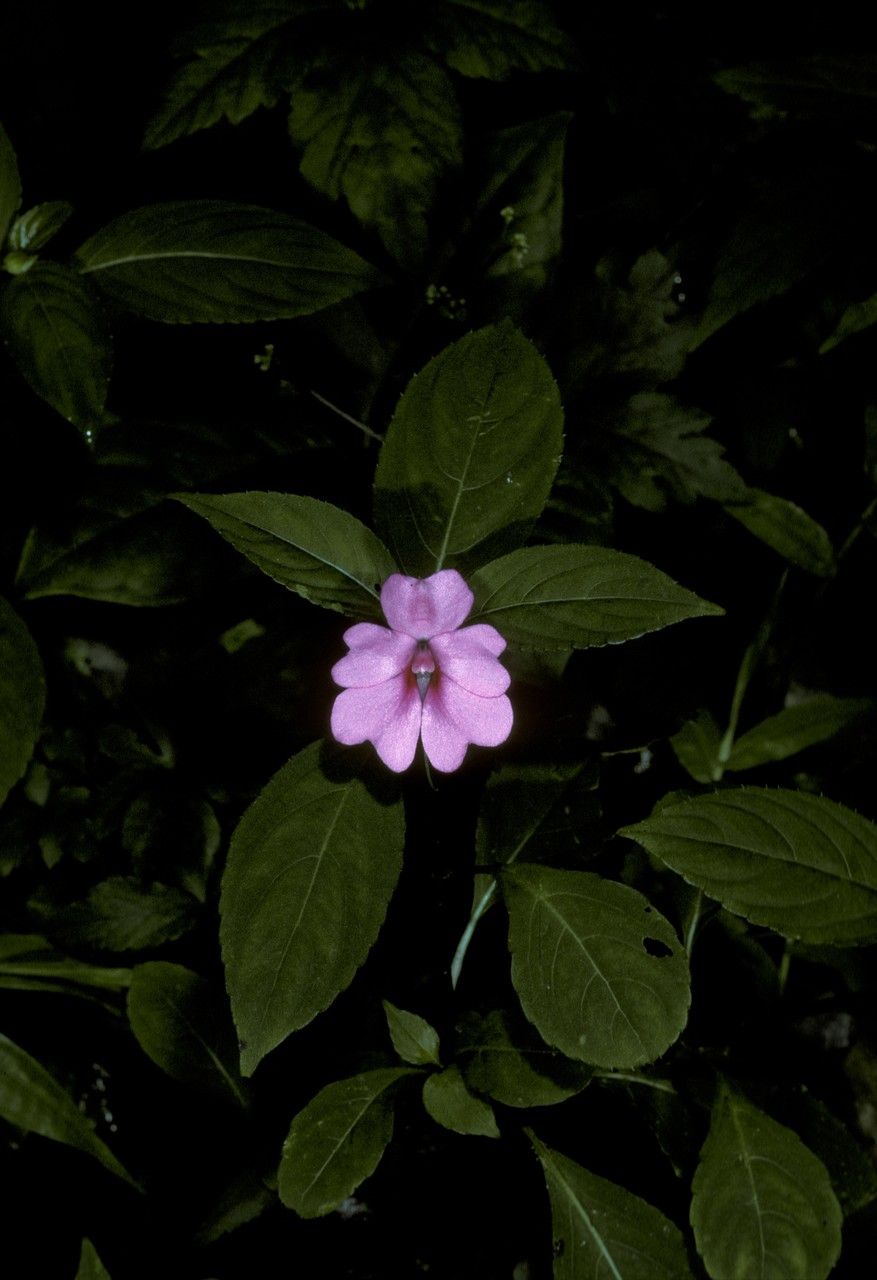
Hello, green thumbs! Today, we’re diving into the delightful world of Impatiens platypetala. If you’re looking for a plant that brings a splash of vibrant color and lush foliage to your garden or indoor space, you’ve found a winner. These beauties are known for their cheerful disposition and unique, almost ruffled petals. And the best part? Propagating them is a truly rewarding experience, even for those of you just starting out on your gardening journey. Don’t let that “scientific-sounding” name fool you; Impatiens platypetala is surprisingly forgiving and a joy to multiply.
The Best Time to Start
For Impatiens platypetala, the warmest months are your best friend. Think late spring through summer. This is when the plant is in its most vigorous growth phase, meaning it has the energy to focus on developing new roots. Starting your propagation during this period significantly boosts your chances of success. You’ll be looking for healthy, actively growing stems, not those that are a bit leggy or past their prime.
Supplies You’ll Need
Gathering your tools beforehand makes the whole process smoother. Here’s what I usually have on hand:
- Sharp pruning shears or a clean, sharp knife: For making clean cuts.
- Potting mix: A well-draining mix is crucial. I like to use a blend of peat moss, perlite, and a bit of sterile potting soil. Some commercial seed-starting mixes work beautifully too.
- Small pots or seedling trays: Clean ones, please!
- Rooting hormone (optional but recommended): This gives your cuttings an extra nudge.
- Spray bottle: For misting.
- Plastic bag or clear dome: To create a mini-greenhouse effect.
Propagation Methods
My go-to method for Impatiens platypetala is stem cuttings. It’s straightforward and yields fantastic results. Here’s how I do it:
- Take Your Cuttings: Using your clean shears or knife, select a healthy stem. Look for one that’s at least 3-4 inches long and has several sets of leaves. Make your cut just below a leaf node – that little bump where a leaf joins the stem. This is where the magic of root development often begins. Remove the lower leaves, leaving just the top two or three sets.
- Prepare the Cuttings: If you’re using rooting hormone, dip the cut end of the stem into it according to the package directions. This is like giving your cutting a little encouragement to get growing.
- Plant Your Cuttings: Gently insert the prepared cuttings into your pots filled with your well-draining potting mix. Make sure the nodes where you removed the leaves are buried. Firm the soil gently around the base of each cutting to ensure good contact.
- Create a Humid Environment: Now, this is key! Lightly mist the cuttings with your spray bottle. Then, cover the pots with a clear plastic bag or a translucent dome. This creates a humid microclimate that prevents the cuttings from drying out while they develop roots.
Another super-simple method, especially if you just want to try a few, is water propagation:
- Prepare Your Cuttings: Follow steps 1 and 2 above for taking and preparing stem cuttings.
- Place in Water: Place the cuttings in a clean glass or jar filled with fresh water. Make sure that no leaves are submerged in the water. If they are, pinch them off. Leaves in the water will rot and can lead to the death of your cutting.
- Change Water Regularly: Change the water every few days to keep it fresh and oxygenated. You’ll be amazed at how quickly you start seeing tiny white roots appear!
The “Secret Sauce” (Pro Tips)
Over the years, I’ve learned a few tricks that often make all the difference:
- Bottom Heat is Your Friend: If you have a heat mat designed for seedlings, place your pots on it. This gentle warmth from below encourages faster root development and is a game-changer, especially if your home tends to be a bit cool.
- Don’t Over-Water the Soil: While humidity is important, soggy soil is the enemy. You want the soil to be consistently moist, not waterlogged. Let the top layer dry out slightly between waterings. Too much moisture can lead to rot before roots even have a chance to form.
- Patience with the Petals: Sometimes, the flowers on the parent plant might develop on your cuttings. I often pinch these off gently. The plant’s energy is better spent developing roots at this stage, rather than supporting a bloom.
Aftercare & Troubleshooting
Once you see new growth or the cuttings resist a gentle tug, congratulations! They’re rooting.
- For cuttings in soil: Gradually acclimate them by opening the plastic bag or dome a little each day over a week. Once they seem sturdy, you can remove the cover entirely. Water them as you would a mature Impatiens, ensuring the soil drains well.
- For cuttings in water: Once the roots are about an inch long, you can carefully transplant them into pots filled with your well-draining potting mix. Handle those delicate roots with care!
The most common issue you might encounter is rot. This usually looks like the base of the stem turning dark and mushy. It’s a sign of too much moisture and not enough air circulation. If you see this, sadly, that cutting is likely lost. Next time, make sure your soil is lighter, your cuts are clean, and you’re not overwatering.
A Heartfelt Closing
Propagating Impatiens platypetala is a wonderful way to expand your collection and share these cheerful plants with friends. Don’t be discouraged if not every cutting takes – gardening is a journey of learning and observation. Be patient, enjoy the process of tending to your new plant babies, and celebrate every little success. Happy propagating!
Resource:
https://identify.plantnet.org/k-world-flora/species/Impatiens%20platypetala%20Lindl./data