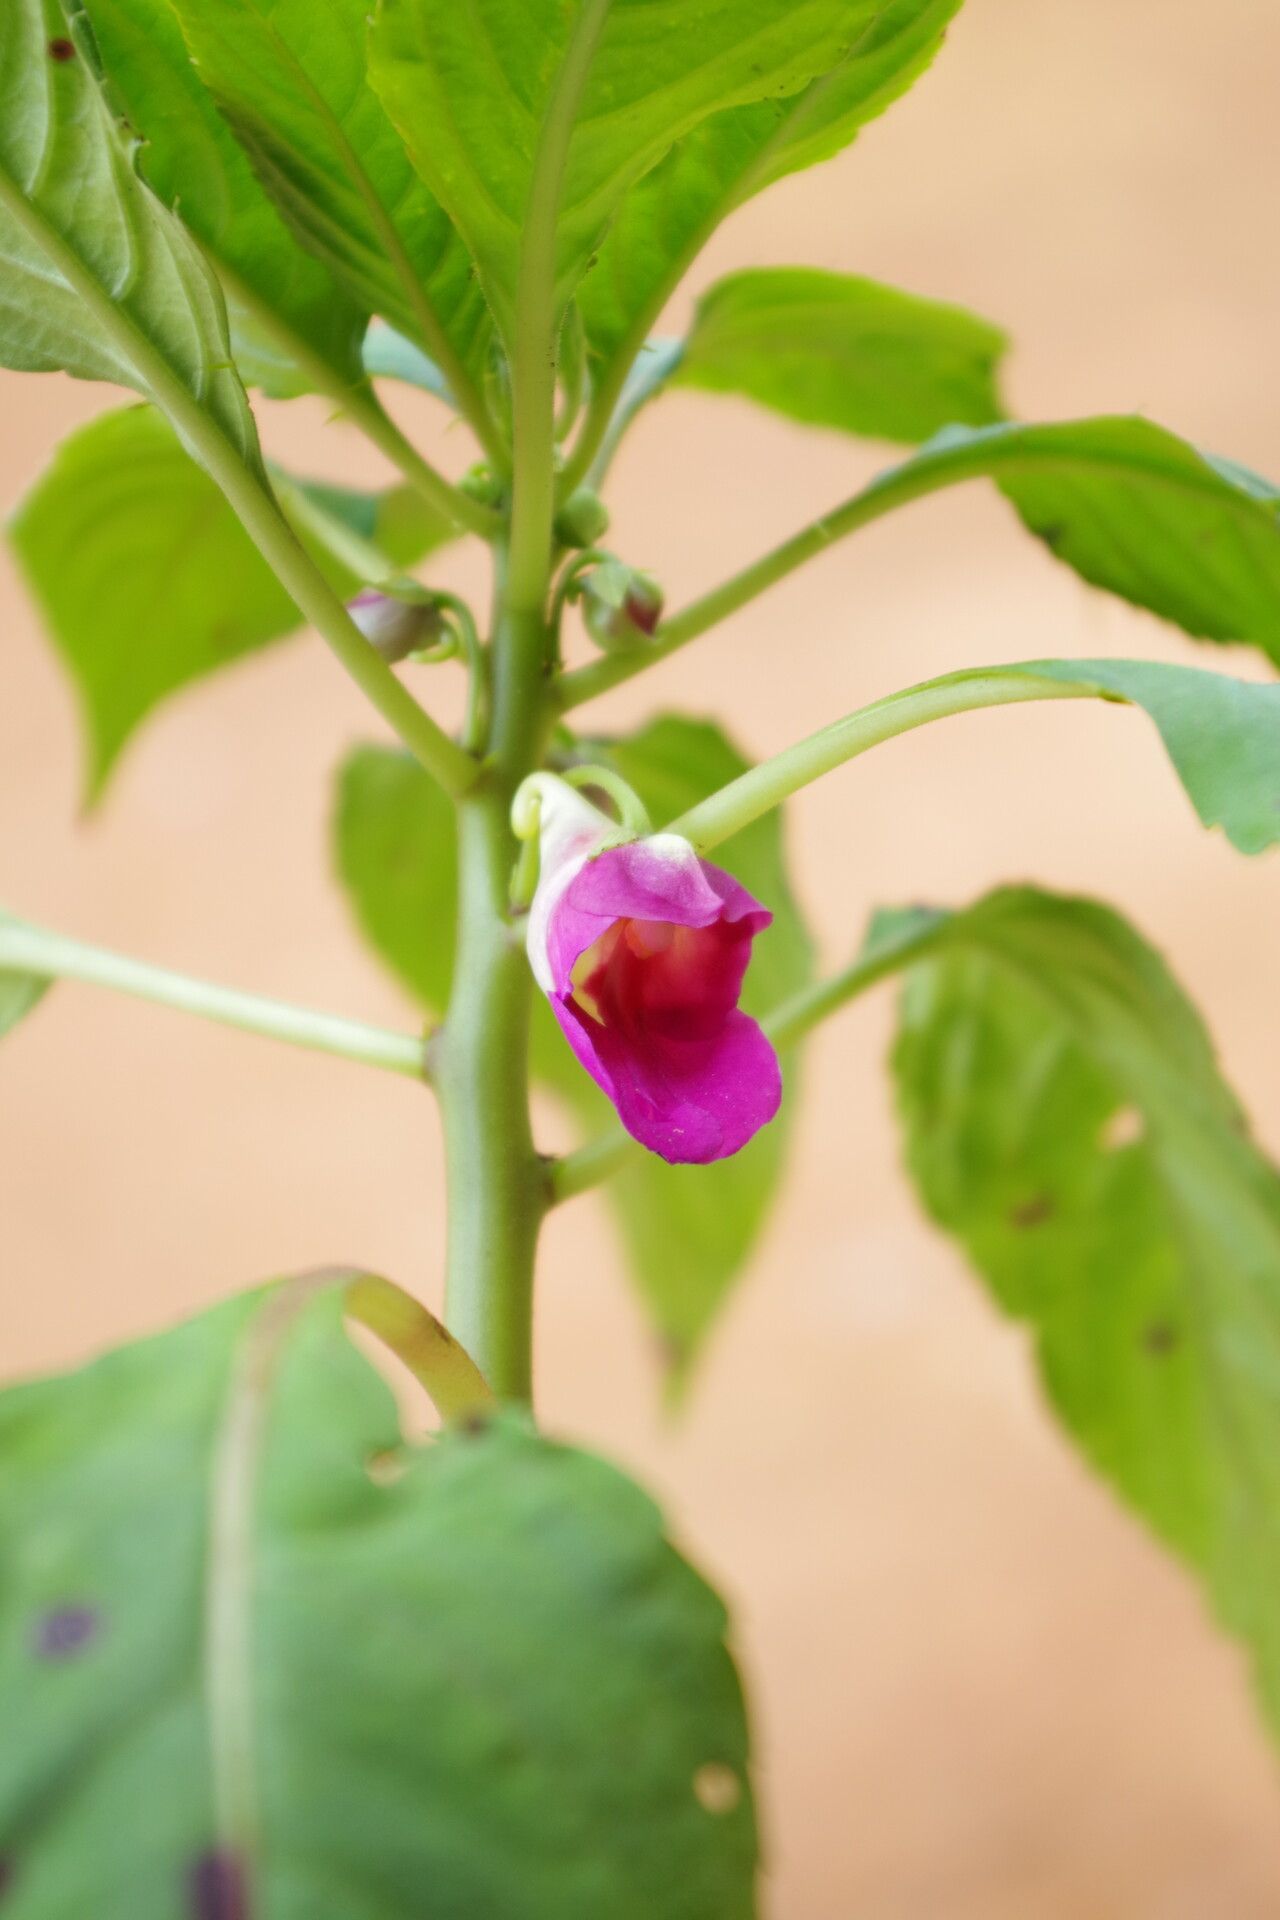
Oh, Impatiens mackeyana! If you’re anything like me, the thought of those gorgeous, vibrant blooms gracing your garden (or porch pots!) brings a smile to your face. They’re just little packets of pure joy, aren’t they? And the best part? They’re surprisingly rewarding to multiply. If you’re new to the plant world, don’t shy away from this one. Propagation can seem a bit daunting at first, but honestly, I find Impatiens mackeyana to be quite forgiving. You’ll be sharing these beauties with friends before you know it!
The Best Time to Start
For the absolute best chance of success with your Impatiens mackeyana, I always aim to take cuttings in late spring or early summer. This is when the plant is actively growing, full of energy, and most responsive to new beginnings. You’re essentially tapping into its peak vigor, which is exactly what you want when asking it to do something a little different, like grow new roots.
Supplies You’ll Need
Gathering your tools beforehand makes the whole process so much smoother. Here’s what I always have on hand:
- Sharp pruning shears or a clean, sharp knife: You need a clean cut to prevent disease.
- Rooting hormone (optional but recommended): This gives your cuttings a little boost.
- Well-draining potting mix: I usually mix equal parts seedling starter mix and perlite. This ensures air circulation and prevents soggy soil.
- Small pots or trays: Clean ones are key! About 3-4 inch pots work well.
- Plastic bags or a clear lidded propagator: To create a humid environment.
- Watering can with a fine rose: For gentle watering.
- Labels: Trust me, you’ll thank yourself later.
Propagation Methods
I’ve had great luck with a couple of methods for Impatiens mackeyana, and it really comes down to what feels most comfortable for you.
Stem Cuttings (My Go-To!)
This is my favorite way to get more Impatiens mackeyana. It’s straightforward and often yields great results.
- Select healthy stems: Look for bright green, non-flowering shoots. Aim for stems about 4-6 inches long.
- Make the cut: Using your sharp shears or knife, make a clean cut just below a leaf node (where a leaf attaches to the stem).
- Prepare the cutting: Gently remove the lower leaves, leaving just a couple of sets at the very top. This prevents them from rotting in the soil.
- Apply rooting hormone (optional): Dip the cut end of the stem into your rooting hormone powder or gel, tapping off any excess.
- Plant the cuttings: Fill your small pots with your prepared well-draining mix. Make a hole with your finger and insert the cutting, ensuring the leaf nodes are buried. Gently firm the soil around it.
- Water gently: Water thoroughly but carefully, so you don’t dislodge the cuttings.
- Create humidity: Cover the pot with a plastic bag or place it in a propagator. This traps moisture and keeps the cuttings from drying out.
Water Propagation (A Visual Treat!)
This method is wonderful because you can actually watch the roots develop!
- Take cuttings as described above: Focus on healthy stems with good leaf nodes.
- Prepare the cuttings: Again, remove the lower leaves, leaving only the top few.
- Place in water: Put the cuttings in a clean jar or glass filled with fresh water. Crucially, ensure no leaves are submerged. They will rot very quickly in water.
- Find a bright spot: Place the jar in a location with bright, indirect light.
- Change the water regularly: Every few days, refresh the water to keep it clean and oxygenated. You’ll start to see little white root nubs appear in a couple of weeks!
- Plant when roots are about an inch long: Once your cuttings have developed a decent root system (about an inch or so), you can transplant them into your well-draining potting mix as you would with stem cuttings, but be extra gentle.
The “Secret Sauce” (Pro Tips)
Here are a couple of things I’ve learned over the years that really make a difference:
- The Humidity Tent is Gold: My absolute favorite trick is to use a clear plastic bag secured with a rubber band over the pot. It creates a perfect microclimate. On occasion, I’ll even open it for a few minutes each day to let in some fresh air and prevent any mold issues.
- Bottom Heat (If You Have It): If you can provide a little gentle bottom heat, like from a heating mat designed for seedlings, it makes a world of difference. It encourages root development much faster. Just make sure it’s not too hot – we’re aiming for warmth, not cooking!
Aftercare & Troubleshooting
Once your cuttings have rooted and you see new leaf growth, it’s time to treat them like young plants.
- Gradual Acclimation: If you used a humidity tent, gradually remove it over a few days. Let them get used to the drier air.
- Light and Water: Continue to provide bright, indirect light and keep the soil consistently moist, but not soggy. The new leaves will be your indicator – if they look a bit droopy, it might be time to water.
- Troubleshooting: The most common issue you’ll encounter is rot. This usually happens if the soil is too wet or leaves are touching the soil. If you see a cutting turning black and mushy, unfortunately, it’s best to discard it to prevent the rot from spreading. Don’t be discouraged; it’s just part of the learning process! Sometimes, a cutting just doesn’t take, and that’s okay.
A Little Patience Goes a Long Way
So there you have it – a simple way to bring more of those gorgeous Impatiens mackeyana into your life. Remember, gardening is a journey, and propagation is all about patience and observation. Don’t be afraid to experiment, and most importantly, enjoy the process of nurturing these new little lives. Happy growing!
Resource:
https://identify.plantnet.org/k-world-flora/species/Impatiens%20mackeyana%20Hook.f./data