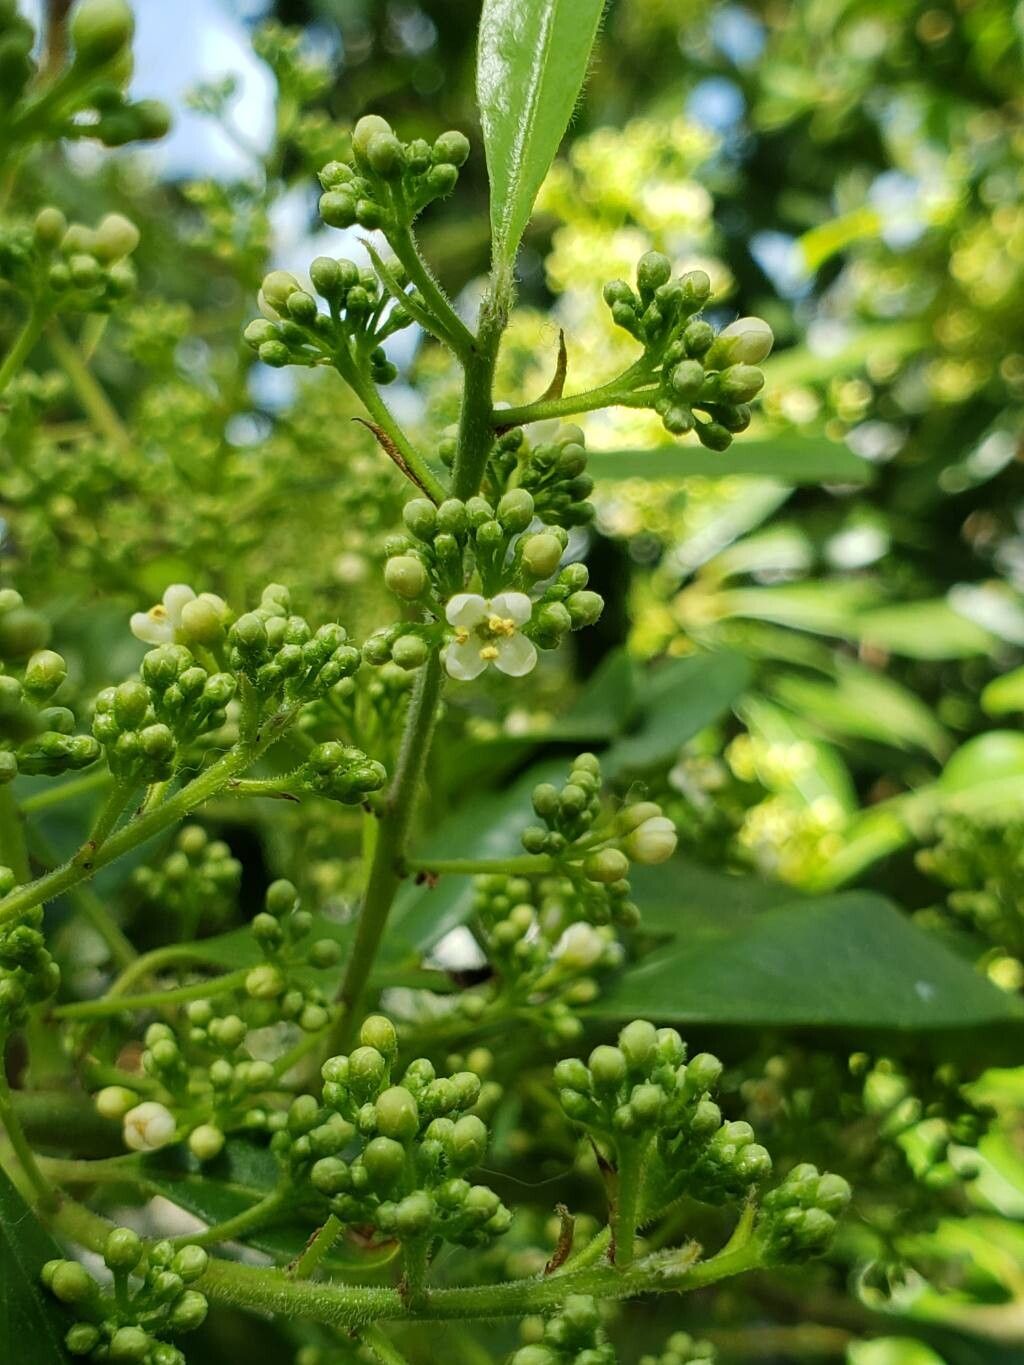
Hello, fellow garden lovers! I’m so excited to chat with you today about a truly special plant: Ilex paraguariensis, the magic behind yerba mate. If you’re anything like me, the thought of growing your own stimulating, delicious brew right from your garden is just delightful. And the best part? You can actually do it!
Propagating Ilex paraguariensis is a wonderfully rewarding endeavor. It’s not the absolute easiest plant for a complete beginner to start with, but don’t let that deter you. With a little patience and these tips, you’ll be well on your way to your own mate patch. It’s a satisfying feeling to nurture a plant from a tiny cutting into something bushy and robust.
The Best Time to Start
For the highest success rate with Ilex paraguariensis, you’ll want to take cuttings in late spring or early summer. This is when the plant is actively growing and has plenty of energy to put into rooting. Look for semi-hardwood cuttings – that means they’re not brand new, bright green shoots, but also not woody and old. They should snap cleanly when bent, not just bend over.
Supplies You’ll Need
Gathering your tools beforehand makes the whole process much smoother. Here’s what I find essential:
- Sharp pruning shears or a clean, sharp knife: For making clean cuts.
- Rooting hormone powder or gel: This significantly boosts your chances of success.
- A well-draining potting mix: I like a blend of equal parts peat moss or coco coir and perlite or coarse sand.
- Small pots or seed trays: Clean ones, of course!
- Plastic bags or a propagation dome: To create a humid environment.
- Watering can or spray bottle: For gentle watering.
- Labels: Trust me, you’ll thank yourself later.
Propagation Methods
Let’s dive into how we can get these beauties started. Stem cuttings are truly the way to go here.
Stem Cuttings:
- Select your material: As mentioned, aim for those semi-hardwood stems. Look for stems that are about 6-8 inches long. Remove any flowers or developing fruits.
- Prepare the cuttings: Using your sharp tool, make a clean cut just below a leaf node (where a leaf meets the stem). Remove the leaves from the bottom half to two-thirds of the cutting. This prevents them from rotting once planted.
- Apply rooting hormone: Dip the cut end of the stem into your rooting hormone, tapping off any excess.
- Plant the cuttings: Fill your pots or trays with your prepared potting mix. Make a small hole with a pencil or your finger, then insert the cutting, making sure the nodes where you removed leaves are below the soil surface. Gently firm the soil around the base of the cutting.
- Water gently: Water thoroughly but gently from the top, or use a bottom-watering method.
- Create humidity: Cover the pots or trays with a plastic bag, propping it up so it doesn’t touch the leaves, or use a propagation dome. This is crucial for keeping the cuttings from drying out. Ensure good airflow to prevent mold – you might need to vent the bag for a few minutes each day.
- Provide light and warmth: Place your cuttings in a bright spot with indirect sunlight. If you have a heat mat for seedlings, placing these cuttings on it can really speed up the rooting process.
The “Secret Sauce” (Pro Tips)
Now for a couple of little tricks that have served me well over the years:
- Don’t overcrowd your cuttings! Give each one a little breathing room in its pot. This helps with air circulation and prevents diseases from spreading if one happens to struggle.
- Bottom heat is your friend. While not strictly required, a gentle warmth from below (like a seedling heat mat set to around 70-75°F or 21-24°C) makes a huge difference in getting those roots to form quickly and robustly. It’s like giving them a warm hug to encourage growth.
- Sterilize everything! Before you start, give your tools, pots, and even your hands a good wash with soap and water, or even a quick wipe with rubbing alcohol. This helps prevent any nasty fungal infections from getting into your fresh cuttings.
Aftercare & Troubleshooting
Once you start seeing new growth – a good sign they’re rooting! – you can gradually acclimate them to less humid conditions. It’s best to leave the bag on for a while longer and gradually increase ventilation. You’ll know they’ve successfully rooted when you gently tug on them and feel resistance. If they pull out easily, they haven’t rooted yet.
The most common issue you’ll encounter is rot. This usually happens if the cuttings are kept too wet or not allowed to breathe. If you see stems turning mushy and dark, or mold developing, it’s usually a sign of too much moisture and not enough airflow. Don’t get discouraged; just clean out the pot and try again with a fresh cutting.
A Encouraging Closing
Growing your own Ilex paraguariensis from cuttings is a journey, and like all good things in the garden, it requires a bit of patience. Watch them closely, offer them the right conditions, and celebrate every tiny bit of progress. You’re creating life from a simple stem, and that’s truly a beautiful thing. Happy propagating!
Resource:
https://identify.plantnet.org/k-world-flora/species/Ilex%20paraguariensis%20A.St.-Hil./data