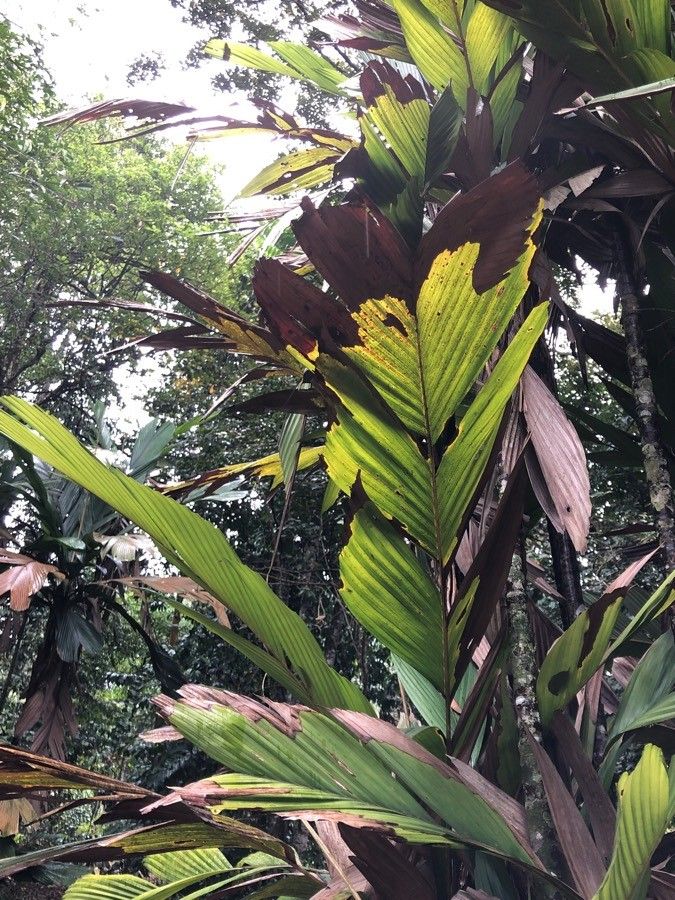
Oh, Iguanura wallichiana! What a stunner. With those intricate, finger-like leaves and that delicate, tropical vibe, it’s no wonder you’re drawn to this beauty. I’ve been growing them for years, and propagating them is truly one of the most satisfying gardening experiences. You get to watch a brand new plant emerge from a tiny piece of the parent, and it’s just… magical.
Now, let’s talk about beginners. Is Iguanura wallichiana a walk in the park for a first-timer? I’d say it’s moderately challenging. It’s not as forgiving as a pothos, but with a little know-how and patience, you’ll be well on your way to success. The rewards, trust me, are absolutely worth the effort.
The Best Time to Start
I’ve found the sweet spot for propagating Iguanura wallichiana is late spring to mid-summer. This is when the plant is in its most robust growth phase. The days are longer, the light is stronger, and the warmth encourages quick rooting. You’re looking for healthy, actively growing stems – no sleepy, dormant bits for our new green babies!
Supplies You’ll Need
Here’s what you’ll want to have on hand to get started:
- Sharp, clean pruning shears or a sharp knife: Essential for making clean cuts.
- Rooting hormone powder or gel: This isn’t strictly necessary for Iguanuras, but it can definitely give your cuttings a helpful boost.
- A well-draining potting mix: I like a blend of equal parts peat moss and perlite, or a good quality houseplant mix with extra perlite added.
- Small pots or propagation trays: Even small yogurt cups with drainage holes can work in a pinch!
- A clear plastic bag or humidity dome: To keep your cuttings from drying out.
- A watering can or spray bottle: For gentle watering.
Propagation Methods
For Iguanura wallichiana, stem cuttings are my go-to method and usually the most successful. Here’s how I do it:
- Take Your Cuttings: Select a healthy stem that has at least two or three sets of leaves. Using your clean shears or knife, make a clean cut just below a leaf node (where a leaf attaches to the stem). You want cuttings that are about 4-6 inches long. Remove the lower leaves, leaving just the top one or two. This prevents them from rotting in the soil.
- Dip in Rooting Hormone (Optional): If you’re using rooting hormone, gently dip the cut end of the stem into the powder or gel. Tap off any excess.
- Plant Your Cuttings: Fill your small pots or trays with your well-draining potting mix. Make a small hole in the center with your finger or a pencil. Insert the cut end of the stem into the hole, ensuring the leaf node where you removed the leaves is buried. Gently firm the soil around the cutting.
- Water Gently: Water the soil thoroughly but gently. You don’t want to waterlog it, but the soil should be consistently moist, not soggy.
- Create a Humid Environment: Place the potted cuttings inside a clear plastic bag, or cover them with a clear plastic dome. This traps humidity, which is crucial for stem cuttings to root. Make sure the plastic doesn’t touch the leaves too much. You can prop it up with a skewer if needed.
- Provide Bright, Indirect Light: Place your propagation station in a spot that receives bright, indirect light. Avoid direct sunlight, as it can scorch the delicate cuttings.
The “Secret Sauce”
Here are a couple of tricks that have made a world of difference for me:
- Bottom Heat is Your Friend: If you have access to a seedling heat mat, place your pots on it. This gentle warmth from below will really encourage the roots to develop much faster and more robustly. It’s like giving them a cozy little incubator!
- Don’t Be Afraid to Check: While you want to maintain humidity, don’t let your cuttings sit in stagnant, damp air for too long. Every few days, I like to open the bag or dome for a few minutes to allow for some air circulation. This helps prevent fungal issues.
Aftercare & Troubleshooting
Once your cuttings have been planted, be patient! It can take 4-8 weeks for roots to form. You’ll know they’re ready when you start to see new leaf growth or when you gently tug on the cutting and feel resistance.
Once roots have formed, it’s time to gradually acclimate your new plant to normal conditions. Start by leaving the bag or dome open for longer periods each day. Eventually, you can remove it completely. Water as you would a mature Iguanura wallichiana – allowing the top inch of soil to dry out between waterings.
The most common problem you might encounter is rot. This usually happens if the soil stays too wet or if there’s not enough air circulation. If you see wilting, mushy stems, or blackening at the soil line, it’s generally a sign of overwatering or a fungal issue. Unfortunately, a rotting cutting is usually a goner, so it’s best to discard it and try again, making sure to adjust your watering and humidity levels.
A Little Encouragement
Growing plants from cuttings is a journey, and like all good journeys, it requires a bit of patience. Don’t be discouraged if your first attempt isn’t perfect. Each time you try, you’ll learn something new. So gather your supplies, find a bright corner, and get your hands dirty. You’ll be rewarded with beautiful new Iguanura wallichiana plants to enjoy, and that’s a truly wonderful feeling. Happy propagating!
Resource: