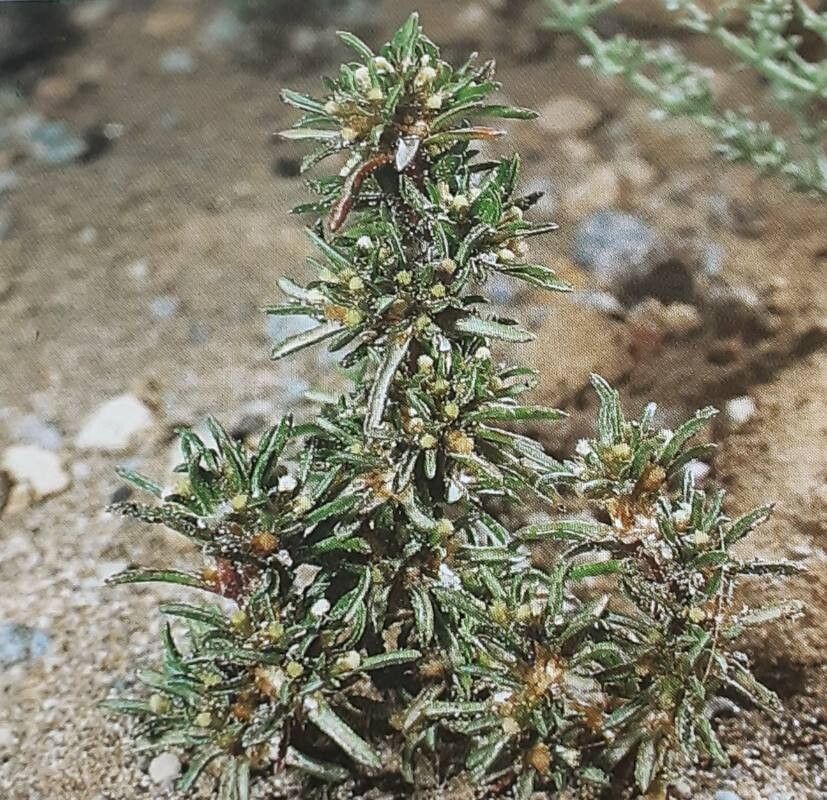
Oh, Ifluga spicata! It’s one of those plants that just radiates charm, isn’t it? Those delicate, airy blooms and lovely foliage bring such a soft, natural beauty to any space. And the best part? Propagating it is a truly satisfying journey. For those of you just dipping your toes into the world of plant propagation, I’d say Ifluga spicata falls into the “moderately easy” category. It requires a little attention to detail, but the rewards are absolutely worth it.
The Best Time to Start
Hands down, the late spring or early summer is your golden window. Think about when your plant is really hitting its stride, pushing out fresh, vibrant growth. This is when it has the most energy to dedicate to forming new roots. Waiting until new growth has appeared after the last frost is key.
Supplies You’ll Need
Here’s what you’ll want to have on hand for a propagation session:
- Sharp Pruning Shears or a Clean Knife: For making clean cuts.
- Rooting Hormone (Optional but Recommended): A powdered or liquid form to encourage root development.
- Well-Draining Potting Mix: A mix of peat moss, perlite, and a bit of compost is perfect. Don’t use heavy garden soil.
- Small Pots or Seed Tray: Clean and with drainage holes.
- Clear Plastic Bag or Dome: To create a humid microclimate.
- Watering Can with a Fine Rose: For gentle watering.
- Marker and Label: To jot down the date and plant name.
Propagation Methods
Let’s get our hands dirty! I find stem cuttings to be the most reliable method for Ifluga spicata.
Stem Cuttings:
- Select Your Mother Plant: Choose a healthy, vigorous Ifluga spicata that looks happy and is actively growing.
- Take Your Cuttings: Using your clean shears or knife, take 4-6 inch stem cuttings from the tip of a new shoot. Make sure each cutting has at least two sets of leaves. Cut just below a leaf node (where a leaf attaches to the stem).
- Prepare the Cuttings: Gently remove the lower leaves from the stem, leaving the top two sets of leaves intact. If your leaves are quite large, you can even cut them in half to reduce water loss.
- Apply Rooting Hormone (Optional): Dip the bottom inch of each cutting into rooting hormone, tapping off any excess.
- Plant the Cuttings: Fill your small pots or seed tray with your well-draining potting mix. Make a small hole in the center of each pot with a pencil or your finger. Gently insert the bottom of each cutting into the hole, firming the soil around it.
- Water Gently: Water the soil thoroughly but gently to settle the mix around the cuttings.
The “Secret Sauce” (Pro Tips)
Here are a couple of things I’ve learned over the years that really make a difference:
- Humidity is Your Friend, But Keep Leaves Dry: After you’ve potted your cuttings, cover the pots with a clear plastic bag or a dome. This creates a humid environment, which is crucial for preventing the cuttings from drying out. Just be mindful that you don’t want the leaves themselves touching the plastic. If they do, gently trim them or adjust the cover. Condensation is good; mushy leaves are not.
- Bottom Heat is a Game Changer: If you have it, placing your pots on a heat mat can significantly speed up root formation. It mimics the warmth of the soil that a mother plant would experience, giving those tiny root cells a real boost.
Aftercare & Troubleshooting
Once your cuttings are planted, keep them in a bright spot, but out of direct, harsh sunlight. Water them whenever the top inch of soil starts to feel dry. You’re looking for signs of root development. This can take anywhere from 3-8 weeks. You’ll know they’ve rooted when you see new leaf growth or when you gently tug on a cutting and feel resistance.
The most common issue you might encounter is rot. This usually happens if the soil stays too wet or if the humidity is too high without enough air circulation. If you see wilting that isn’t due to dryness, or if the cuttings turn black and mushy at the base, unfortunately, it’s probably best to discard them and try again.
A Little Patience Goes a Long Way
Propagating plants is a beautiful act of patience and faith in nature. Don’t be discouraged if your first few attempts aren’t a roaring success. Each time you try, you learn something new. Enjoy the process of nurturing these tiny new beginnings, and soon you’ll be rewarded with your very own Ifluga spicata babies! Happy gardening!
Resource:
https://identify.plantnet.org/k-world-flora/species/Ifloga%20spicata%20(Forssk.)%20Sch.Bip./data