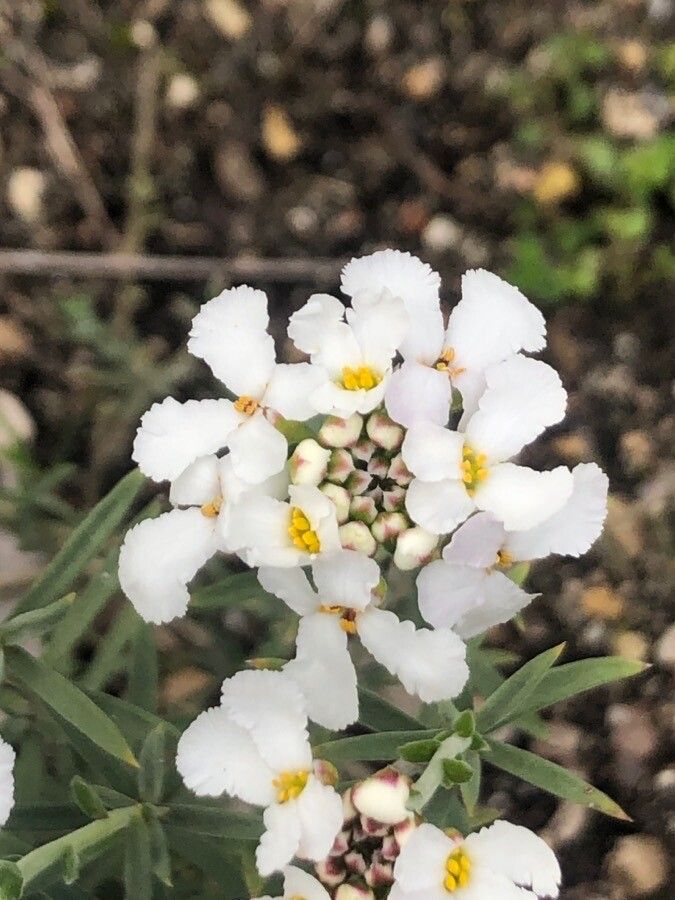
Hello there, fellow plant enthusiasts! If you’ve ever admired the delicate sprays of white blossoms from Iberis pectinata, or Candytuft as it’s more commonly known, you’re in for a treat. This charming plant, with its frothy white flowers and lovely, often evergreen foliage, brings such a cheerful touch to any garden border or container. And the best part? Sharing its beauty is easier than you might think! Propagating Iberis pectinata is a wonderfully rewarding way to multiply your plants, fill in gaps, or even share with gardening friends.
For beginners, I’d say Iberis pectinata is quite approachable. It’s not a fussy plant, and with a little care and attention to a few key details, you’ll be well on your way to success.
The Best Time to Start
The sweet spot for propagating Iberis pectinata is generally in late spring or early summer, after the main flowering flush has passed. This is when the plant has a good amount of healthy, new growth that’s perfect for taking cuttings. Waiting until after flowering also signals to the plant that it’s time to focus on vegetative growth rather than seed production, giving your cuttings the best chance.
Supplies You’ll Need
Here’s what I always have on hand:
- Sharp, clean pruning shears or a sharp knife: Essential for making clean cuts to minimize damage and disease.
- Rooting hormone (optional but recommended): A powder or gel that encourages root development.
- Potting mix: A well-draining, sterile seed-starting mix or a blend of equal parts peat moss and perlite. Avoid heavy garden soil.
- Small pots or trays: Clean pots with drainage holes are a must.
- Watering can or spray bottle: For gentle watering.
- Plastic bags or a propagator lid: To create a humid environment.
- Labels: For keeping track of your cuttings!
Propagation Methods
I find that stem cuttings are the most reliable method for Iberis pectinata. Here’s how I do it:
- Take Cuttings: Look for healthy, non-flowering stems that are about 3-4 inches long. Using your clean shears, make a clean cut just below a leaf node (where a leaf emerges from the stem). Remove any leaves from the bottom half of the cutting.
- Apply Rooting Hormone: If you’re using rooting hormone, dip the cut end of the stem into the powder or gel. Tap off any excess. This step isn’t strictly necessary for Iberis, but it can really speed up the process.
- Plant the Cuttings: Fill your pots or trays with your prepared potting mix. Make a small hole in the center of the soil with your finger or a pencil. Gently insert the cutting into the hole, ensuring the lowest leaf nodes are below the soil surface. Firm the soil gently around the stem to ensure good contact.
- Water Gently: Water thoroughly but gently until you see water draining from the bottom of the pot.
- Create Humidity: Cover the pots with a plastic bag, tented over with a few sticks so the leaves don’t touch the plastic, or use a propagator lid. This moist environment is crucial for preventing the cuttings from drying out before they can root. Place them in a bright location but out of direct sunlight.
The “Secret Sauce” (Pro Tips)
After years of playing in the dirt, I’ve picked up a few tricks that seem to make all the difference:
- Don’t let the leaves touch the water: If you opt for water propagation (which I find less consistent for Iberis but still possible), ensure that only the cut stem is submerged. Any submerged leaves will rot, which can quickly take down your whole cutting.
- Bottom Heat is Your Friend: For faster rooting, especially if your house isn’t super warm, placing your pots on a heated propagation mat can work wonders. It encourages root growth from below, giving your cuttings a real boost.
- Don’t Rush to Pot Up: Be patient! It can take anywhere from 4 to 8 weeks for cuttings to develop a good root system. You’ll know they’re ready when you feel a gentle resistance when you tug on the stem or see new leaf growth.
Aftercare & Troubleshooting
Once you see signs of rooting – new growth is a great indicator – it’s time for a little more attention. Gradually remove the plastic cover over a few days to acclimate the new plant to normal room humidity. Continue to keep the soil consistently moist but not waterlogged.
The most common sign of trouble is rot. If your cutting turns black or mushy, it’s usually a sign of too much moisture and poor air circulation. If you catch it early, you might be able to salvage a healthy part of the stem. Another sign of failure is a cutting that wilts and never recovers, which can happen if it dries out too much or simply doesn’t take. Don’t be discouraged by failures; they’re part of the learning process!
So there you have it! Propagating Iberis pectinata is a simple and satisfying way to expand your collection of these delightful plants. Remember to be patient with your new green babies, give them the right conditions, and soon you’ll have a whole host of blooming beauties to enjoy. Happy propagating!
Resource:
https://identify.plantnet.org/k-world-flora/species/Iberis%20pectinata%20Boiss.%20&%20Reut./data