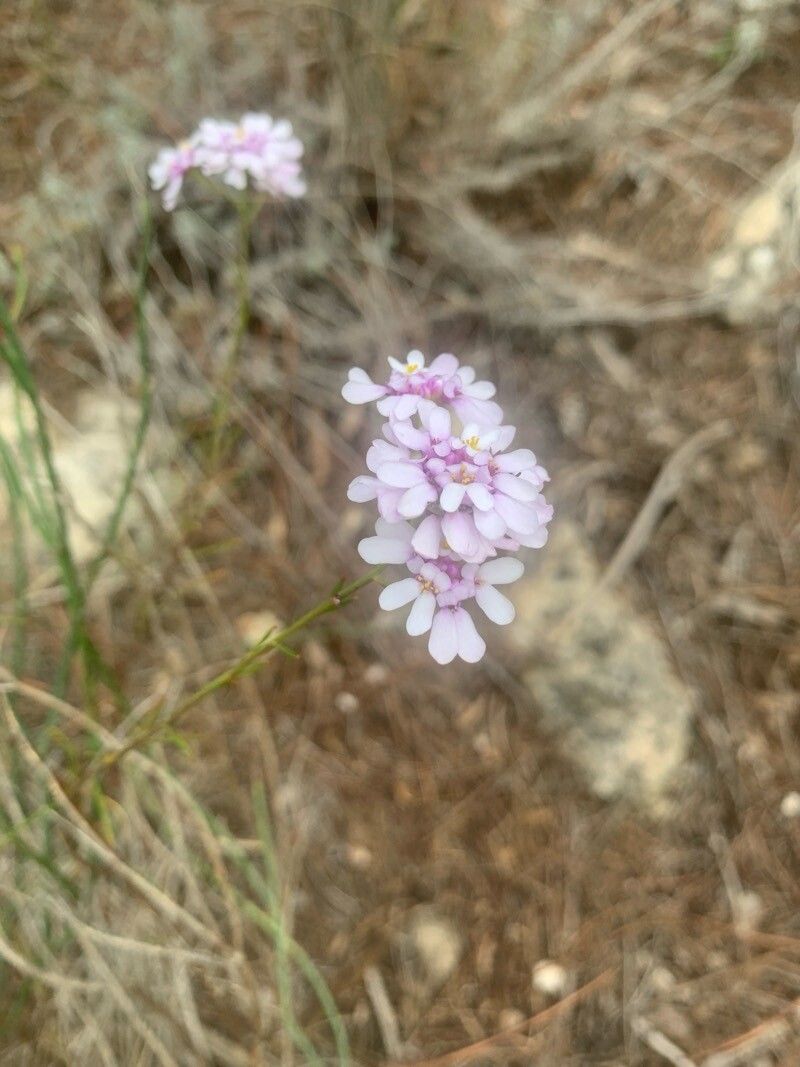
Hello fellow garden lovers! It’s so good to have you here. Today, we’re diving into the wonderful world of Iberis contracta, also known as candytuft. Its delicate, snow-white flowers are an absolute dream in spring and early summer, bringing a touch of pure elegance to any border or container. There’s something incredibly satisfying about creating new life from a plant you already adore. And happily for us, propagating Iberis contracta is quite forgiving, making it a fantastic project for beginners and seasoned gardeners alike.
The Best Time to Start
For the highest success rate, aim to propagate your Iberis contracta in late spring or early summer. This is when the plant is actively growing and has plenty of fresh, pliable stems to work with. Waiting until after the initial flush of blooms has faded is a good strategy. You’ll be harvesting cuttings from healthy, vigorous growth.
Supplies You’ll Need
Before we get our hands dirty, let’s gather our tools:
- Sharp pruning shears or secateurs: Clean cuts are crucial for healthy rooting.
- Rooting hormone powder or gel: While not strictly essential for Iberis contracta, it can certainly give your cuttings a boost.
- Seed-starting mix or a well-draining potting mix: I like to use a 50/50 blend of coco coir and perlite. Good aeration is key!
- Small pots or trays: Clean pots are a must to avoid disease.
- A plastic bag or propagation dome: This creates a humid environment for your cuttings.
- Watering can with a fine rose or spray bottle: Gentle watering is best.
- A warm, bright spot: Indirect sunlight is ideal.
Propagation Methods: Stem Cuttings are Your Friend!
The most reliable way to propagate Iberis contracta is through stem cuttings. It’s straightforward and yields excellent results.
- Select Your Cuttings: Look for healthy, non-flowering stems on your established plant. You want stems that are firm but still slightly bendy. Aim for cuttings that are about 3-4 inches long.
- Make the Cut: Using your clean pruning shears, make a clean cut just below a leaf node. A leaf node is where a leaf attaches to the stem; this is where roots are most likely to form.
- Prepare the Cuttings: Gently remove the leaves from the bottom half of the cutting. You can leave a couple of leaves at the top for photosynthesis. If the remaining leaves are very large, you can cut them in half to reduce water loss.
- Apply Rooting Hormone (Optional): Dip the cut end of the stem into your rooting hormone powder or gel. Tap off any excess.
- Plant Your Cuttings: Fill your clean pots or trays with your prepared, moistened potting mix. Make a small hole in the center of each pot with a pencil or your finger. Insert the prepared cutting into the hole, ensuring the nodes where you removed the leaves are buried in the soil. Gently firm the soil around the stem.
- Create a Humid Environment: Water the soil gently. Then, cover the pots with a plastic bag, securing it around the rim with a rubber band, or place them under a propagation dome. This traps moisture and creates a mini-greenhouse.
- Provide the Right Conditions: Place the pots in a warm location with bright, indirect light. Avoid direct sunlight, which can scorch the delicate cuttings.
The “Secret Sauce” (Pro Tips)
Here are a couple of little tricks I’ve picked up over the years that can make a big difference:
- “Wipe” Away Excess: If you notice condensation building up heavily inside your plastic bag or dome, it’s a good idea to “wipe” it down with a soft cloth. Too much moisture can lead to rot, and we want to encourage root growth, not fungal issues. Just a quick wipe to reduce the super-high humidity is all it takes.
- Bottom Heat is Your Buddy: If you have the inclination, placing your pots on a gentle heat mat can significantly speed up the rooting process. It mimics the warmth of spring soil and gives those new roots a real incentive to form. Just ensure it’s set to a low temperature.
Aftercare & Troubleshooting
Once your cuttings have rooted, you’ll notice new growth at the top. You can test for roots by giving the cutting a very gentle tug. If you feel resistance, roots have formed!
- Gradual Acclimation: When roots are well-established (usually after 3-6 weeks, but it can vary), it’s time to gradually acclimate your new plants to drier air. Start by removing the plastic bag or dome for a few hours each day, progressively increasing the time until they’re used to the ambient humidity.
- Potting Up: Once acclimated, you can carefully transplant your new Iberis contracta into individual pots or their final garden location using a good quality potting mix.
- Common Pitfalls: The most common issue you might encounter is rot. This usually happens if the soil is kept too wet or the environment is too humid without enough air circulation. Cuttings will turn mushy and black at the base. If you see this, unfortunately, it’s best to discard them and start again, paying closer attention to watering and ventilation. Yellowing leaves can sometimes mean too much or too little water, or not enough light.
A Gentle Encouragement
Growing new plants is a journey, and propagation is like a special kind of gardening magic. Be patient with your little Iberis contracta cuttings. Some will take off quickly, while others might need a little more time to find their footing. Enjoy the process, observe their progress, and celebrate each new root that forms. Happy gardening!
Resource:
https://identify.plantnet.org/k-world-flora/species/Iberis%20contracta%20Pers./data