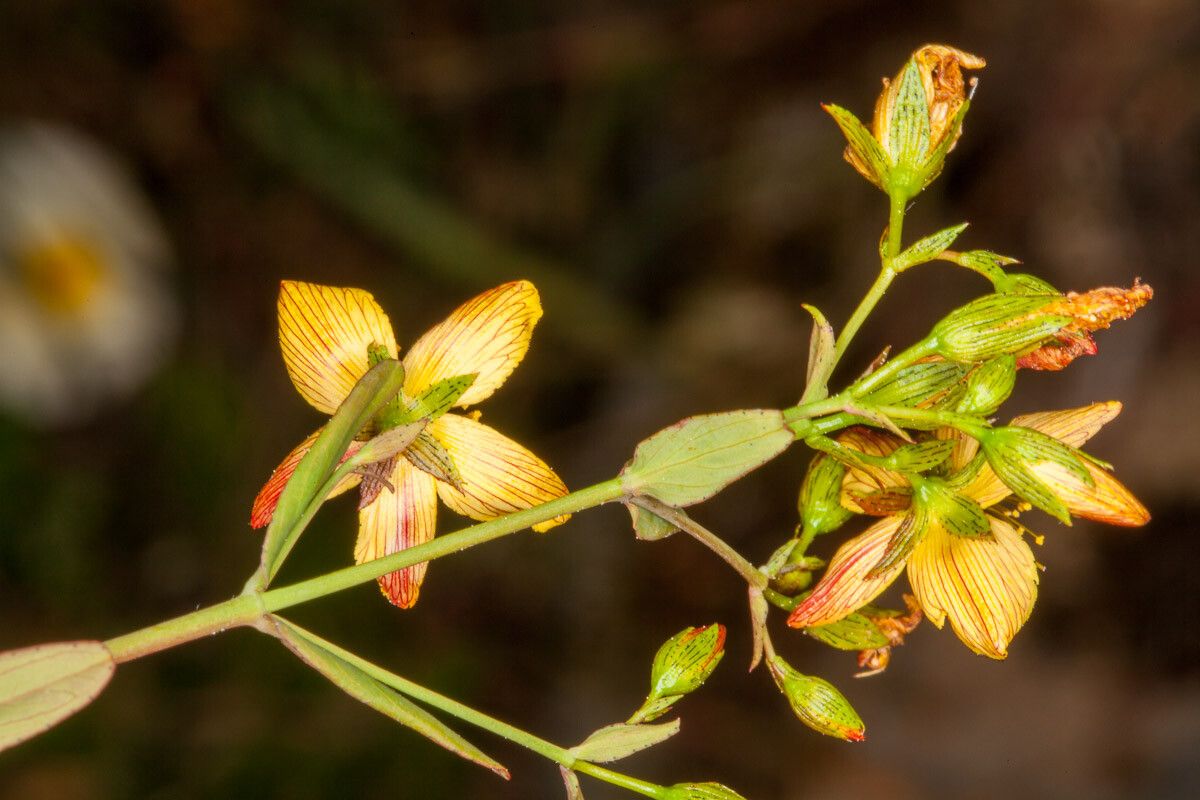
Hello, fellow garden enthusiasts! Today I want to chat about something I absolutely adore: Hypericum australe, or as you might know them, the St. John’s Wort with those cheerful, star-shaped yellow blooms. They add such a burst of sunshine to any garden, and frankly, I find them incredibly rewarding to grow. The satisfaction of nurturing a new plant from a tiny piece of its parent is just unbeatable. Now, about propagation, I’d say Hypericum australe is moderately easy, a lovely project for those who have a little gardening experience under their belt and are ready for a rewarding challenge.
The Best Time to Start
For the highest success rate with Hypericum australe, I always recommend working with semi-hardwood cuttings in late summer or early autumn. This is when the plant has finished its main flush of growth for the season, and the stems have started to mature but aren’t fully woody yet. They have just the right balance of flexibility and resilience, making them perfect for rooting.
Supplies You’ll Need
Gathering your tools beforehand makes the whole process much smoother. Here’s what I usually have on hand:
- Sharp pruning shears or a clean knife: For making precise cuts.
- Rooting hormone: A powder or gel will do. It really gives your cuttings a boost.
- A well-draining potting mix: I like a 50/50 blend of perlite and peat moss or coco coir. You want good aeration!
- Small pots or seed trays: Clean ones are crucial to prevent disease.
- Plastic bags or a propagator: To create a humid environment.
- Watering can with a fine rose: For gentle watering.
- Labels: To keep track of what you’ve planted!
Propagation Methods
Let’s get our hands dirty! Stem cuttings are my go-to for Hypericum australe. It’s reliable and gives you quite a few potential new plants from a mature specimen.
- Take Cuttings: On a cool morning, use your clean shears to take 4-6 inch cuttings from healthy, non-flowering stems. Make the cut just below a leaf node (where a leaf attaches to the stem). Remove the lower leaves, leaving just a couple at the very top.
- Apply Rooting Hormone: Dip the cut end of each stem into rooting hormone, tapping off any excess. This step is vital for encouraging robust root development.
- Plant Your Cuttings: Make small holes in your prepared potting mix with a pencil or your finger. Insert the hormone-dipped end of the cutting into the hole, about an inch deep. Gently firm the soil around the stem.
- Water and Cover: Water the soil gently until it’s moist but not waterlogged. Then, place the pots inside a plastic bag or cover them with a propagator lid. This creates a humid microclimate, which is essential for cuttings to root.
The “Secret Sauce” (Pro Tips)
After years of tinkering, I’ve learned a few little tricks that often make all the difference:
- Don’t let the leaves touch the water: If you’re ever tempted to try water propagation (which can work for some plants, but I find cuttings in soil more reliable for Hypericum australe), this is key! Any submerged leaves will rot and can take down the whole cutting. For soil cuttings, ensure your leaves are well clear of the soil surface.
- Use bottom heat: A heated propagator mat can work wonders, especially if your house isn’t super warm. Consistent, gentle warmth from below encourages root formation much faster than sitting them on a cool windowsill. It’s like a cozy spa day for your cuttings!
- Be patient with the leaves: You might see the leaves on your cuttings look a bit wilted at first. Don’t panic! This is normal as they adjust. As long as you keep them in a humid environment and the stems don’t feel mushy, they are likely working on roots underground.
Aftercare & Troubleshooting
Once you see new growth developing, it’s a sure sign that roots are forming! This is when you can start to gradually acclimatize your new plants. Open the propagator lid or plastic bag a little each day for a week to allow them to get used to drier air. Continue to keep the soil consistently moist but not soggy.
The most common sign of failure is rotting. If a cutting turns black and mushy, it’s a lost cause. This usually happens from too much moisture and poor air circulation. If you notice this, remove the affected cutting immediately to prevent it from spreading. You might also see cuttings that simply shrivel up and don’t show any signs of life – this can happen if they dry out too much or if the cutting wasn’t viable to begin with.
A Encouraging Closing
Growing new plants from cuttings is such a fulfilling part of gardening. Don’t be discouraged if not every single one takes. Each attempt is a learning experience, and the joy of seeing those tiny roots emerge and new leaves unfurl is absolutely worth the effort. So, grab your shears, find a healthy stem, and enjoy the magic of creating more of these beautiful yellow blooms! Happy propagating!
Resource:
https://identify.plantnet.org/k-world-flora/species/Hypericum%20australe%20Ten./data