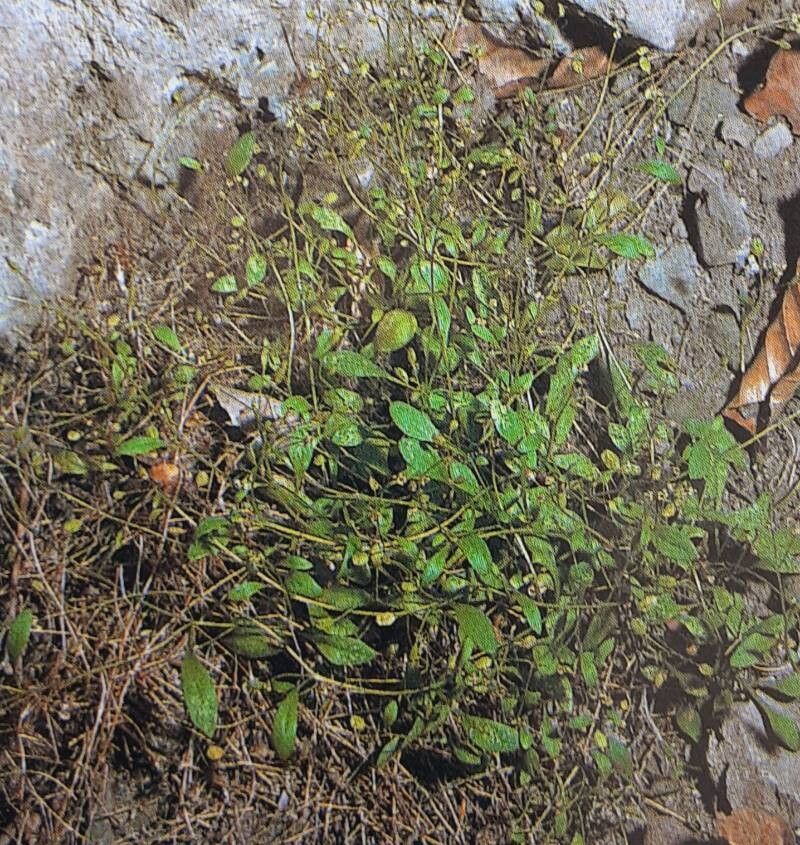
Oh, hello there! So glad you stopped by. Today, we’re going to talk about a little gem that I’ve grown to adore: Hornungia procumbens. You know, that charming little plant with its delicate, often pinkish-white flowers and neat, trailing habit? It’s just delightful for borders, rock gardens, or even spilling out of a hanging basket. And the best part? It’s surprisingly rewarding to propagate. You don’t need to be a seasoned pro to get more of these beauties. This one’s a pretty friendly plant for those just dipping their toes into the world of plant propagation.
The Best Time to Start
For Hornungia procumbens, the sweet spot for propagating is generally late spring to early summer. This is when the plant is actively growing, full of energy, and ready to make some new little ones. You’re looking for stems that have developed a bit but aren’t yet woody. Think of them as young, energetic shoots.
Supplies You’ll Need
To get our propagation station set up, you’ll want a few things handy:
- Sharp pruning shears or a clean knife: For taking neat cuttings.
- Small pots or trays: With drainage holes, of course!
- A good quality potting mix: I like a mix that’s light and airy. A blend of peat moss, perlite, and a little compost works wonderfully. For Hornungia, a well-draining seed starting mix is also a great option.
- Rooting hormone (optional, but helpful): Especially for beginners, this can give your cuttings a little boost.
- A spray bottle: For misting.
- Plastic bags or a propagator lid: To create a humid environment.
- Labels: To keep track of what you’ve planted where.
Propagation Methods
Let’s get our hands dirty! Hornungia procumbens is quite amenable to a couple of easy methods.
1. Stem Cuttings:
This is my go-to method for Hornungia. It’s straightforward and often yields great results.
- Step 1: Take your cuttings. Using your sharp shears or knife, select healthy stems that are about 3-4 inches long. Make a clean cut just below a leaf node (where a leaf attaches to the stem).
- Step 2: Prepare the cuttings. Gently remove the lower leaves from the stem, leaving just two or three at the top. This prevents them from rotting in the soil.
- Step 3: Apply rooting hormone (optional). If you’re using rooting hormone, dip the cut end of the stem into the powder or gel. Tap off any excess.
- Step 4: Plant the cuttings. Fill your small pots with your chosen potting mix. Make a small hole in the center of the soil with a pencil or your finger. Insert the cutting into the hole, ensuring the lowest leaf node is below the soil surface. Gently firm the soil around the stem.
- Step 5: Water and cover. Water the soil gently to settle it around the cutting. Then, cover the pot with a plastic bag or pop on a propagator lid to create a mini greenhouse effect. This helps keep the humidity high, which is crucial for cutting success.
2. Division:
Sometimes, if your plant has become a bit crowded or you just want to give it a refresh, division is a simple and effective way to propagate. This is best done in early spring before the plant gets into full swing.
- Step 1: Carefully dig up the plant. Gently lift the entire Hornungia clump from its pot or garden bed.
- Step 2: Gently separate the root ball. Use your fingers or a trowel to carefully tease apart the root ball into smaller sections. Each section should have healthy roots and some foliage.
- Step 3: Replant the divisions. Pot up each division into its own container with fresh potting mix, or replant them directly into your garden. Water them in well.
The “Secret Sauce”
Here are a few little tricks I’ve picked up over the years that often make a big difference:
- Bottom Heat: Honestly, this is a game-changer for cuttings. If you have a heat mat (you can find inexpensive ones online), placing your pots on top of it can significantly speed up root development. It mimics the warmth of spring soil.
- Don’t Drench, Mist! When you’ve got your cuttings covered, resist the urge to water them like you would a mature plant. Instead, lightly mist the leaves and the soil surface every day or two. The goal is to keep things humid, not waterlogged, which can lead to rot.
- Give Them Space: When taking cuttings, don’t cram too many into one pot. Each cutting needs a little breathing room to develop its own root system without competing.
Aftercare & Troubleshooting
Once your cuttings have been in their humid little homes for a few weeks, you’ll start to see signs of progress.
- Roots Appears: You’ll know your cutting is taking root when you see new leaf growth or feel a gentle resistance when you tug on the stem. At this point, you can gradually remove the plastic bag or propagator lid to acclimate them to normal humidity. Over the next week, do this for increasingly longer periods.
- Watering: Water them consistently, but allow the top inch of soil to dry out slightly between waterings.
- Trouble Signs: The most common issue is rot. If you see stems turning black or mushy, or the leaves looking limp and discolored, it’s usually a sign of too much moisture or poor air circulation. This is where that well-draining mix and the occasional misting rather than heavy watering really pay off. If rot sets in, it’s often best to sadly discard the affected cutting and try again.
And there you have it! Propagating Hornungia procumbens is a truly satisfying way to expand your garden and share these lovely plants. Don’t be discouraged if your first few attempts aren’t perfect. Gardening is a journey, and patience is our best tool. Enjoy the process, celebrate every success, and happy propagating!
Resource:
https://identify.plantnet.org/k-world-flora/species/Hornungia%20procumbens%20(L.)%20Hayek/data