Hey there, fellow plant lovers!
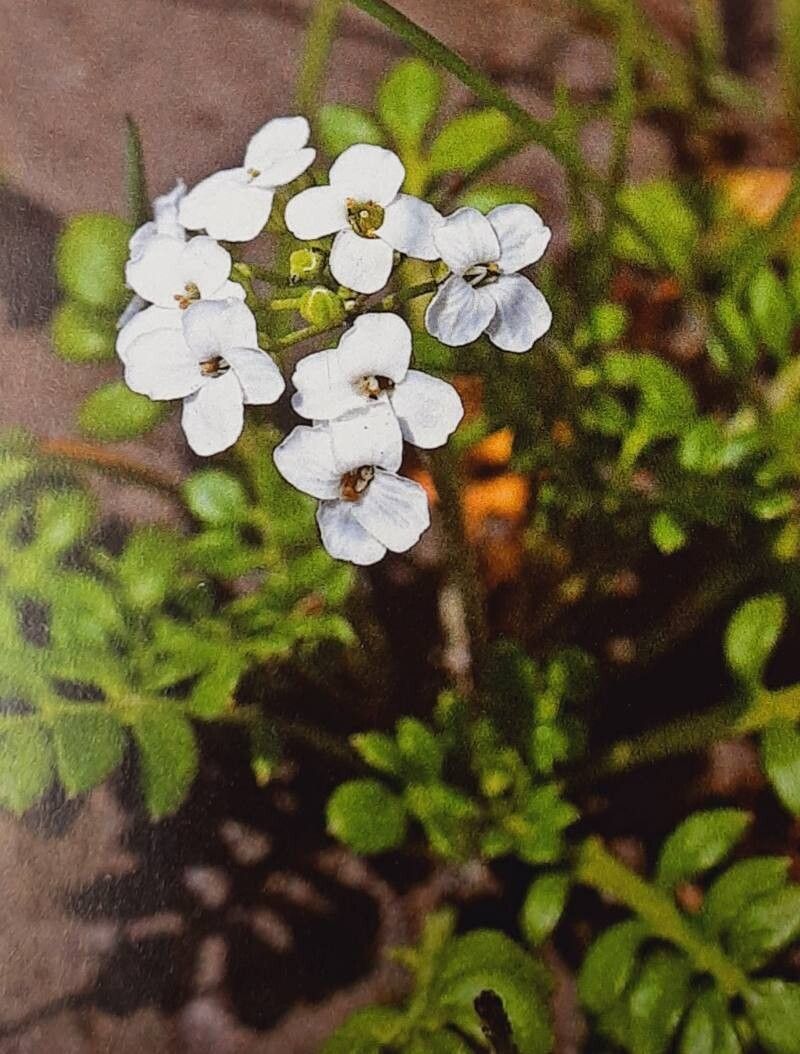
Have you ever admired that darling Hornungia alpina – you know, the one with its delicate, snow-white flowers cascading over rocks? It’s such a charming little alpine that can bring a touch of wild beauty right into your own garden or even a windowsill. And the best part? It’s surprisingly rewarding to create more of these beauties yourself! If you’re new to the plant-propagation game, don’t be intimidated. Hornungia alpina is a pretty good sport, making it a fantastic plant to practice your skills on.
The Best Time to Start
For the highest success rates, I always reach for my secateurs in late spring or early summer. This is when the plant is actively growing and has plenty of healthy, new shoots that are just begging to be tucked into some soil. Waiting until the plant has finished its main flush of blooming is also a good cue.
Supplies You’ll Need
Here’s what I like to have on hand before I start:
- Sharp pruning shears or a clean craft knife: For precise cuts.
- Seed-starting mix or a well-draining potting mix: Something light and airy is key. I often mix in some perlite or sharp sand.
- Small pots or trays: With drainage holes, of course!
- Rooting hormone (optional but helpful): A powder or gel can give your cuttings an extra boost.
- Watering can or spray bottle: For gentle watering.
- Plastic bags or a propagator lid: To create a humid environment.
Propagation Methods
Let’s get our hands dirty! For Hornungia alpina, I find propagation by stem cuttings to be the most effective and straightforward.
-
Take Your Cuttings: Using your sharp pruners, select healthy, non-flowering shoots that are about 3-4 inches long. Make a clean cut just below a leaf node (where a leaf attaches to the stem). Remove the lower leaves from the cutting, leaving just a few at the top. This helps prevent them from rotting in the soil.
-
Prepare the Cutting: If you’re using rooting hormone, dip the cut end of the stem into the powder or gel. Tap off any excess.
-
Potting Up: Fill your small pots with your well-draining mix. Make a small hole in the center of the soil with your finger or a pencil. Gently insert the prepared cutting into the hole, ensuring the leaf nodes you removed are below the soil surface. Firm the soil gently around the base of the cutting.
-
Create a Humid Environment: Water the soil lightly, just enough to moisten it. Then, cover the pot with a clear plastic bag or a propagator lid. This traps humidity, which is crucial for cuttings to develop roots.
-
Placement: Place the pot in a bright spot, but out of direct, harsh sunlight. A warm windowsill is usually perfect.
The “Secret Sauce” (Pro Tips)
Here are a couple of tricks I’ve picked up over the years that can really make a difference:
- Don’t Let the Leaves Touch the Water (If You Go That Route): While stem cuttings are my preference, some people try water propagation. If you do this, make sure that no leaves are submerged in the water. Rot is the enemy here, and submerged leaves are a direct invitation.
- Bottom Heat is Your Friend: I find that placing my pots on a gentle heat mat can significantly speed up root development. It mimics the warmth of spring soil and gives those little root cells a nudge. Just ensure it’s not too hot – you don’t want to cook your cuttings!
Aftercare & Troubleshooting
Once you see new growth emerging from your cuttings, that’s a great sign that roots are forming! You can gently tug on the cutting; if there’s resistance, it’s likely rooted.
- Gradual Acclimation: Once roots are established, you’ll want to gradually remove the plastic cover over a week or so to let the new plant adjust to lower humidity.
- Regular Watering: Keep the soil consistently moist but not waterlogged. Overwatering is the most common culprit for failure.
- Signs of Trouble: Look out for mushy stems or browning leaves. These are often indicators of rot, usually from too much moisture or insufficient drainage. If you see this, remove the affected cutting and ensure the remaining ones have better air circulation and slightly drier conditions.
A Little Patience Goes a Long Way
Propagating plants is a journey, and it’s important to remember that not every cutting will make it. But with a little practice, you’ll be amazed at how easily you can fill your garden with these delightful Hornungia alpina. Enjoy the process, celebrate every new root, and happy gardening!
Resource:
https://identify.plantnet.org/k-world-flora/species/Hornungia%20alpina%20(L.)%20O.Appel/data