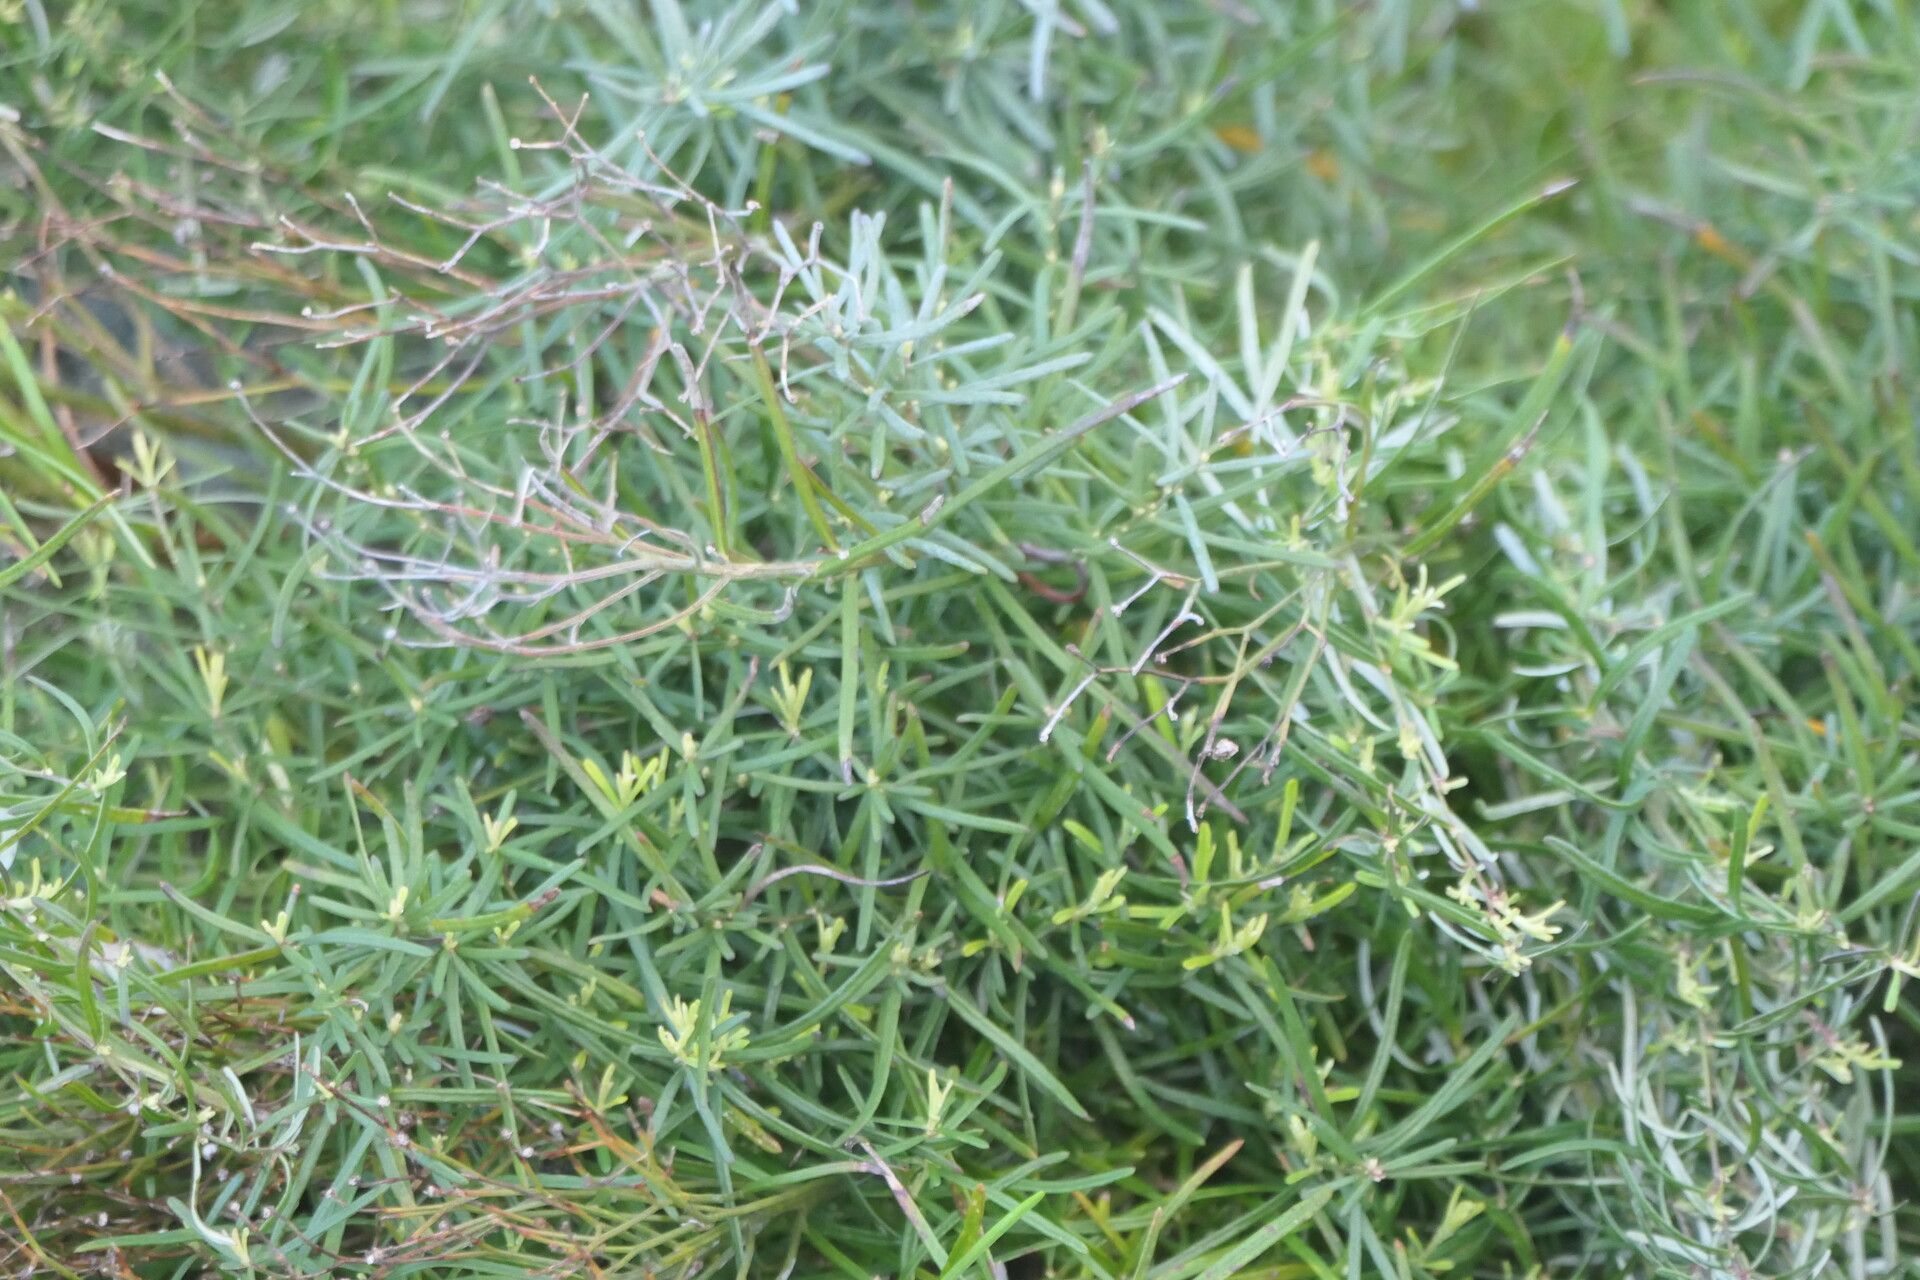
Oh, Hilliardiella capensis! Isn’t she a beauty? With her delicate, star-shaped flowers and lovely green foliage, she really is a gem in any garden. I’ve been growing her for years, and honestly, the real joy comes from seeing new little ones sprout up. It’s like spreading a little bit of that magic around!
If you’re new to propagating, don’t be shy. Hilliardiella capensis can be a touch particular, but with a little patience, you’ll find success. It’s not a “stick it in the ground and forget it” kind of plant, but the rewards are absolutely worth the effort.
The Best Time to Start
For the highest chances of success, I always recommend starting your propagation efforts in late spring or early summer. This is when the plant is actively growing and has plenty of energy to put into rooting. You want to be taking cuttings from healthy, vigorous stems that are not in flower. Think new growth that’s just starting to firm up.
Supplies You’ll Need
Gathering your tools beforehand makes the whole process so much smoother. Here’s what I usually have on hand:
- Sharp pruning shears or a clean, sharp knife: You need a clean cut to minimize damage and prevent disease.
- Potting mix: A well-draining mix is crucial. I like to use a blend of equal parts peat moss or coco coir and perlite or coarse sand.
- Small pots or propagation trays: Make sure they have drainage holes.
- Rooting hormone (optional but recommended): This can give your cuttings a nice boost.
- Watering can with a fine rose or a mister: For gentle watering.
- Clear plastic bags or a propagation dome: To create a humid environment.
Propagation Methods
While Hilliardiella capensis can be a bit finicky, stem cuttings are my go-to method and the most reliable for me.
Stem Cuttings:
- Select your cuttings: Look for healthy, non-flowering stems that are about 4-6 inches long. You want stems that are somewhat bendy but not completely soft.
- Make the cut: Using your sharp tool, make a clean cut just below a leaf node. These are the points where leaves emerge from the stem.
- Prepare the cutting: Gently remove the lower leaves from the cutting, leaving just a few at the top. This prevents them from rotting in the soil. If your cuttings are very long, you can even cut the remaining leaves in half to reduce water loss.
- Apply rooting hormone (optional): Dip the cut end of the stem into your rooting hormone, tapping off any excess.
- Plant your cuttings: Fill your small pots or trays with your prepared potting mix. Make a small hole with a pencil or your finger and insert the cutting. Gently firm the soil around the base of the stem.
- Water gently: Water the soil thoroughly but avoid waterlogging. You want it moist, not soaking.
- Create humidity: Cover the pots with a clear plastic bag or a propagation dome. Ensure the leaves don’t touch the sides of the bag – you can use small stakes to prop it up if needed.
- Place in bright, indirect light: Find a warm spot out of direct sunlight.
The “Secret Sauce”
Here are a couple of things I’ve learned over the years that really seem to make a difference:
- Bottom Heat is Your Friend: If you have a gentle heat mat designed for seedlings, placing your pots on top of it can significantly speed up rooting. It mimics the warmth of spring soil beautifully.
- Don’t Drown Your Dreams: I cannot stress this enough – overwatering is the quickest way to kill a cutting. The goal is consistently moist, not soggy. If you see standing water, tip the pot gently to drain.
- Patience, Young Grasshopper: Sometimes, it can take several weeks, or even a couple of months, for roots to form. Don’t get discouraged if you don’t see immediate action. Resist the urge to constantly pull them up to check!
Aftercare & Troubleshooting
Once you start to see signs of new growth, like tiny leaves unfurling at the top, it’s a good indicator that roots have formed. You can gently tug on a cutting – if you feel resistance, you’ve got roots!
- Acclimate gradually: Once roots are established, start by removing the plastic bag for short periods each day, gradually increasing the time until they’re used to ambient humidity.
- Keep watering consistently: Continue to water gently when the top inch of soil feels dry.
- Move to a slightly larger pot: When the new plant is about 2-3 inches tall and has a good root system, you can pot it up into a slightly larger container.
The most common problem you’ll encounter is rot. If your cuttings become limp, mushy, and develop dark, soft spots, it’s usually a sign of too much moisture and not enough air circulation. If you catch it early, you might be able to salvage a healthy section, but often it’s difficult to bring them back. This is why that well-draining soil and careful watering are so vital.
A Warm Farewell
Propagating Hilliardiella capensis is a wonderful way to expand your collection and share the beauty of this plant. It takes a little practice, and you might have a few failures along the way, but each attempt teaches you something. So, gather your supplies, embrace the process, and enjoy the blooming rewards of your patient efforts! Happy gardening!
Resource: