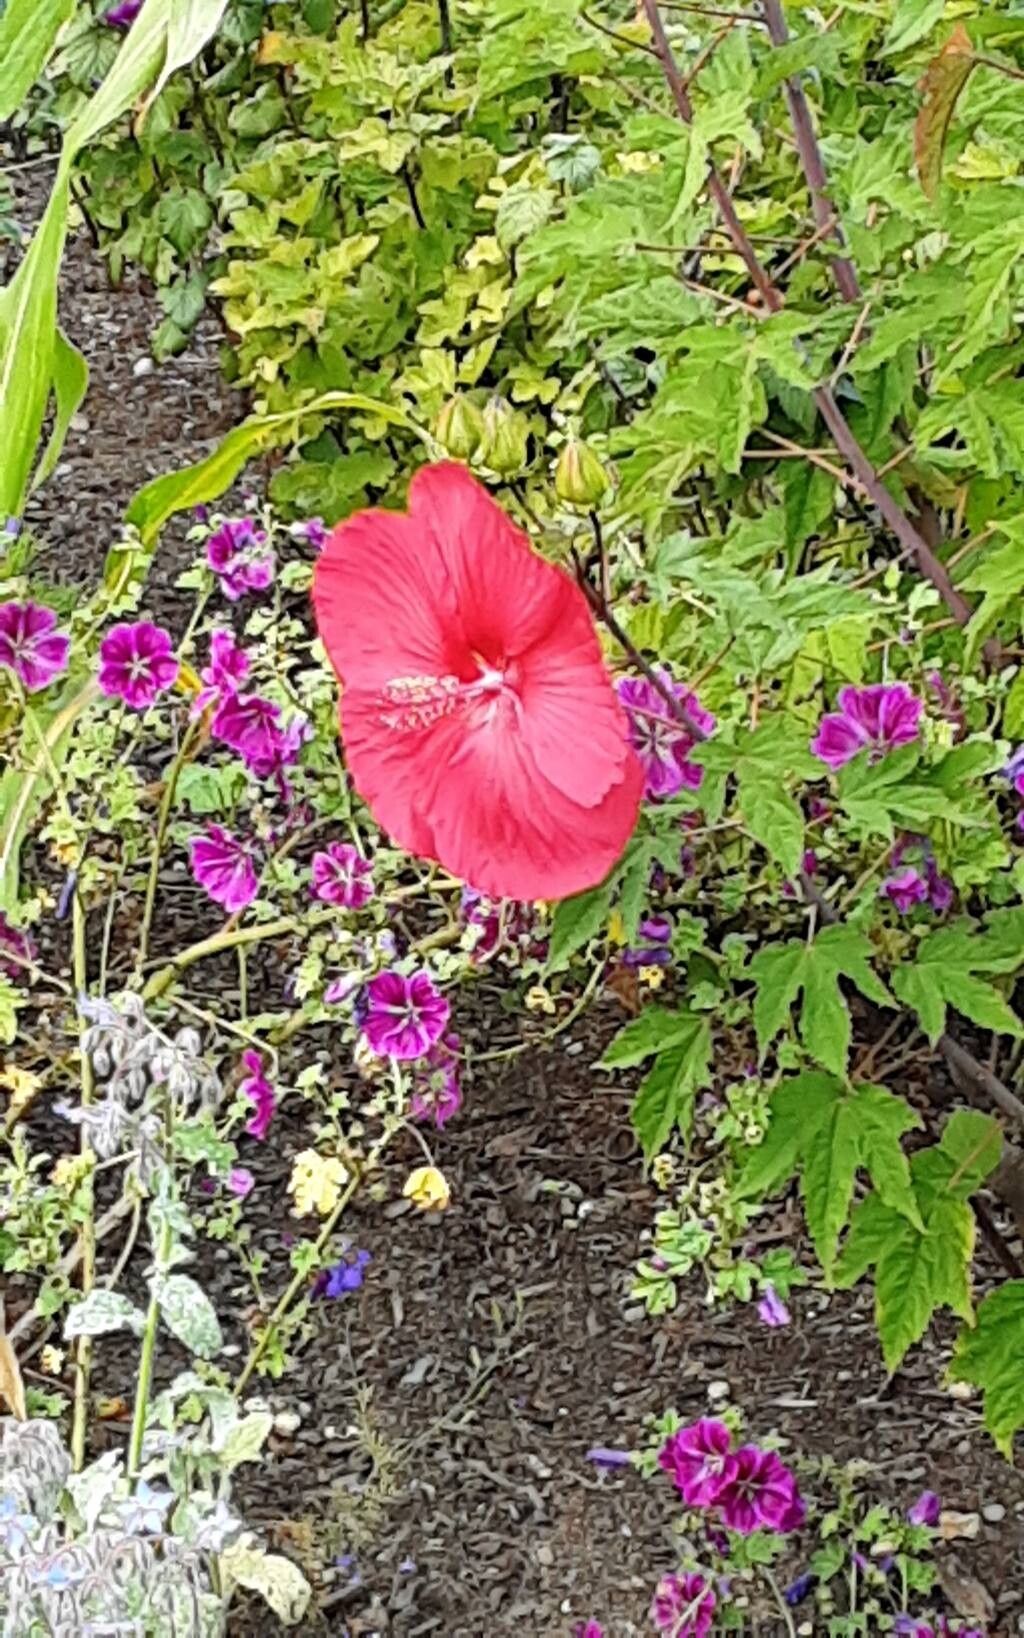
Hey there, fellow plant lovers! Today, we’re diving into the wonderful world of propagating Hibiscus grandiflorus, or as some affectionately call it, the swamp hibiscus. If you’ve ever been captivated by its large, showy blooms, you know how special this plant is. Growing your own from cuttings is not only incredibly rewarding, but it’s also a fantastic way to get more of these beauties for free! Don’t worry if you’re new to propagation; Hibiscus grandiflorus is generally quite forgiving, making it a great plant to get your hands dirty with.
The Best Time to Start
For the highest success rate, aim to take your cuttings in late spring or early summer, right around when the plant is actively growing. You want to grab stems that are not too old and woody, but also not brand new and flimsy. Think of it as seeking that “just right” stage – firm enough to hold its shape but still full of youthful vigor.
Supplies You’ll Need
Gathering your tools upfront makes the whole process smoother. Here’s what you’ll want to have on hand:
- Sharp Pruning Shears or a Craft Knife: Cleanliness is key here to prevent disease.
- Rooting Hormone (Optional but Recommended): This little helper can significantly boost your success rate.
- Well-Draining Potting Mix: A blend of equal parts peat moss or coco coir and perlite or vermiculite works wonders. You want something that breathes and doesn’t stay waterlogged.
- Small Pots or Trays: Clean pots are a must! Small ones are perfect for cuttings.
- Plastic Bags or a Propagator with a Lid: This creates a humid environment for your cuttings.
- Water Source: For misting and watering.
- Labeling Stakes: To keep track of your precious propagations!
Propagation Methods
We’ll focus on the most straightforward methods, which will give you excellent results.
Stem Cuttings
This is my go-to method for Hibiscus grandiflorus.
- Select Your Cuttings: In late spring or early summer, choose healthy, non-flowering stems. Look for those that are semi-hardwood – they’ll snap cleanly rather than bend. You want cuttings that are about 4-6 inches long.
- Make the Cut: Using your sharp shears or knife, make a clean cut just below a leaf node (where a leaf attaches to the stem).
- Prepare the Cutting: Gently remove the lower leaves, leaving just a few at the top. This prevents them from rotting in the soil and encourages the plant to focus energy on rooting.
- Apply Rooting Hormone (Optional): If you’re using rooting hormone, dip the cut end of the stem into the powder or gel. Tap off any excess.
- Plant Your Cuttings: Fill your small pots with your prepared potting mix. Make a small hole with your finger or a pencil. Insert the cut end of the hibiscus cutting into the hole, ensuring it’s about an inch or two deep. Gently firm the soil around the base to provide support.
- Water and Cover: Water the cuttings thoroughly until you see water drain from the bottom of the pot. Then, cover the pot with a clear plastic bag or place it inside a propagator. This creates a mini-greenhouse effect, maintaining humidity. You can prop the bag up with stakes so the leaves don’t touch the plastic.
Water Propagation (A Quicker Check)
While stem cuttings planted directly in soil tend to be more robust long-term, water propagation can be a fun way to watch roots develop.
- Prepare Cuttings: Follow steps 1-3 for stem cuttings.
- Place in Water: Submerge only the leafless portion of the cutting in a jar or glass of water. Make sure no leaves are in the water, as they will rot.
- Change Water Regularly: Change the water every few days to keep it fresh and prevent bacterial growth.
- Wait and Watch: You should start to see tiny white roots emerge from the nodes within a few weeks.
- Transplant: Once the roots are about an inch long, carefully transplant them into your well-draining potting mix as described in the stem cutting method. Be gentle; these delicate roots can break easily.
The “Secret Sauce” (Pro Tips)
Here are a few things I’ve learned over the years that can really make a difference:
- Bottom Heat is Your Friend: Hibiscus roots love warmth. Placing your pots on a heating mat designed for plant propagation can dramatically speed up root development. It tricks the plant into thinking it’s mid-summer deep in the soil.
- Misting is Key (Initially): Don’t let your cuttings dry out in that first week or two. Lightly mist the leaves with water a couple of times a day, especially if your humidity dome isn’t perfectly sealed. This keeps them plump and happy while they search for moisture through their still-forming roots.
- Don’t Be Afraid to Take Multiple Cuttings: Not every cutting will take, and that’s perfectly normal! It’s always better to propagate more than you think you’ll need to increase your chances of success.
Aftercare & Troubleshooting
Once you see new leaf growth on your cuttings, that’s a good sign that roots are forming.
- Gradual Acclimation: Slowly reduce the humidity over a week or two. You can start by opening the plastic bag for a few hours a day, then remove it entirely.
- Light and Watering: Move your pots to a bright, indirect light location. Water them when the top inch of soil feels dry. Don’t let them sit in soggy soil.
- Signs of Trouble: The most common issue is rot. If your cuttings shrivel up and turn black, or if you see a fuzzy mold on the soil, it’s usually a sign of too much moisture and not enough air circulation. If you have rot, discard the affected cutting and try to improve drainage and airflow for the others.
A Little Patience Goes a Long Way
Propagating plants is a journey, and each cutting you nurture is a little win. Be patient with your Hibiscus grandiflorus babies. Some take their sweet time, and that’s just part of their charm. Enjoy the process of watching new life emerge from a single stem. Happy propagating!
Resource:
https://identify.plantnet.org/k-world-flora/species/Hibiscus%20grandiflorus%20Michx./data