Bringing More Sunshine into Your Garden: A Guide to Propagating Hibbertia vestita
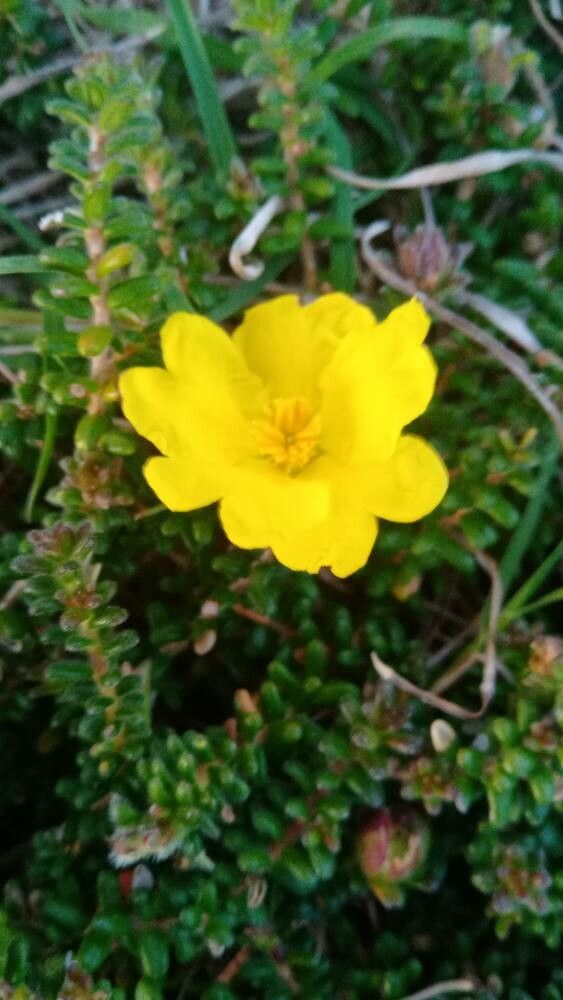
Oh, Hibbertia vestita! If you’ve ever been captivated by its cheerful, buttery-yellow blooms, you’re not alone. This native gem, often called “Guinea Flower,” brings such a delightful splash of sunshine to any garden corner. And the best part? It’s surprisingly rewarding to propagate. Think of it as sharing a bit of that sunshine with a friend, or simply expanding your own golden collection. For beginners, it’s a pretty approachable plant to get started with, which is always a bonus!
The Best Time to Start
For the highest success rate, I always aim to take cuttings in late spring or early summer. This is when the plant is actively growing and has plenty of youthful energy. You want to choose stems that are developing but not yet woody. Think of them as strong, flexible shoots that are ready to take on new life.
Supplies You’ll Need
To give your Hibbertia cuttings the best fighting chance, gather these essentials:
- A clean, sharp pair of secateurs or pruning shears. Cleanliness is key to preventing disease!
- A well-draining potting mix. I personally like a blend of equal parts peat moss (or coir), perlite, and composted bark. If you can’t find that, a good quality seed-starting mix with added perlite works wonderfully.
- Rooting hormone powder or gel. This is like a little energy drink for your cuttings, encouraging them to form roots faster.
- Small pots or seedling trays with drainage holes.
- A plastic bag or clear plastic dome. This will act as a mini-greenhouse to keep humidity levels up.
- Labels and a marker. Trust me, you’ll forget which cutting is which!
- Optional: A heat mat. This is particularly helpful if your propagation area tends to be on the cooler side.
Propagation Methods: Let’s Get Our Hands Dirty!
The most reliable way to propagate Hibbertia vestita is through stem cuttings. It’s tried and true, and honestly, quite satisfying.
- Select Your Material: Head out to your healthy Hibbertia plant. Look for stems that are about 4-6 inches long and have at least two nodes (the little bumps where leaves emerge). The stems should be flexible, not stiff or old and woody.
- Make the Cut: Using your clean secateurs, make a clean cut just below a node. This is where the magic of root formation is most likely to happen.
- Prepare the Cutting: Gently remove the lower leaves from the cutting, leaving only a couple of leaves at the very top. This prevents them from rotting in the soil. If the remaining leaves are very large, you can even snip them in half to reduce water loss.
- Apply Rooting Hormone: Dip the cut end of the stem into your rooting hormone. Tap off any excess.
- Plant Your Cuttings: Fill your small pots or trays with your prepared potting mix. Make a small hole with your finger or a pencil. Insert the cutting into the hole, ensuring the rooted end is in contact with the soil. Gently firm the soil around the stem.
- Water Gently: Water thoroughly but gently, so you don’t dislodge the cuttings.
- Create a Humid Environment: Cover the pots with a plastic bag or place them under a clear dome. You want to create a humid environment to prevent the cuttings from drying out before they can establish roots. Ensure the plastic doesn’t touch the leaves too much.
- Find a Good Spot: Place your pots in a bright location with indirect sunlight. Avoid direct sun, which can scorch the delicate cuttings. If you’re using a heat mat, place the pots on top of it.
The “Secret Sauce” (Pro Tips)
Here are a couple of tricks I’ve picked up over the years that can make a real difference:
- Don’t let the leaves touch the water if you’re tempted by water propagation (though I prefer soil methods for this plant)! If you do try water, change the water every few days to keep it fresh and prevent bacterial growth. For soil cuttings, ensure your bottom leaves are well clear of the soil surface. This is a prime spot for rot to set in.
- Bottom heat is your friend! While not strictly essential, a gentle warmth from a heat mat can dramatically speed up root development. It mimics the conditions of a warmer climate, encouraging those roots to sprout with enthusiasm.
Aftercare & Troubleshooting
Once your cuttings have visibly started to grow (new leaves appearing is a good sign!), it’s time to transition them. You can gradually remove the plastic cover over a few days to acclimatize them to normal humidity. Continue to keep them moist but not waterlogged.
The most common issue you might encounter is rot. If you see a cutting turning black and mushy, unfortunately, it’s likely a goner. This usually happens due to overwatering or poor air circulation. Don’t get discouraged! Just remove the affected cutting and inspect your other ones. If the soil feels too wet, let it dry out a bit more between waterings.
Keep Growing!
Propagating Hibbertia vestita is a beautiful way to multiply the joy this plant brings. Be patient with your little green babies, and don’t be disheartened if a few don’t make it. Each attempt is a learning experience. Soon, you’ll have a whole cluster of these sunny beauties to enjoy and even share. Happy propagating!
Resource:
https://identify.plantnet.org/k-world-flora/species/Hibbertia%20vestita%20A.Cunn.%20ex%20Benth./data