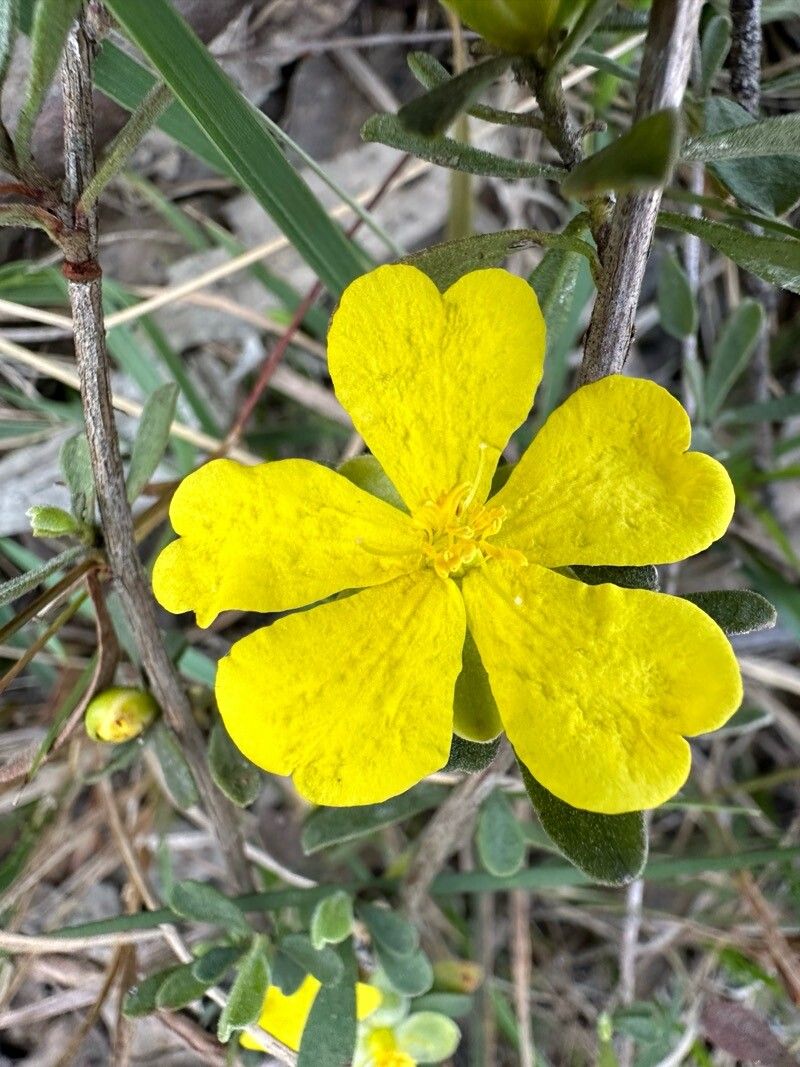
Hello there, fellow plant enthusiasts! It’s me, your garden companion for all things green. Today, we’re going to dive into the wonderful world of propagating Hibbertia hypericoides, or the Snake Flower, as some of us affectionately call it.
If you’ve ever admired its bright, cheerful yellow blooms, you’re not alone. Hibbertias are just delightful, adding pops of sunshine to any garden border or pot. And the best part? Making more of them yourself is surprisingly achievable. Don’t let that fancy botanical name scare you; propagating this beauty is a rewarding experience, even for those just dipping their toes into the gardening pool. It’s a fantastic way to expand your collection or share some floral joy with friends.
The Best Time to Start This Exciting Venture
For the highest success rate with your Hibbertia propagation, aim to take your cuttings in late spring to early summer. This is when the plant is actively growing, and those fresh, semi-hardwood stems have the most vigor. You want to avoid taking cuttings from very soft, new growth, as it’s a bit too fragile. Conversely, super woody stems from last year are often a bit too stubborn to root easily. Think of it as Goldilocks – just right!
Supplies You’ll Need to Get Rooting
Gathering your tools before you start makes the whole process much smoother. Here’s what you’ll want to have on hand:
- Sharp, clean pruning shears or secateurs. A clean cut is crucial to prevent disease.
- Rooting hormone powder or gel. This is like a little boost for your cuttings, encouraging stronger root development.
- A well-draining potting mix. I like a blend of equal parts perlite and peat moss, or a quality seed-starting mix. Good aeration is key.
- Small pots or trays. Clean pots are a must! Biodegradable pots are lovely if you plan to plant them directly into the ground later.
- A watering can with a fine rose. Gentle watering prevents disturbing those precious cuttings.
- Plastic bags or a propagator. This helps maintain humidity around your cuttings.
- Optional: A heat mat. This can speed up rooting, especially if your home tends to be on the cooler side.
Propagation Methods: Let’s Get Our Hands Dirty!
The most reliable way to propagate Hibbertia hypericoides is through stem cuttings. It’s straightforward and generally yields good results.
- Select Your Stems: Look for healthy, non-flowering stems that are about 10-15 cm (4-6 inches) long. These should feel firm but still have a bit of flexibility.
- Take Your Cuttings: Make a clean cut just below a leaf node (where a leaf attaches to the stem). This is where the plant’s rooting hormones are concentrated.
- Prepare the Cuttings: Gently remove the lower leaves. You want to expose the leaf nodes as much as possible for rooting. You can leave about 2-3 sets of leaves at the top. If the remaining leaves are very large, you can even snip them in half to reduce water loss.
- Apply Rooting Hormone: Dip the cut end of each stem generously into the rooting hormone. Tap off any excess.
- Pot Them Up: Fill your small pots with your well-draining potting mix. Make a small hole in the center of each pot with your finger or a pencil.
- Insert and Firm: Gently insert the cut end of the stem into the hole, ensuring the rooting hormone makes good contact with the soil. Firm the soil gently around the base of the cutting to secure it.
- Water Gently: Water the soil thoroughly but gently, allowing excess water to drain away.
- Create a Humid Environment: Cover the pots with a clear plastic bag or place them in a propagator. This creates a mini-greenhouse effect, keeping humidity high, which is vital for cuttings to root. Make sure the leaves don’t touch the plastic. You can use stakes to prop the bag up if needed.
- Find a Suitable Spot: Place your pots in a bright spot that receives indirect sunlight. Avoid direct sun, as it can scorch the delicate cuttings.
The “Secret Sauce”: Insider Tips from My Garden
Over the years, I’ve learned a few tricks that can really boost your success rate.
- First, never let the leaves of your cuttings touch the water if you’re attempting water propagation (though cuttings in soil are generally more successful for Hibbertia). In soil, this translates to ensuring your humidity domes or bags are well-supported so the leaves don’t droop onto the moist surface. Moisture trapped against the leaves can encourage a nasty rot.
- If you have a heat mat, now’s its time to shine! Placing your pots on a gentle bottom heat (around 20-24°C or 68-75°F) can significantly speed up root formation. It mimics the warmth of spring soil and really gives those roots a nudge.
- And a small one that often gets overlooked: don’t overcrowd your pots. Give each cutting a little breathing room. This improves air circulation around the base and reduces the risk of fungal issues.
Aftercare & Troubleshooting: Nurturing Your New Sprouts
Once your cuttings have been planted, patience is your best friend. Check on them regularly, keeping the soil consistently moist but not waterlogged. You’ll know your cuttings are rooting when you see new leaf growth. This can take anywhere from 4 to 8 weeks, sometimes longer, depending on the conditions.
If you see wilting, yellowing leaves, or a slimy stem, it’s a sign of trouble, often rot due to overwatering or poor drainage. Unfortunately, if a cutting rots, it’s usually best to discard it and try again. Ensure your potting mix is airy and that those pots have drainage holes! If you see any mold on the soil surface, you can gently scrape it off or sprinkle a tiny bit of cinnamon, which has natural antifungal properties.
Once you’ve got a healthy root system (you can gently tug on a cutting; if it resists, roots have formed), you can carefully transplant your new Hibbertias into slightly larger pots. Continue to provide bright, indirect light and keep the soil moist. As they grow stronger, you can gradually introduce them to more direct sunlight.
Keep Growing!
Propagating plants is a journey, and each successful attempt fills me with such joy. Don’t be discouraged if your first batch isn’t a runaway success. Keep trying, observe your plants, and learn from each step. Before you know it, you’ll have a whole garden bursting with these gorgeous yellow blooms. Happy propagating!
Resource:
https://identify.plantnet.org/k-world-flora/species/Hibbertia%20hypericoides%20(DC.)%20Benth./data