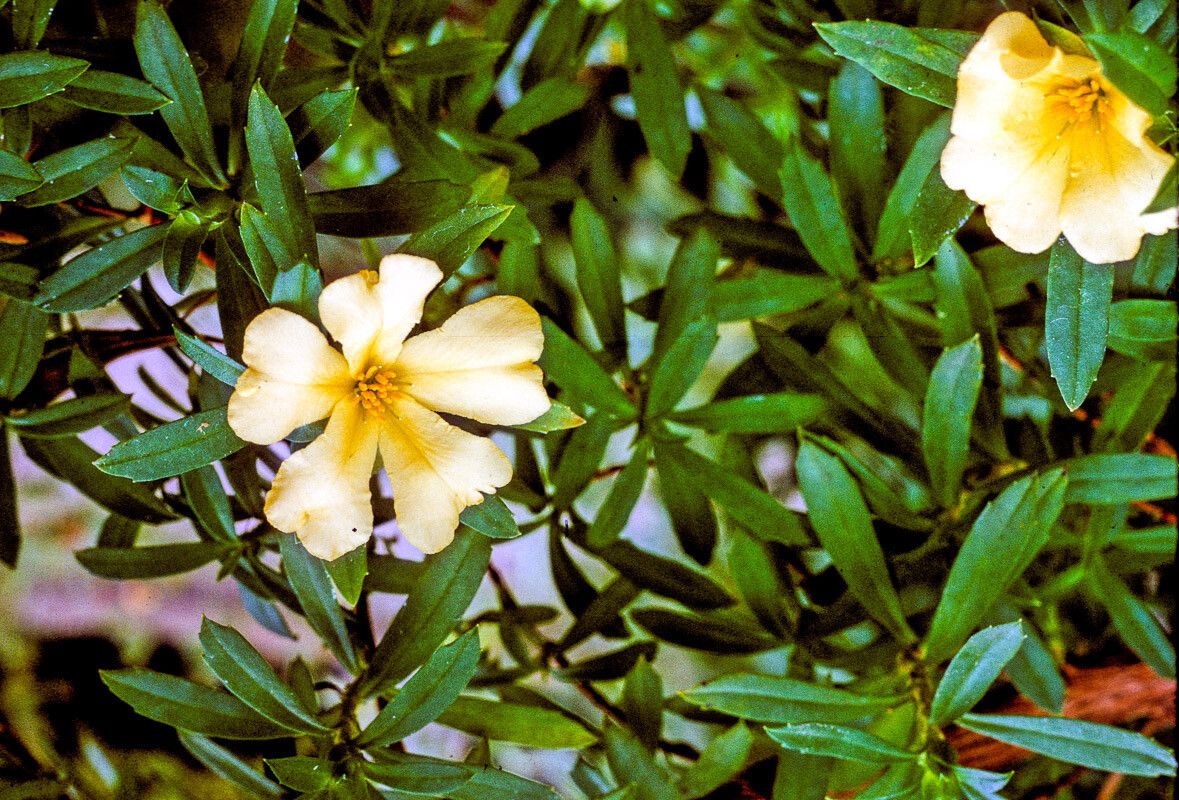
Oh, hello there! It’s so lovely to have you join me for a chat about one of my absolute garden favorites: Hibbertia cuneiformis. You know, the one with the cheerful, bright yellow flowers that just seem to soak up the sunshine? I’ve got a few happy clumps of it gracing my garden, and let me tell you, sharing its beauty with others by propagating it is one of the most satisfying things you can do. If you’re new to the gardening game, I think you’ll find this little gem surprisingly forgiving. It’s a wonderful plant to practice your propagation skills on!
The Best Time to Start
For the best success with Hibbertia cuneiformis, I always reach for my secateurs in late spring or early summer. This is when the plant is actively growing, and new shoots are forming. They have plenty of energy, which is exactly what we want when we’re trying to get them to root. Waiting until after the main flush of flowering is also a good idea.
Supplies You’ll Need
Here’s what you’ll want to have on hand:
- Sharp, clean pruning shears or secateurs. Hygiene is key to preventing disease!
- Rooting hormone powder or gel. This is a real boost for encouraging roots to form.
- A well-draining potting mix. I like a blend of about two parts peat-free compost to one part perlite. Or, a commercial seed and cutting mix works perfectly.
- Small pots or seed trays. Clean ones, please!
- A watering can or spray bottle.
- A clear plastic bag or propagator. This helps create a humid environment.
- Identification labels. Trust me, you’ll thank yourself later.
Propagation Methods: Stem Cuttings
This is my go-to method for Hibbertia cuneiformis. It’s straightforward and usually yields great results.
- Select your cuttings: Gently look for healthy, non-flowering shoots on your mature plant. You’re aiming for stems that are about 4-6 inches long. They should be somewhat firm but not woody – think of them as being in that “pencil-thick” stage.
- Make the cut: Using your clean secateurs, take your cutting. Make the cut just below a leaf node (where a leaf attaches to the stem). This is where the magic will happen when it comes to root formation.
- Prepare the cutting: Gently remove the lower leaves from the bottom half of the cutting. You can leave a few leaves at the very top to help photosynthesis, but too many can draw moisture away from the developing roots. If the remaining leaves are quite large, I like to snip them in half to reduce water loss.
- Apply rooting hormone: Dip the cut end of the stem into your chosen rooting hormone. Gently tap off any excess. This step is like giving your cutting a little head start.
- Pot them up: Make a small hole in your prepared potting mix with a pencil or your finger. Insert the cutting, ensuring the rooting hormone is in contact with the soil. Firm the soil gently around the base of the cutting.
- Water gently: Water the pot thoroughly but gently. You want the soil to be moist, not waterlogged.
- Create humidity: Place the pot inside a clear plastic bag or a propagator. This traps moisture and keeps the cutting in a mini-greenhouse. Keep the bag open at the top a crack or open the propagator lid daily for a few minutes to allow for air exchange.
The “Secret Sauce” (Pro Tips)
Here are a few of my little tricks that often make the difference:
- Don’t let the leaves touch the water (if you were to try water propagation, which I find less reliable for this plant): For stem cuttings in soil, this isn’t quite as critical. However, ensure any removed leaves don’t sit on the surface of the soil, as they can rot and potentially spread to your cutting.
- Bottom heat is your friend: If you have a heated propagator or can place your pots on a heat mat, do it! Hibbertia cuneiformis loves a bit of warmth from below to really get those roots going. It speeds things up considerably.
- Freshness is key: Try to get your cuttings planted as soon as possible after taking them. The longer they sit around, the more stressed they become, and the less likely they are to root successfully.
Aftercare & Troubleshooting
Once your cuttings are potted and covered, keep them in a bright spot out of direct sunlight. Patience is a virtue here! It can take anywhere from 4 to 8 weeks for you to see signs of new growth, which usually indicates roots have formed. You can gently tug on a cutting – if there’s resistance, you’ve got roots!
If you notice your cuttings looking wilted and sad, it could be a sign they aren’t rooting and are drying out. Make sure the humidity is consistent and the soil is slightly moist. The biggest issue to watch out for is rot. This usually happens if the cuttings are kept too wet and don’t have enough air circulation. If you see any blackening or mushy stems, unfortunately, it’s best to discard that cutting and try again, ensuring better drainage and ventilation next time.
Happy Propagating!
See? Not so daunting, is it? Propagating Hibbertia cuneiformis is a rewarding way to multiply your garden joy. Just remember to be patient, provide a good environment, and soon you’ll have a whole collection of these sunshine-yellow beauties to share or replant. Happy gardening, my friend!
Resource:
https://identify.plantnet.org/k-world-flora/species/Hibbertia%20cuneiformis%20(Labill.)%20Sm./data