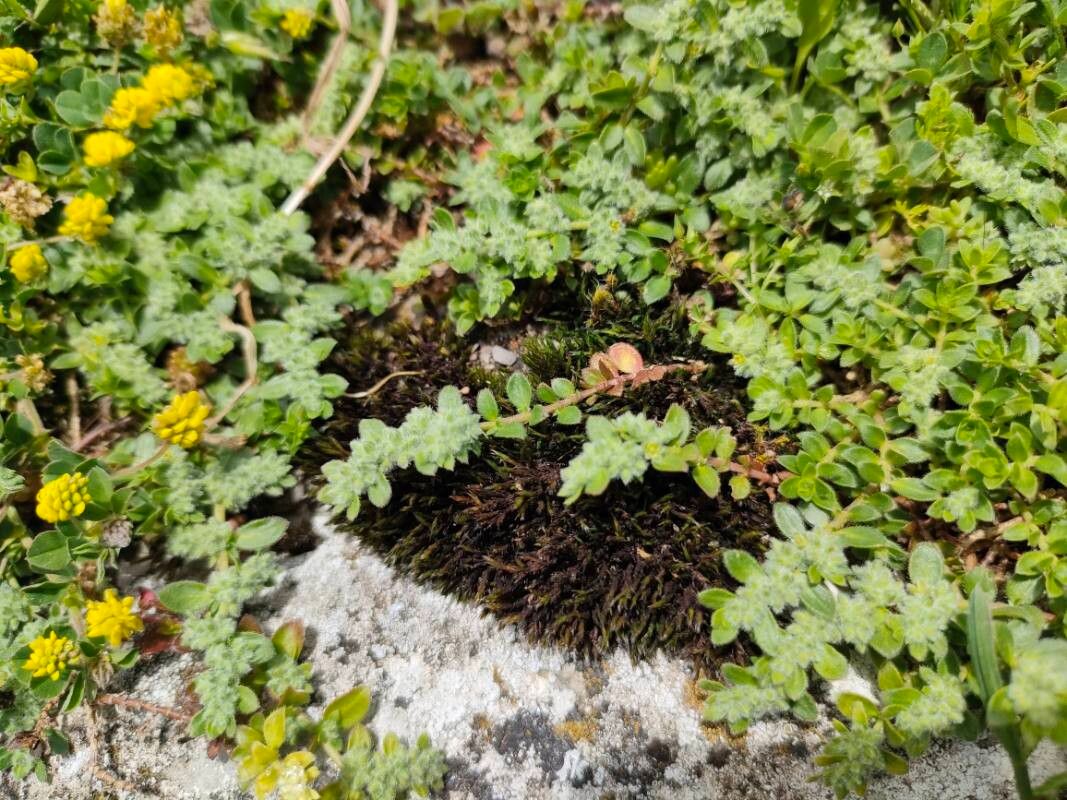
Hello fellow plant lovers! It’s so good to have you here. Today, we’re diving into the wonderful world of Herniaria latifolia, also known as the sticky carpet or creeping rupturewort. If you’ve ever seen this delightful plant carpeting a dry, sunny spot with its tiny, almost moss-like foliage, you know how charming it is. It’s a fantastic groundcover, particularly for rock gardens or pathways, and its subtle beauty really shines when it’s established.
Now, if you’re wondering about tackling propagation, I have good news! Herniaria latifolia is genuinely quite forgiving. This isn’t some finicky diva of a plant; it’s a wonderful choice for beginners looking to expand their collection or share these beauties with friends. There’s a special kind of joy in taking a small piece of a plant you love and helping it grow into a new life.
The Best Time to Start
For the highest chance of success, I always reach for my pruning shears in late spring or early summer. This is when the plant is actively growing, and new shoots are tender and full of life. The longer days and warmer temperatures provide the perfect conditions for these cuttings to take root without too much fuss. Aim for stems that have grown this season, not woody, old growth from previous years.
Supplies You’ll Need
Gathering your supplies beforehand makes the whole process smoother. Here’s what I typically have on hand:
- Sharp pruning shears or a clean craft knife: For making neat cuts.
- Rooting hormone (optional but helpful): A powdered or gel form can give cuttings a good boost.
- A well-draining potting mix: A blend of seed-starting mix, perlite, and a bit of sand works wonders. You want good aeration and minimal water retention.
- Small pots or seed trays: Clean and with drainage holes, of course!
- A plastic bag or propagation dome: To keep humidity high.
- Watering can with a fine rose or a spray bottle: For gentle watering.
Propagation Methods
Herniaria latifolia is particularly well-suited to stem cuttings. It’s straightforward and yields great results.
- Taking the Cuttings: Select healthy, non-flowering stems from your mature plant. You’re looking for shoots that are about 2-4 inches long. Using your sharp shears or knife, make a clean cut just below a leaf node (where the leaves attach to the stem). This is crucial because that’s where the magic of root formation often happens. Remove the lower leaves, leaving just a few at the top.
- Applying Rooting Hormone (Optional): If you’re using rooting hormone, dip the cut end of the stem into the powder or gel. Tap off any excess.
- Planting the Cuttings: Fill your clean pots or trays with your prepared potting mix. Gently make a small hole with a pencil or your finger, and insert the cutting, ensuring the leaf nodes that were stripped are below the soil line.
- Firming the Soil: Gently firm the soil around the base of the cutting to ensure good contact.
- Watering: Water the pots thoroughly but gently, making sure the soil is moist but not waterlogged.
- Creating a Humid Environment: Place the pots into a plastic bag or cover them with a propagation dome. This traps moisture, mimicking the humid conditions essential for new root development. Open the bag or dome periodically (every few days) to allow for air circulation and prevent fungal issues.
- Light and Temperature: Place your cuttings in a bright spot, but out of direct, harsh sunlight. They prefer warmth, so a sunny windowsill is usually perfect.
The “Secret Sauce” (Pro Tips)
After years of tinkering, I’ve learned a few things that really give an edge.
- First, when you’re preparing cuttings, don’t be afraid to be a little ruthless with leaf removal. If the leaves are too dense, they’ll transpire too much water. Removing the lower half of the leaves helps the cutting conserve energy while it focuses on rooting.
- Second, bottom heat can be a game-changer, especially if your home tends to be on the cooler side. Placing your pots on a seedling heat mat (on a low setting) provides gentle warmth to the roots, encouraging faster and more reliable growth.
- And a subtle one: When you water, try to water from the bottom if possible by placing your pots in a tray of water for about 15-20 minutes. This encourages roots to grow downwards, seeking moisture, which leads to a stronger root system overall.
Aftercare & Troubleshooting
Once your cuttings show signs of life – look for new tiny leaves popping up or a gentle tug resistance – they’re likely on their way! This usually takes 3-6 weeks.
Once you see good root development, gradually acclimate your new plants to normal household humidity by slowly opening the bag or dome over several days. Water them consistently, allowing the top inch of soil to dry out between waterings. They’re still a bit delicate, so treat them with care!
Now, what if things go wrong? The most common pitfall is rot, often caused by too much moisture and poor air circulation. If you see a cutting turning mushy or black, sadly, it’s usually best to discard it to prevent the rot from spreading. Damping-off, a fungal issue that causes seedlings or cuttings to collapse at the soil line, can also happen. Good drainage and avoiding overwatering are your best defenses.
A Encouraging Closing
Growing new plants from cuttings is such a rewarding experience, and Herniaria latifolia is a fantastic plant to practice on. Be patient, observe your cuttings closely, and celebrate every little sign of progress. Before you know it, you’ll have a whole carpet of these charming little plants to enjoy. Happy propagating!
Resource:
https://identify.plantnet.org/k-world-flora/species/Herniaria%20latifolia%20Lapeyr./data