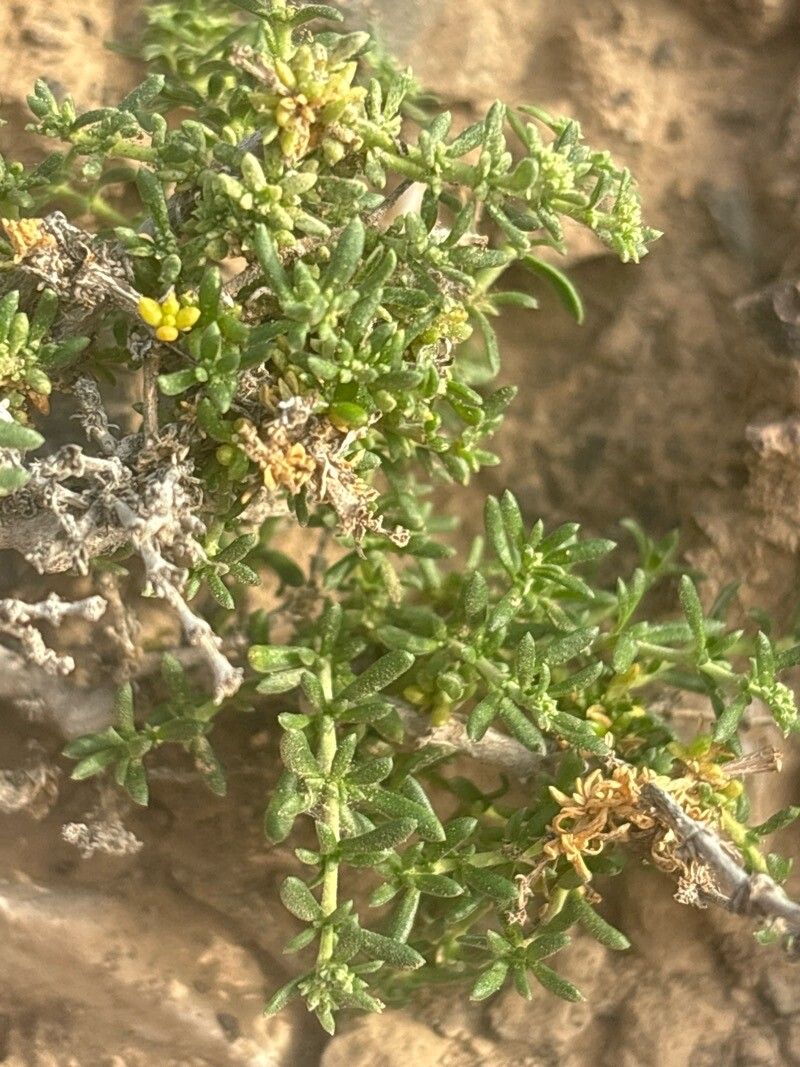
Oh, hello there! Come on in, grab a mug. Let’s chat about Herniaria fontanesii, shall we? It’s one of those little gems that brings so much cheerful texture and a lovely carpet effect to the garden, especially in those nooks and crannies where you just can’t get much else to thrive. Its fine, almost moss-like foliage is delightful. And the best part? You can easily multiply this little beauty yourself! For beginners, I’d say propagating Herniaria fontanesii is wonderfully forgiving. You’ll get the hang of it in no time.
The Best Time to Start
Honestly, spring is your best bet. As soon as the weather has truly warmed up, and your garden is bursting with new growth, that’s the prime time. You can also have success in early summer, but I find that giving the cuttings a full growing season to establish themselves is ideal. So, aim for late spring to early summer.
Supplies You’ll Need
Gathering your tools beforehand makes the whole process so much smoother. Here’s what I usually have on hand:
- Sharp pruning shears or a clean, sharp knife: For making clean cuts.
- A good quality potting mix: Something well-draining is key. A mix of peat moss and perlite, or a seed-starting mix, works beautifully. Some gardeners even swear by a mix of sand and compost for this particular plant.
- Small pots or seed trays: These don’t need to be fancy. Old yogurt containers with drainage holes poked in the bottom are perfectly fine!
- Rooting hormone (optional but helpful): A little boost can speed things up.
- A plastic bag or propagtor: To create a humid environment.
- Water: For misting.
- A clean workspace: Always good practice!
Propagation Methods
Herniaria fontanesii is a generous plant, and it’s quite happy to be propagated using stem cuttings. It’s straightforward and highly effective.
-
Take Your Cuttings: In your chosen timeframe (late spring/early summer), select a healthy, non-flowering stem from a mature Herniaria fontanesii plant. Using your clean shears or knife, make a cut just below a leaf node (where a leaf joins the stem). You’re looking for cuttings that are about 3-4 inches long. Remove any lower leaves, leaving just a few at the top.
-
Prepare for Rooting: If you’re using rooting hormone, dip the cut end of the stem into it. A gentle tap will remove any excess. This step isn’t strictly necessary for Herniaria fontanesii, but it can give your cuttings a little encouragement.
-
Plant Your Cuttings: Fill your small pots or trays with your chosen well-draining potting mix. Make a small hole in the center of the soil with a pencil or your finger. Gently insert the cut end of your cutting into the hole, making sure it’s firm enough to stand upright. Firm the soil gently around the base of the cutting.
-
Create a Humid Environment: Water the soil gently but thoroughly. Then, cover the pot or tray with a plastic bag, a propagator lid, or even an upside-down plastic bottle. This traps moisture and humidity, mimicking the ideal environment for root development. Make sure the plastic isn’t touching the leaves if possible.
-
Provide Light and Warmth: Place your cuttings in a bright spot, but out of direct sunlight. A sunny windowsill that doesn’t get blasted all day is perfect. If you have a heat mat, this is where it comes in super handy! Placing the pots on a gentle heat mat can significantly speed up root formation.
The “Secret Sauce” (Pro Tips)
Here are a couple of things I’ve learned over the years that really make a difference with fussier propagations, though Herniaria fontanesii is quite forgiving!
- Don’t Drown Them: While humidity is crucial, avoid waterlogged soil at all costs. It’s the quickest way to invite rot. If you see water pooling on the surface after your first watering, empty the excess from the saucer.
- A Gentle Breeze Helps: Once you see signs of growth, the plastic cover can be a little too humid. Gradually introduce your new cuttings to room air by opening the bag or propagator for a few hours each day. This hardens them off and prevents fungal issues. Don’t take the cover off completely all at once!
Aftercare & Troubleshooting
You’ll know your cuttings have rooted when you see new growth appearing at the tip, or when they feel firmly anchored if you gently tug on a leaf. This can take anywhere from 2 to 6 weeks.
Once roots have formed, gradually remove the plastic cover over a few days. Continue to keep the soil lightly moist, but not soggy. You can start feeding them with a very dilute liquid fertilizer once they’ve been potted on into their own small pots.
The most common issue you might encounter is rot. If a cutting goes soft and mushy, or turns black and wilts completely, it’s usually a sign of too much moisture and not enough airflow. If it’s just one or two, don’t despair! Remove them and check your watering and humidity levels for the others.
A Encouraging Closing
Propagating plants is such a satisfying way to connect with nature and expand your garden bounty. Be patient with your little Herniaria fontanesii cuttings. Sometimes they take their sweet time. Enjoy the process, celebrate each tiny new leaf, and soon you’ll have plenty of this lovely groundcover to share. Happy gardening!
Resource:
https://identify.plantnet.org/k-world-flora/species/Herniaria%20fontanesii%20J.Gay/data