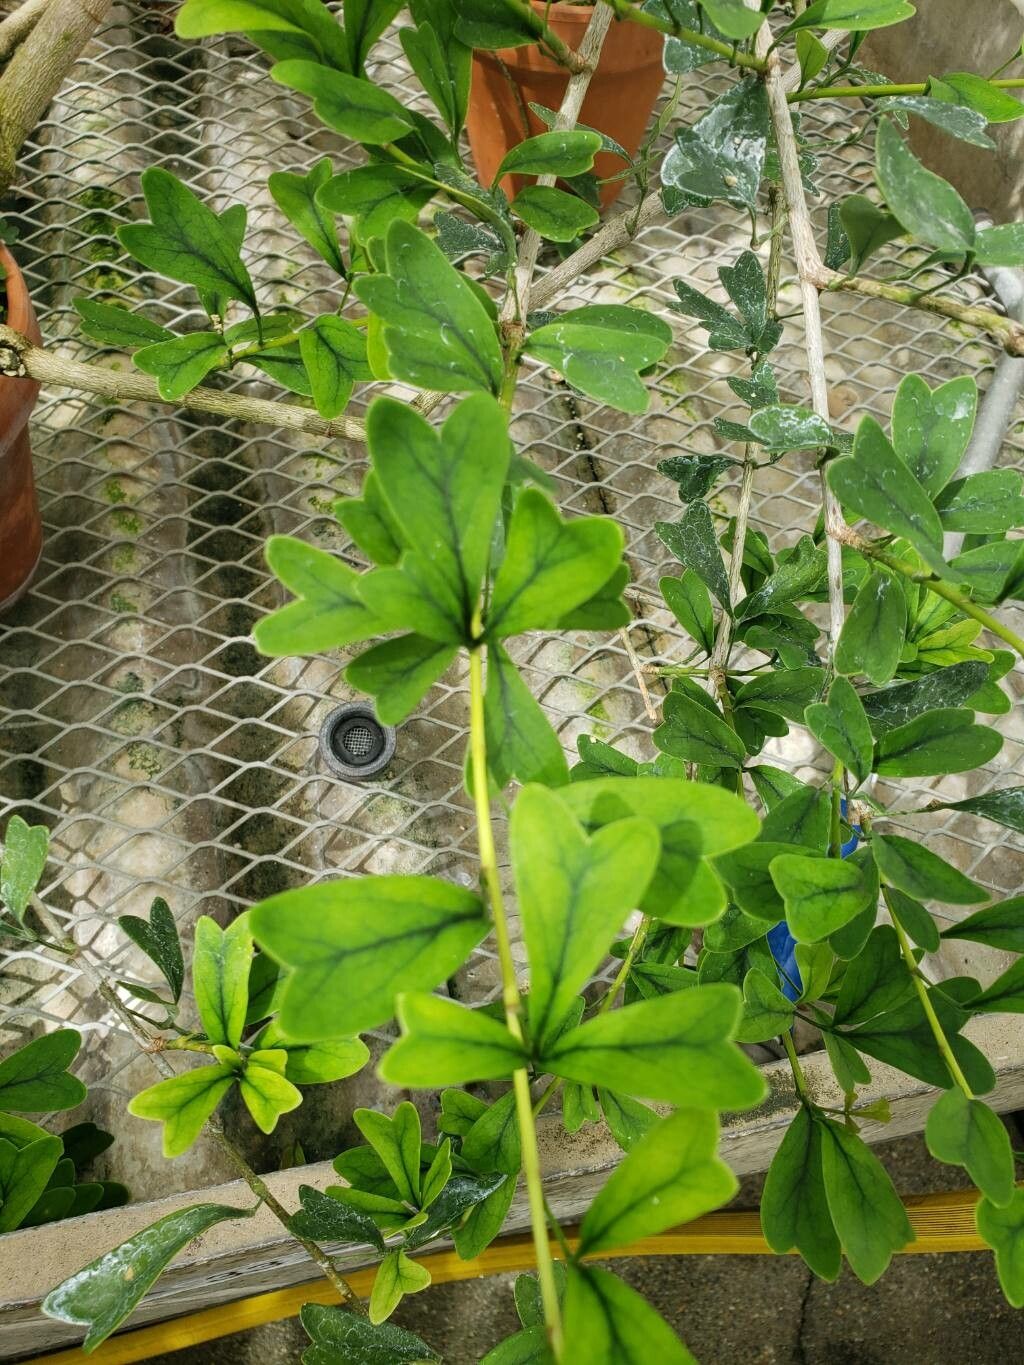
Oh, hello there! Come on in, grab a mug. Let’s chat about one of my absolute favorites: Heptapleurum emarginatum. You know, the one some folks call the Dwarf Umbrella Tree? It’s just a darling, isn’t it? Those glossy, hand-shaped leaves add such a tropical flair to any space. And the best part? It’s not overly fussy, which means coaxing new life from an existing plant is surprisingly doable, even for those of you just dipping your toes into the world of propagation. It’s a wonderfully rewarding experience, watching those tiny roots emerge.
The Best Time to Start
When it comes to getting the most from your Heptapleurum emarginatum, I find that spring and early summer are your golden windows. The plant is actively growing then, full of vigor, and just bursting with energy. This is when cuttings are most likely to take root and thrive. Waiting until your plant has put on a good bit of new growth means you’ll have plenty of healthy stems to work with, too.
Supplies You’ll Need
Before we dive in, let’s make sure you’ve got everything at the ready. It always makes things smoother!
- Sharp Pruning Shears or a Clean Knife: For making clean cuts.
- Rooting Hormone (Optional, but helpful): A little boost can encourage faster root development.
- Well-Draining Potting Mix: A mix of perlite, peat moss, and potting soil works wonderfully. You can also buy specific houseplant or succulent mixes.
- Small Pots or Seedling Trays: With drainage holes, of course!
- Plastic Bag or Humidity Dome: To create a mini greenhouse effect.
- Spray Bottle: For gentle misting.
- Water: For water propagation or keeping your soil moist.
Propagation Methods
There are a couple of ways we can go about this, and both have their charms.
Stem Cuttings
This is my go-to method for Heptapleurum emarginatum. It’s straightforward and usually yields great results.
- Select Your Stem: Look for a healthy, non-flowering stem that’s about 4-6 inches long. It should feel firm, not woody or floppy.
- Make the Cut: Using your sharp shears or knife, make a clean cut just below a leaf node (the point where a leaf attaches to the stem). This is where new roots are most likely to form.
- Prepare the Cutting: Gently remove the lower leaves, leaving just a few at the top. This prevents them from rotting in the soil or water.
- Rooting Hormone (if using): Dip the cut end into your rooting hormone powder or gel. Tap off any excess.
- Planting: Moisten your potting mix and fill your small pots. Make a hole with your finger or a pencil and gently insert the cutting. Firm the soil around the base.
- Create Humidity: Water the soil lightly. Then, cover the pot loosely with a clear plastic bag or a humidity dome. Pop a few holes in the bag or vent the dome if you’re worried about too much moisture.
Water Propagation
If you’re a visual person and love watching roots appear, this is for you!
- Prepare Your Cutting: Follow steps 1-3 from the stem cutting method.
- Place in Water: Find a clean jar or glass and fill it with room-temperature water. Place your cutting in the water, ensuring the leaf nodes are submerged.
- Positioning: Make sure none of the leaves are sitting in the water. This is crucial to prevent rot. You might need to prop the stem up slightly.
- Placement: Keep the jar in bright, indirect light.
The “Secret Sauce” (Pro Tips)
Now, a couple of things I’ve learned over the years that can really give you an edge:
- Bottom Heat is Your Friend: If you’re using stem cuttings in soil, consider placing the pot on a gentle heating mat designed for seedlings. This warmth mimics spring soil temperatures and encourages roots to form much faster. Don’t let it get too hot, though – just nice and snug!
- Don’t Drown the Dream: When water propagating, change the water every few days. Stagnant water can introduce bacteria, which is the enemy of healthy root development. A quick refresh keeps things clean and oxygenated.
- The “Heel” Method: Sometimes, taking a cutting that includes a small bit of the parent stem (a “heel”) can give it a better start. You can carefully “nick” the stem you’re taking to encourage this as you cut.
Aftercare & Troubleshooting
Once you see those beautiful roots developing – hooray!
- For Water Cuttings: When the roots are about an inch long, it’s time to transplant them into soil. Follow the planting steps for stem cuttings. Gently acclimate your new plant to its new environment. Keep the soil consistently moist for the first few weeks.
- For Soil Cuttings: You’ll know they’re rooted when you see new leaf growth or feel a gentle resistance when you tug lightly on the cutting. Continue to keep the soil moist but not waterlogged. Gradually remove the humidity dome over a week or two to help the plant adjust to normal humidity levels.
Now, what about when things go wrong? The most common culprit is rot. If your cutting turns black and mushy, it’s usually a sign of too much moisture combined with poor air circulation. If you catch it early, you might be able to salvage a small, healthy section and try again. Yellowing leaves before roots appear can sometimes mean too much direct sun or not enough water. Just keep an eye on your little ones and adjust as needed.
A Encouraging Closing
Watching a new plant sprout from a simple cutting is pure magic. Don’t be discouraged if your first attempt isn’t perfect. Gardening is a journey of learning and growing – for both you and your plants! Be patient, enjoy the process, and soon you’ll be sharing your own wonderful Heptapleurum emarginatum with friends and family. Happy propagating!
Resource:
https://identify.plantnet.org/k-world-flora/species/Heptapleurum%20emarginatum%20(Moon)%20Seem./data