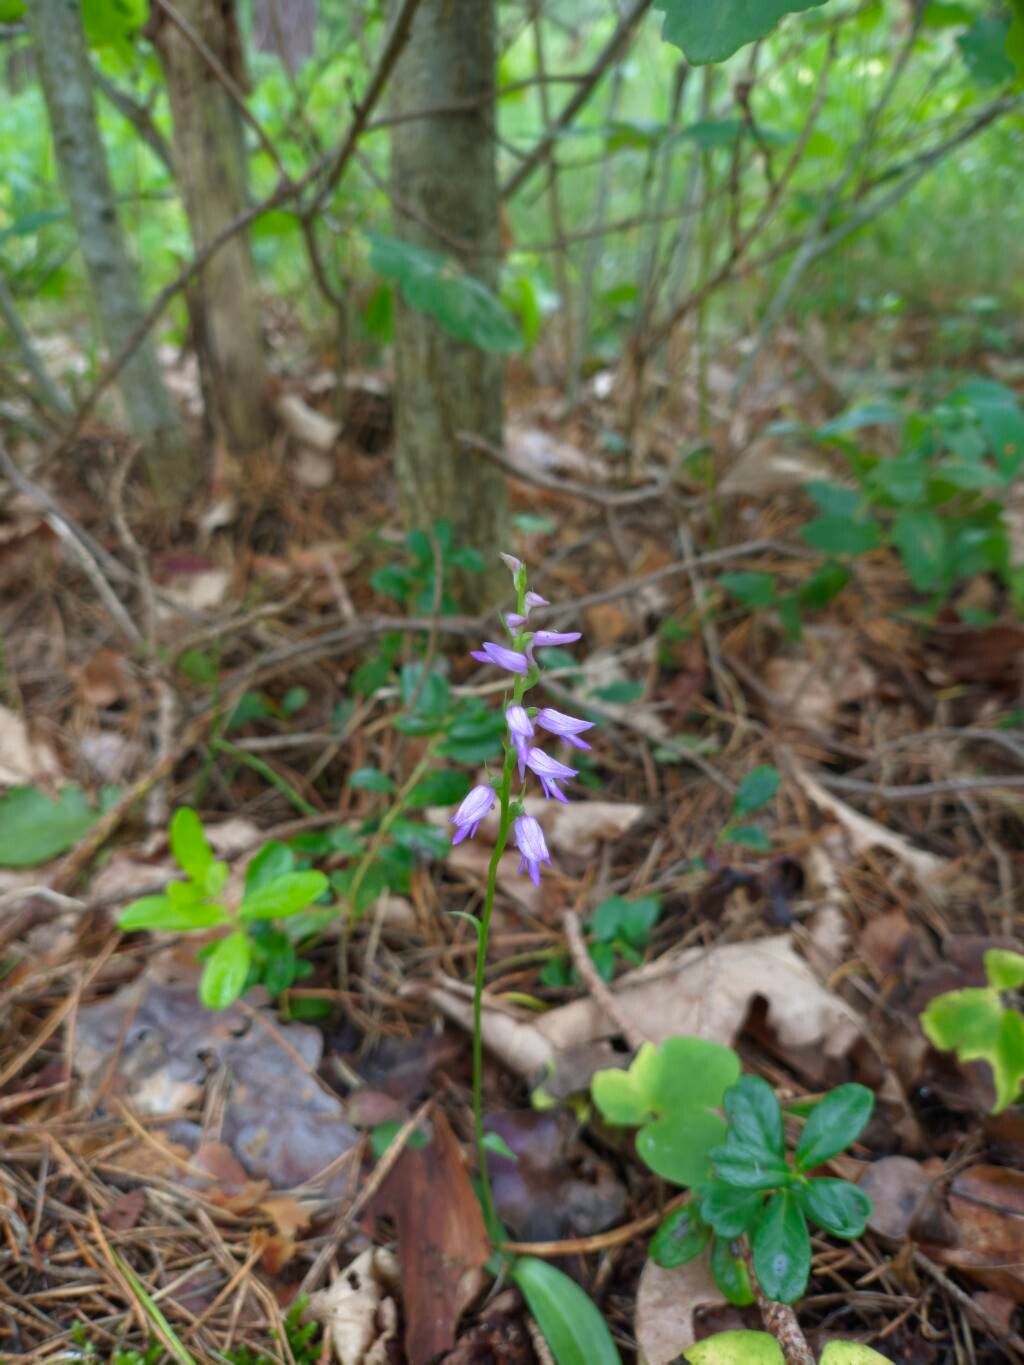
Oh, hello there! Come on in, grab a mug. I’m so glad you’re interested in Hemipilia cucullata. Honestly, there’s something incredibly satisfying about coaxing a new life from an existing plant, isn’t there? This little beauty, with its unique hooded flowers and lovely foliage, is a joy to behold. Propagating it might seem a little daunting at first, but trust me, with a few key pointers, you’ll be well on your way to a whole patch of these charmers. While not the absolute easiest for a complete novice, it’s definitely achievable with a bit of patience and the right approach.
The Best Time to Start
For the best chance of success with Hemipilia cucullata, I always lean towards late spring or early summer. This is when the plant is in its active growing phase. You’ll find the stems are robust, and they have the energy reserves to put into developing new roots. Trying to propagate when the plant is dormant or stressed is just setting yourself up for disappointment, and we don’t want that! Look for healthy, vigorous growth on your existing plant – that’s your cue.
Supplies You’ll Need
Here’s a handy list of what you should gather before you start:
- Sharp pruning shears or a clean, sharp knife: We want clean cuts, not crushed stems.
- Rooting hormone (optional, but recommended for a boost): Look for a powder or gel specifically for stem cuttings.
- Well-draining potting mix: A good blend of peat moss or coco coir, perlite, and a little bit of compost works wonders. You can also buy specialized seedling or cutting mixes.
- Small pots or seed trays: Clean ones are crucial to prevent disease.
- Clear plastic bag or a humidity dome: To create that essential humid environment.
- Watering can with a fine rose or a spray bottle: For gentle watering.
- Labels and a permanent marker: To keep track of what you’ve potted.
Propagation Methods: Making More Hemipilias!
The most reliable way I’ve found to propagate Hemipilia cucullata is through stem cuttings. It’s straightforward and usually gives excellent results.
- Select Your Cuttings: On a healthy, mature plant, locate some non-flowering stems. Look for stems that are about 4-6 inches long. You want a stem that has some good leaves, but not so many that they’ll wilt immediately.
- Make the Cut: Using your clean shears or knife, make a clean cut just below a leaf node. A leaf node is where a leaf attaches to the stem – this is where the magic happens, as it’s rich in rooting hormones.
- Prepare the Cutting: Gently remove the lower leaves from the bottom 2-3 inches of the stem. This prevents them from rotting when buried in the soil. If your cutting still has an abundance of leaves at the top, you can also pinch off a few of the largest ones to reduce water loss.
- Apply Rooting Hormone (If Using): Dip the cut end of the stem into your rooting hormone. Tap off any excess to avoid caking.
- Potting Up: Fill your clean pots or trays with your well-draining potting mix. Moisten the mix lightly so it’s damp but not soggy.
- Insert the Cutting: Use a pencil or your finger to make a small hole in the soil. Carefully insert the cut end of the stem into the hole, ensuring the leaf nodes you bared are below the soil surface. Gently firm the soil around the stem to ensure good contact.
- Create a Humid Environment: Water the soil very lightly again. Then, cover the pot or tray with a clear plastic bag (supported by stakes so it doesn’t sag onto the leaves) or place it under a humidity dome. This trapped moisture is key to preventing the cuttings from drying out before they root.
- Placement: Place your potted cuttings in a warm spot with bright, indirect light. Avoid direct sun, as this can scorch the delicate cuttings.
The “Secret Sauce” (Pro Tips)
Here are a couple of little tricks that have saved me a lot of headaches over the years:
- Keep Those Leaves Out of the Water! If you opt to try water propagation for a few smaller cuttings (though I find soil is more reliable for this one), it’s absolutely crucial that no leaves are submerged in the water. Anything below the water line will rot, and that rot can spread, quickly fouling your water and killing your cutting.
- A Little Warmth Goes a Long Way: Hemipilia cucullata cuttings love a bit of gentle warmth from below. If you have a heated propagation mat, placing your pots on it can dramatically speed up root development. It mimics the natural warmth of the soil in the growing season.
Aftercare & Troubleshooting
Once your cuttings are potted and covered, the real waiting game begins. Keep the soil consistently moist but not waterlogged. Check the moisture level daily by gently touching the surface. The humidity inside your bag or dome should be visible as condensation.
You’ll know your cuttings are rooting when you see new leaf growth. This can take anywhere from a few weeks to a couple of months, so don’t get discouraged! Once you see signs of life, you can gradually begin to acclimate them to normal conditions by opening the plastic bag or humidity dome for increasing periods each day.
Now, what if things don’t go as planned? The most common culprit is rot. If you see stems turning black and mushy, or an unpleasant odor emanating from the pot, it’s usually a sign of overwatering or poor drainage. Unfortunately, these cuttings are usually lost. The best thing to do is discard them, sterilize your pots thoroughly, and start again with fresh material and a lighter touch on the watering can. Good drainage is your best friend here!
A Little Patience, A Lot of Reward
So there you have it! Propagating Hemipilia cucullata is a journey, and like all good gardening adventures, it requires a bit of patience. Don’t be afraid to experiment, and remember that every gardener has lost cuttings along the way. The joy you’ll feel when you see those tiny roots emerge and your new plant unfurl its first leaves is absolutely worth it. Happy propagating!
Resource: