Hey there, fellow plant lovers!
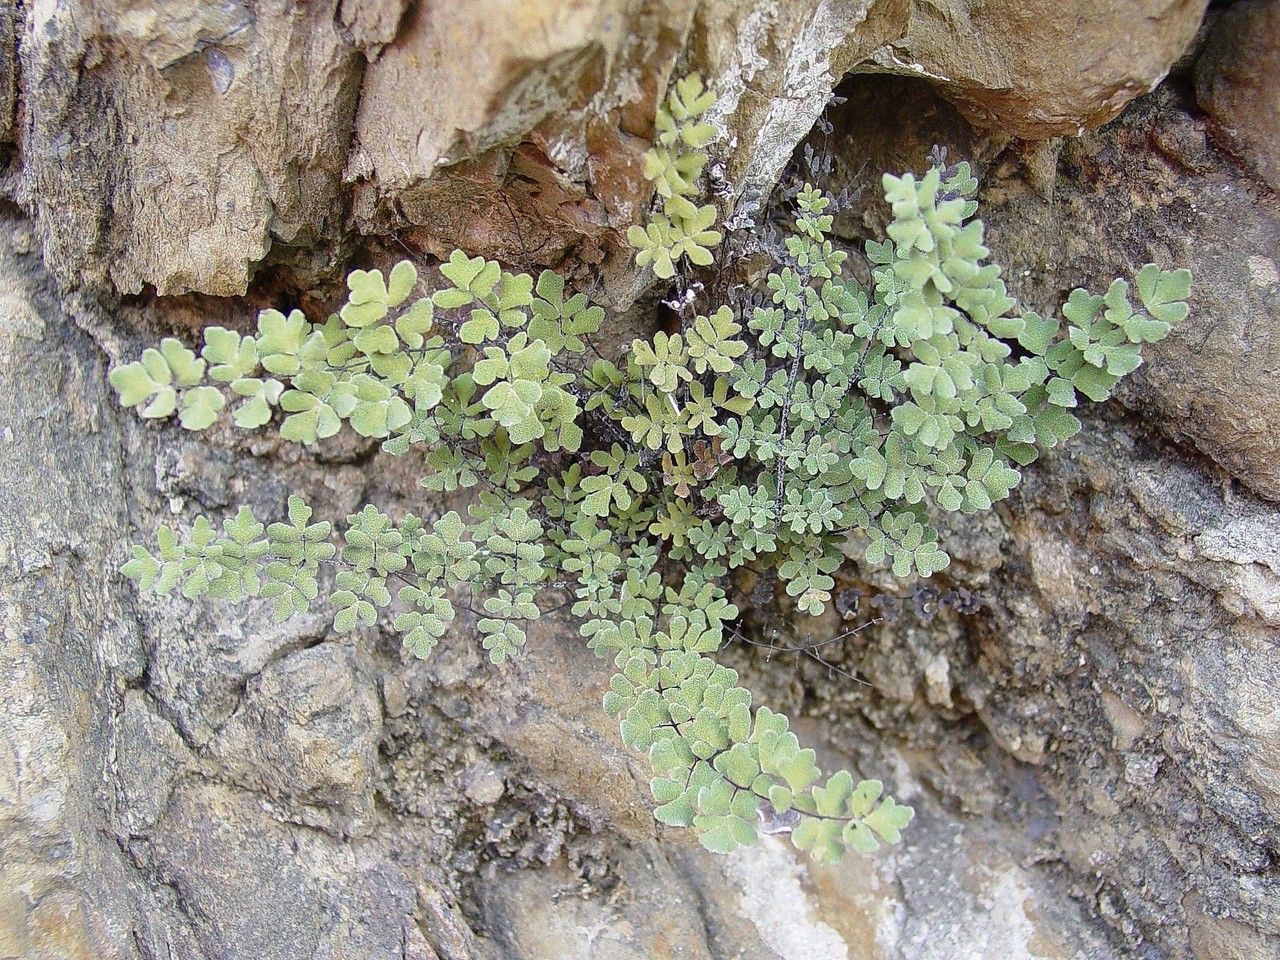
If you’ve had the pleasure of meeting Hemionitis incana, you know what a stunner it is. Those frilly, deeply lobed leaves have a way of just enchanting a room. For me, it’s a plant that brings a bit of wild, forest floor magic indoors. And honestly, one of the most satisfying things you can do as a gardener is to coax a brand new plant into existence from one you already cherish. Propagating Hemionitis incana is a journey, and while it might have a slight learning curve, it’s absolutely within reach for anyone willing to try.
The Best Time to Start
For the best chance of success with propagating Hemionitis incana, I always aim for the warmer months, typically late spring through early summer. This is when the plant is in its most vigorous growth phase. It has plenty of energy to spare for producing new roots, which is exactly what we want!
Supplies You’ll Need
Gathering your supplies beforehand makes the whole process smoother. Here’s what I usually have on hand:
- Clean Pruning Shears or a Sharp Knife: For making clean cuts.
- Well-Draining Potting Mix: A good blend of peat moss, perlite, and a little bit of compost works wonders for ferns.
- Small Pots or Seedling Trays: Something to house your new propagations.
- Clear Plastic Bag or Dome: To create a humid environment.
- Watering Can with a Fine Rose: For gentle watering.
- Rooting Hormone (Optional but recommended): This can give your cuttings a little nudge.
Propagation Methods: Making More Fern Magic
There are a couple of ways to go about this, but for Hemionitis incana, my favorite and often most successful method is stem cuttings.
- Select Your Cutting: Look for a healthy, mature stem that has at least two or three sets of leaves. It should look vigorous, not limp.
- Make the Cut: Using your clean shears or knife, make a clean cut just below a leaf node. This is the point where a leaf attaches to the stem.
- Prepare the Cutting: Gently remove the lowest leaves from the cutting, leaving just the top set or two exposed. If you’re using rooting hormone, dip the cut end into it now, tapping off any excess.
- Plant Your Cutting: Fill your chosen pot with your prepared potting mix. Make a small hole with your finger or a pencil, and carefully insert the cut end of the stem. Gently firm the soil around it.
- Create a Humid Environment: Water the soil lightly until it’s evenly moist but not waterlogged. Then, cover the pot with a clear plastic bag or a propagation dome. You want to trap humidity around the cutting. You can secure the bag with a rubber band or string.
- Find a Suitable Spot: Place the pot in a location that receives bright, indirect light. Avoid direct sun, which can scorch the delicate leaves.
The “Secret Sauce” (Pro Tips)
Here are a few little tricks I’ve picked up over the years that tend to make a big difference:
- Don’t Let the Leaves Touch the Water: If you’re considering water propagation for any fern, a common mistake is letting the leaves sit in the water. This can lead to rot. With stem cuttings, ensure that only the cut stem is submerged if you opt for that route, but soil propagation is generally more reliable for Hemionitis incana.
- Bottom Heat is Your Friend: Placing your pots on a gentle heat mat designed for propagation can really speed up root development. It mimics the warmth of the soil in nature and encourages rooting. Just a little warmth makes a world of difference.
Aftercare & Troubleshooting
Once your cutting is planted and humidified, the waiting game begins!
- Check Moisture Regularly: Gently mist the leaves and soil every few days to maintain humidity. You don’t want the soil to dry out completely, but also avoid a soggy mess. Lift the plastic bag to check.
- Look for the Signs of Life: The first sign that your cutting is happy will be new leaf growth. This usually takes several weeks, so be patient!
- Troubleshooting Rot: If you see the leaves turning yellow and mushy, or the stem becoming dark and soft, you likely have rot. This is usually a sign of too much moisture and not enough air circulation. You might need to pull the cutting and start again, ensuring proper drainage and slightly less watering.
Your Encouraging Closing
Propagating plants is a process of patience and observation. There might be a few setbacks along the way, but don’t let that discourage you! Each attempt is a learning experience. Keep these tips in mind, offer your new little fern a warm, humid home, and you’ll soon be rewarded with more of that gorgeous Hemionitis incana to share or keep for yourself. Happy growing!
Resource: