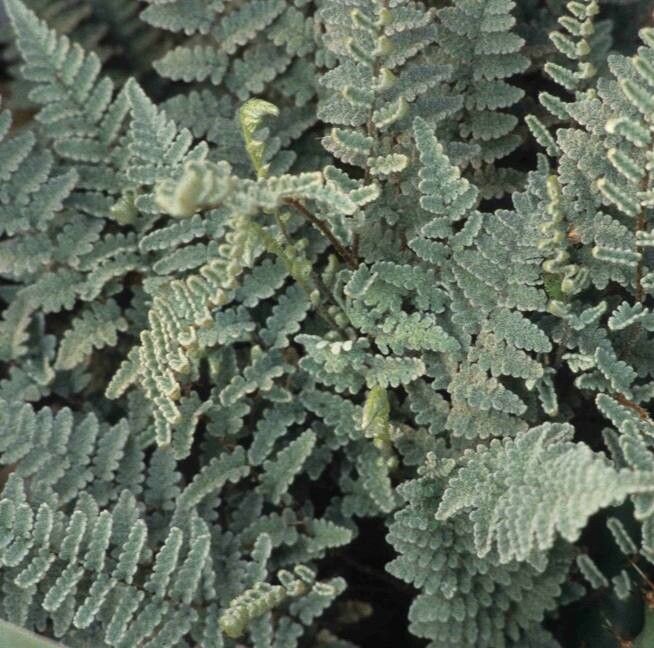
Oh, hello there! I’m so glad you’ve decided to explore the wonderful world of Hemionitis eatonii. If you’ve ever admired this fern, with its deep green, heart-shaped fronds and that velvety texture, you’re not alone. It’s truly a gem for any shady nook or terrarium. And guess what? You can easily add more of these beauties to your collection!
Propagating this fern is a deeply satisfying venture. It’s like nurturing tiny bits of magic into full-fledged plants. For beginners, I’d say Hemionitis eatonii is moderately easy to propagate, which makes it a fantastic plant to try your hand at. A little care, and you’ll be rewarded.
The Best Time to Start
Honestly, for Hemionitis eatonii, the spring and early summer months are your best bet. This is when the plant is in its most vigorous growth phase. You’re more likely to get healthy cuttings or divisions that are eager to establish new roots. Think of it as giving your little plant starts the longest possible growing season to get established before any cooler weather arrives.
Supplies You’ll Need
To get started on your propagation journey, gather these essentials:
- Sharp pruning shears or a clean knife: For making precise cuts.
- Well-draining potting mix: A good blend for ferns often includes peat moss, perlite, and orchid bark.
- Small pots or propagation trays: Look for ones with drainage holes.
- Clear plastic bags or a humidity dome: To maintain high humidity around your cuttings.
- Spritzer bottle: For misting.
- Optional: Rooting hormone: While not always strictly necessary for Hemionitis eatonii, it can give an extra boost.
- Optional: Bottom heat mat: This can significantly speed up root development.
Propagation Methods
Hemionitis eatonii is a pretty straightforward plant to propagate, and I find division to be the most successful and least fussy method.
Division: My Go-To Method
This is where you gently split a mature plant into smaller sections.
- Prepare the Mother Plant: First, make sure your Hemionitis eatonii is well-hydrated. Water it a day or two before you plan to divide it.
- Gently Remove from Pot: Carefully take the plant out of its pot. If it’s stuck, try gently squeezing the sides of the pot or running a knife around the edge.
- Examine the Roots: Turn the root ball over and look for natural separation points. You’ll often see where the rhizomes (the creeping stems) have branched off.
- Divide with Care: Using your clean hands or a sterilized knife, gently pull or cut the plant apart. Aim for sections that have a good amount of roots and at least a few healthy fronds. Don’t be afraid to get your hands dirty! Just be gentle; we don’t want to damage those precious roots.
- Pot Up Your New Plants: Pot each division into its own small pot filled with your well-draining fern mix. Make sure the top of the root ball is level with the soil surface.
- Water and Cover: Water thoroughly until water drains from the bottom. Then, place the potted divisions into a plastic bag or cover them with a humidity dome. This is crucial for keeping the humidity high.
The “Secret Sauce” (Pro Tips)
Here are a couple of things I’ve learned over the years that make a real difference:
- Don’t let the leaves touch the water in a water propagation setup (if you choose that route). While some ferns can root in water, Hemionitis eatonii is prone to rot if its fronds are submerged for too long. If you are trying water propagation from rhizome cuttings, ensure only the cut end is in the water.
- Bottom heat is a game-changer. Placing your pots or trays on a gentle bottom heat mat (around 70-75°F or 21-24°C) can really encourage faster root formation. It mimics the warmth of spring soil and gives those new root cells a great start.
Aftercare & Troubleshooting
Once your divisions are potted, keep them in bright, indirect light. Maintain that high humidity by misting regularly and ensuring the plastic bag or dome stays sealed. Check the soil moisture every few days, and water when the top inch feels dry.
The first sign of success? You’ll start seeing new growth emerging from the center of the fronds or at the base.
What if things go wrong? The most common issue is rot. If you see your cuttings turning mushy or black, it’s likely too much moisture or poor air circulation. If this happens, remove the affected part immediately, ensure there’s some airflow (you can poke a few holes in the plastic bag), and let the soil dry out a bit more between waterings. Sometimes, a bit of yellowing in the older fronds is normal as the plant redirects energy to root development, but widespread wilting or browning is a concern.
A Encouraging Closing
Propagating plants is an adventure, and sometimes it takes a couple of tries to get it just right. Don’t be discouraged if your first attempt isn’t perfect. Be patient, observe your little fern starts, and enjoy the process of nurturing new life. Happy growing!
Resource:
https://identify.plantnet.org/k-world-flora/species/Hemionitis%20eatonii%20(Baker)%20Christenh./data