Hey there, fellow plant lovers!
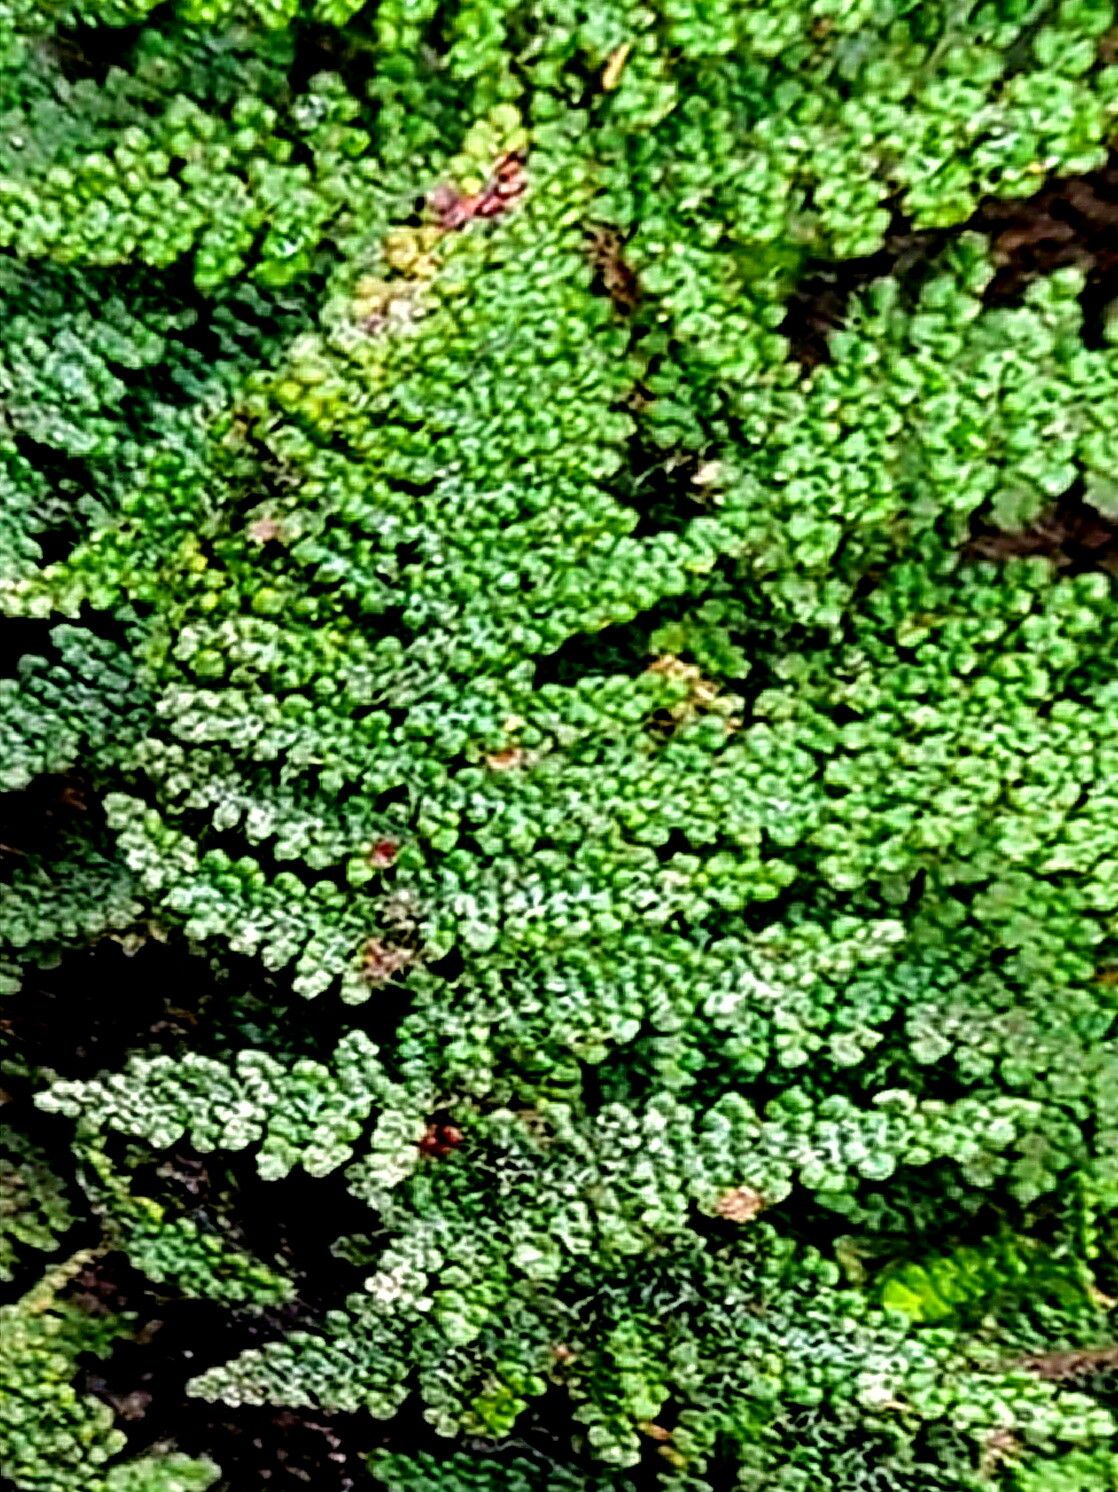
I’m so excited to talk to you today about a truly special fern: Hemionitis covillei, also known as the desert or California spleenwort. This little beauty has such a unique charm, with its delicate, almost lace-like fronds that have a lovely texture. It’s the kind of plant that adds a touch of wild elegance to any shady nook or terrarium. For me, the true magic of gardening lies in coaxing new life from existing plants, and propagating Hemionitis covillei is a deeply rewarding venture. Now, I’ll be honest, it’s not quite as straightforward as striking a pothos cutting, but with a little attention to detail, you’ll find it’s well within reach!
The Best Time to Start
My favorite time to get started with propagating Hemionitis covillei is during its active growing season, which typically falls in the spring and early summer here in my corner of the world. You’re looking for healthy, vigorous growth. Avoid trying to propagate when the plant seems stressed or is dormant. Think of it like trying to bake a cake with old ingredients – you won’t get the best results!
Supplies You’ll Need
Here’s what I’ve found most helpful when bringing new Hemionitis covillei to life:
- Sterilized small pots or trays: Cleanliness is key!
- Well-draining potting mix: I often use a blend of peat moss, perlite, and a bit of orchid bark to ensure good aeration. You can also find specialized fern mixes.
- Sharp, sterilized pruning shears or a clean knife: For making clean cuts.
- Watering can with a fine rose: To avoid disturbing delicate new growth.
- Optional: Rooting hormone (gel or powder): While not always strictly necessary for this fern, it can give you an extra boost.
- Optional: Clear plastic bag or dome: To create a humid environment.
- Optional: Bottom heat mat: This can significantly speed up root development.
Propagation Methods
Hemionitis covillei can be a bit finicky, but I find two main methods give me the best luck.
Method 1: Division (My Go-To!)
This is often the most successful method for Hemionitis covillei because you’re essentially cloning a mini plant.
- Gently remove the fern from its pot.
- Inspect the root ball. Look for distinct clumps or crowns where new growth is emerging from the base.
- Carefully tease apart the root ball, trying to keep as much of the intact root system with each division as possible. If it’s really stubborn, you can use your sterilized knife or shears to make a clean cut through the roots.
- Pot each division into its own small pot with your prepared potting mix. Ensure the crown is at the soil level.
- Water thoroughly to settle the soil.
Method 2: Spore Propagation (For the Patient Gardener)
This is a more advanced method and takes significantly longer, but it’s fascinating! Hemionitis covillei reproduces via spores, which are like tiny seeds.
- Observe your mature fern for spore-producing structures (sori). These usually appear on the undersides of fertile fronds and look like little dots or lines.
- Collect spores by gently scraping them into a small paper envelope or dish.
- Spread a thin layer of sterilized, moist potting mix (I use a very fine peat-based mix here) in a clean, shallow tray or pot.
- Lightly dust the surface of the soil with the spores. Don’t bury them!
- Cover the tray with a clear plastic lid or bag to maintain high humidity.
- Place in a bright, indirect light location. Keep the soil consistently moist but not waterlogged.
- Be patient! It can take weeks or even months for tiny fern prothallia (heart-shaped structures) to appear, and even longer for true fronds to develop.
The “Secret Sauce” (Pro Tips)
Here are a few things I’ve learned over the years that make a big difference:
- Humidity is your best friend. Hemionitis covillei absolutely craves humidity. After dividing, I always pop my newly potted divisions into a clear plastic bag or a DIY terrarium. This creates a mini greenhouse effect, which dramatically increases their chances of survival and encourages root development. Just make sure there’s a little airflow to prevent mold.
- Think “damp, not soggy.” While they like humidity, overly wet soil is a fast-track to rot. I check the soil by gently poking my finger in. It should feel moist, but if water pools on the surface or the pot feels heavy, it’s too wet. Ensure good drainage from the pot itself.
- Bottom heat helps! If you’re growing these from spores or struggling with divisions, a gentle bottom heat mat can work wonders. It mimics the warmth of the forest floor and really encourages those roots to get going. Just a low setting is usually all you need.
Aftercare & Troubleshooting
Once your divisions start showing signs of new growth – tiny unfurling fronds are the best indicator – you can gradually transition them to slightly lower humidity. Continue to water them when the top inch of soil feels dry. A diluted liquid fertilizer can be introduced after they’ve established themselves well.
The most common issue you’ll encounter is rot. If you see your new plant turning mushy, yellowing significantly, or developing black spots at the base, it’s likely due to overwatering or insufficient drainage. This is where that good potting mix and careful watering really come into play. If rot sets in, it’s tough to recover, so prevention is key. Another sign of stress can be wilting fronds that don’t perk up after watering, which might indicate the roots haven’t established yet or are struggling.
A Bit of Patience Goes a Long Way
Propagating Hemionitis covillei is a journey, not a race. It requires a bit of finesse and a keen eye for detail. Don’t be discouraged if your first attempt isn’t perfect. Every plant and every gardener learns from experience. Enjoy the process, celebrate the tiny victories, and soon you’ll have a whole new grove of these delightful ferns to share! Happy growing!
Resource: