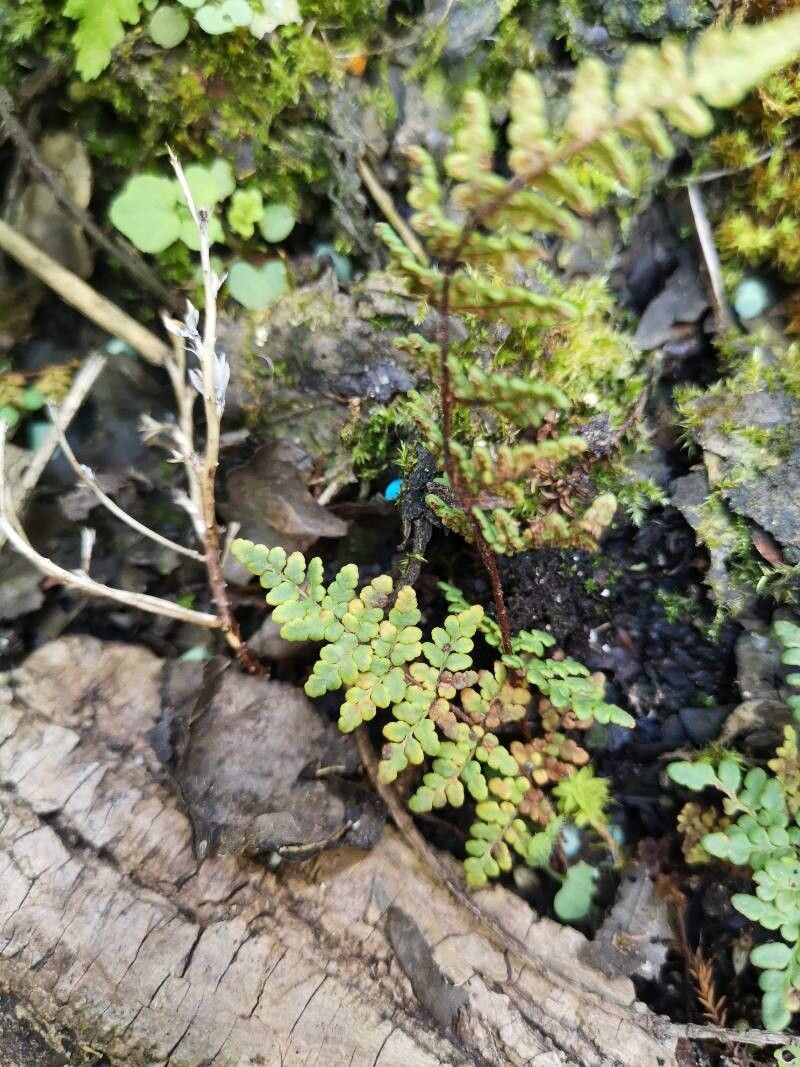
Hello fellow plant enthusiasts! Today, we’re diving into the wonderful world of propagating Hemionitis acrostica, also known as the California Lace Fern. This delicate beauty, with its intricate fronds, brings a touch of wild elegance to any shady corner. And let me tell you, successfully coaxing new life from your existing plants is one of the most satisfying parts of gardening! While Hemionitis acrostica isn’t the absolute easiest fern for a total beginner, it’s certainly achievable with a little care and attention. Think of it as a rewarding challenge that will teach you a lot.
The Best Time to Start
For ferns like our Hemionitis acrostica, the best time to get propagating is during its active growing season. This typically means late spring through early summer. You want the plant to be healthy and putting out new growth. Avoid propagating when the plant is stressed, perhaps due to extreme heat or cold, or if it’s just recovering from a shock. A happy, thriving plant is much more likely to share its bounty!
Supplies You’ll Need
Before we get our hands dirty, let’s gather our tools. Having everything ready makes the process so much smoother!
- Sharp pruning shears or a clean, sharp knife: For making clean cuts.
- Well-draining potting mix: I like a blend of peat moss, perlite, and a bit of orchid bark for good aeration. You can also find specific fern mixes.
- Small pots or propagation trays: Clean ones are a must to prevent disease.
- Perlite or coarse sand: For improving drainage.
- Spray bottle: For misting delicate new growth.
- Clear plastic bags or a propagation dome: To create a humid environment.
- Rooting hormone (optional, but helpful): Encourages faster root development.
- Small pebbles or similar inert material (for water propagation): To help stabilize cuttings.
Propagation Methods
Hemionitis acrostica is often best propagated through division or from spores, but we can also try stem cuttings with a bit of finesse. Let’s tackle division first, as it’s generally the most straightforward for this fern.
Method 1: Division
This is like giving your fern a little haircut and getting a whole new plant in the process!
- Gently remove the fern from its pot. You can do this by turning the pot on its side and easing the plant out. If it’s stuck, a gentle tap around the sides of the pot might help.
- Inspect the root ball. Look for natural divisions where the plant masses are clearly separate. You can often see where new growth points are emerging.
- Carefully pull the root ball apart. You can use your hands to gently tease apart sections. If it’s a bit stubborn, your clean pruning shears can help you make a clean cut through the roots where needed. Aim to have a good clump of roots and at least a few fronds with each division.
- Pot up your divisions. Plant each division in its own pot filled with your well-draining potting mix. Make sure the top of the root ball is at the same level it was in the original pot.
- Water gently and place in a bright, indirect light spot. Keep the soil consistently moist but not waterlogged.
Method 2: Stem Cuttings (Rhizome Cuttings)
Ferns don’t have typical stems like flowering plants, but we can take cuttings from the rhizomes (the underground stem-like structures).
- Locate a healthy rhizome on your mature fern. These are usually found near the soil surface and may have small fronds emerging from them.
- Using your clean knife or shears, carefully cut a section of the rhizome that includes at least one or two small, developing fronds and some healthy roots. The piece should be about 1-2 inches long.
- Dip the cut end of the rhizome in rooting hormone if you’re using it.
- Plant the cutting in a small pot filled with your well-draining mix. The rhizome should be just at or slightly below the surface, with the fronds pointing upwards.
- Water gently and cover the pot with a clear plastic bag or place it in a propagation dome to maintain high humidity.
- Place in a warm spot with bright, indirect light.
The “Secret Sauce” (Pro Tips)
Here are a few little tricks I’ve picked up over the years that can make a big difference:
- Don’t rush the division: When you’re dividing, be patient. Sometimes the roots are quite intertwined. If you’re finding it tough, a gentle soak of the root ball can sometimes loosen things up, making it easier to pull apart without causing too much damage.
- Humidity is king! Ferns absolutely adore humidity. When you’ve got your cuttings or divisions covered with a plastic bag, lift the bag daily for a few minutes to allow for some air circulation. This helps prevent fungal issues while still keeping the environment moist enough for rooting.
- Bottom heat helps: For rhizome cuttings, placing the pots on a gentle heat mat can significantly speed up root development. Just a little warmth from below encourages those roots to start growing. Make sure it’s not too hot, though – we don’t want to cook them!
Aftercare & Troubleshooting
Once your new Hemionitis acrostica has started to show signs of rooting – usually by unfurling new fronds or resisting a gentle tug – it’s time for slightly less intense care.
- Gradually acclimate: If you’ve been using a plastic bag or dome, slowly start to reduce the humidity over a week or two by opening it up for longer periods. This helps the new plant adjust to normal conditions.
- Keep soil consistently moist: Continue to water when the top inch of soil feels dry. Overwatering can lead to a common problem: root rot. Signs of this include yellowing leaves, wilting even when the soil is moist, and a black, mushy root system. If you suspect rot, act fast. Remove the affected parts, repot in fresh, dry soil, and let it dry out a bit more between waterings.
- Watch out for pests: While not common, check for any tiny insects. A gentle wipe with a damp cloth or a diluted neem oil spray can usually take care of them.
Happy Propagating!
There you have it! Propagating Hemionitis acrostica is a journey that’s well worth the effort. Be patient, observe your little green charges, and enjoy the magic of watching new life emerge. Each successful propagation is a small victory and a chance to share the beauty of this wonderful fern with others. Happy gardening!
Resource:
https://identify.plantnet.org/k-world-flora/species/Hemionitis%20acrostica%20(Balb.)%20Mosyakin/data