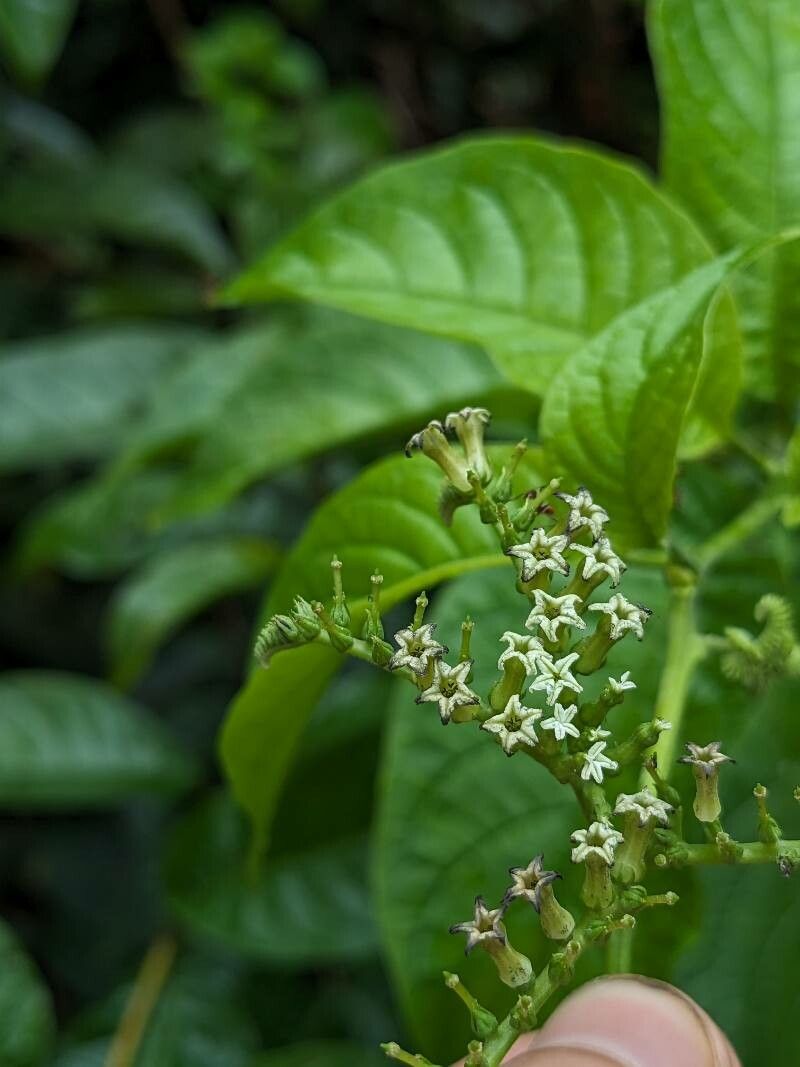
Oh, Heliotropium ulei! If you’ve ever fallen for that intoxicating vanilla-almond fragrance and those deep, velvety purple blooms, you’re not alone. I’ve been captivated by this beauty for years. Propagating it is honestly one of my favorite little garden joys. It’s not a tough plant to get started, either, which is wonderful news for all of you fellow plant enthusiasts, especially if you’re just dipping your toes into propagation. Seeing a tiny cutting transform into a thriving new plant is just pure magic, don’t you think?
The Best Time to Start
For the biggest success, I always aim to take cuttings in late spring or early summer. This is when the plant is in its most vigorous growth phase. The stems are usually a good mix of soft and firm – not too woody and not too flimsy. It’s when they have the energy and enthusiasm to root quickly.
Supplies You’ll Need
Here’s what I keep handy for my Heliotropium propagation sessions:
- Sharp pruning shears or a clean, sharp knife: For making clean cuts.
- Rooting hormone powder or gel: While not always strictly necessary for Heliotropium, it definitely gives your cuttings a helpful boost.
- Small pots or seed trays: Clean, clean, clean!
- A well-draining potting mix: I usually use a blend of equal parts perlite and peat moss, or a commercial seedling mix.
- A spray bottle: For misting.
- A clear plastic bag or propagation dome: To create a humid microclimate.
Propagation Methods
I find two methods work exceptionally well for Heliotropium ulei: stem cuttings and water propagation.
Stem Cuttings
- Select your cuttings: Look for healthy stems that are about 4-6 inches long. Gently snap or cut a piece just below a leaf node (where the leaves attach to the stem). Remove the lower leaves, leaving just a few at the top.
- Prepare the cutting: If you’re using rooting hormone, dip the cut end into the powder or gel, tapping off any excess.
- Potting up: Fill your small pots with your prepared potting mix. Make a small hole in the center of the soil with your finger or a pencil.
- Plant your cutting: Insert the cut end of the Heliotropium cutting into the hole, ensuring it’s firm enough to stand upright. Gently firm the soil around it.
- Water and cover: Water the soil lightly. Then, place the pot inside a clear plastic bag or cover it with a propagation dome. This traps humidity, which is crucial.
Water Propagation
- Take the cuttings: Follow steps 1 and 2 above for taking your cuttings.
- Place in water: Fill a small glass or jar with clean water. Remove all leaves that would sit below the waterline. This is important to prevent rot.
- Position: Place the cuttings in the water, ensuring the leaf nodes are submerged.
- Location: Set the jar in a bright spot, but out of direct sunlight.
The “Secret Sauce” (Pro Tips)
- Don’t let the leaves touch the water: This is key for water propagation. Any leaves below the waterline will likely decay and can contaminate the water, leading to rot before roots even have a chance to form.
- Bottom heat is your friend: If you’re using stem cuttings and want to speed things up, place your pots on a propagator mat or a warm windowsill. This gentle warmth signals to the plant that it’s time to get rooting.
- Patience and observation: Heliotropium can be a bit slow to show signs of rooting, especially from cuttings. Check both methods regularly. For cuttings, give them a gentle tug after a few weeks – if there’s resistance, you’ve got roots!
Aftercare & Troubleshooting
Once you see new root growth (tiny white threads appearing from the cut end), it’s time to give your new baby plant a bit more attention.
- For cuttings: Gradually acclimate them to normal room humidity. Start by opening the plastic bag for a few hours each day. Once they look sturdy, you can remove the bag entirely. Continue to keep the soil consistently moist but not soggy.
- For water-propagated plants: When your roots are about an inch long, you can pot them up into that lovely well-draining mix. Treat them just as you would the cuttings after they’ve started rooting.
The most common mishap? Rot. If your cuttings turn mushy and dark, or if the water in your propagation jar becomes cloudy and smelly, it’s usually a sign of too much moisture or the dreaded rot. Sometimes this can be salvaged by cutting off the rotted part and trying again, ensuring better air circulation and less water.
A Encouraging Closing
So there you have it! Propagating Heliotropium ulei is a truly rewarding experience. Be patient with your little cuttings, trust the process, and before you know it, you’ll have a whole new collection of these fragrant beauties to fill your garden or brighten your home. Happy propagating!
Resource:
https://identify.plantnet.org/k-world-flora/species/Heliotropium%20ulei%20(Vaupel)%20Feuillet/data