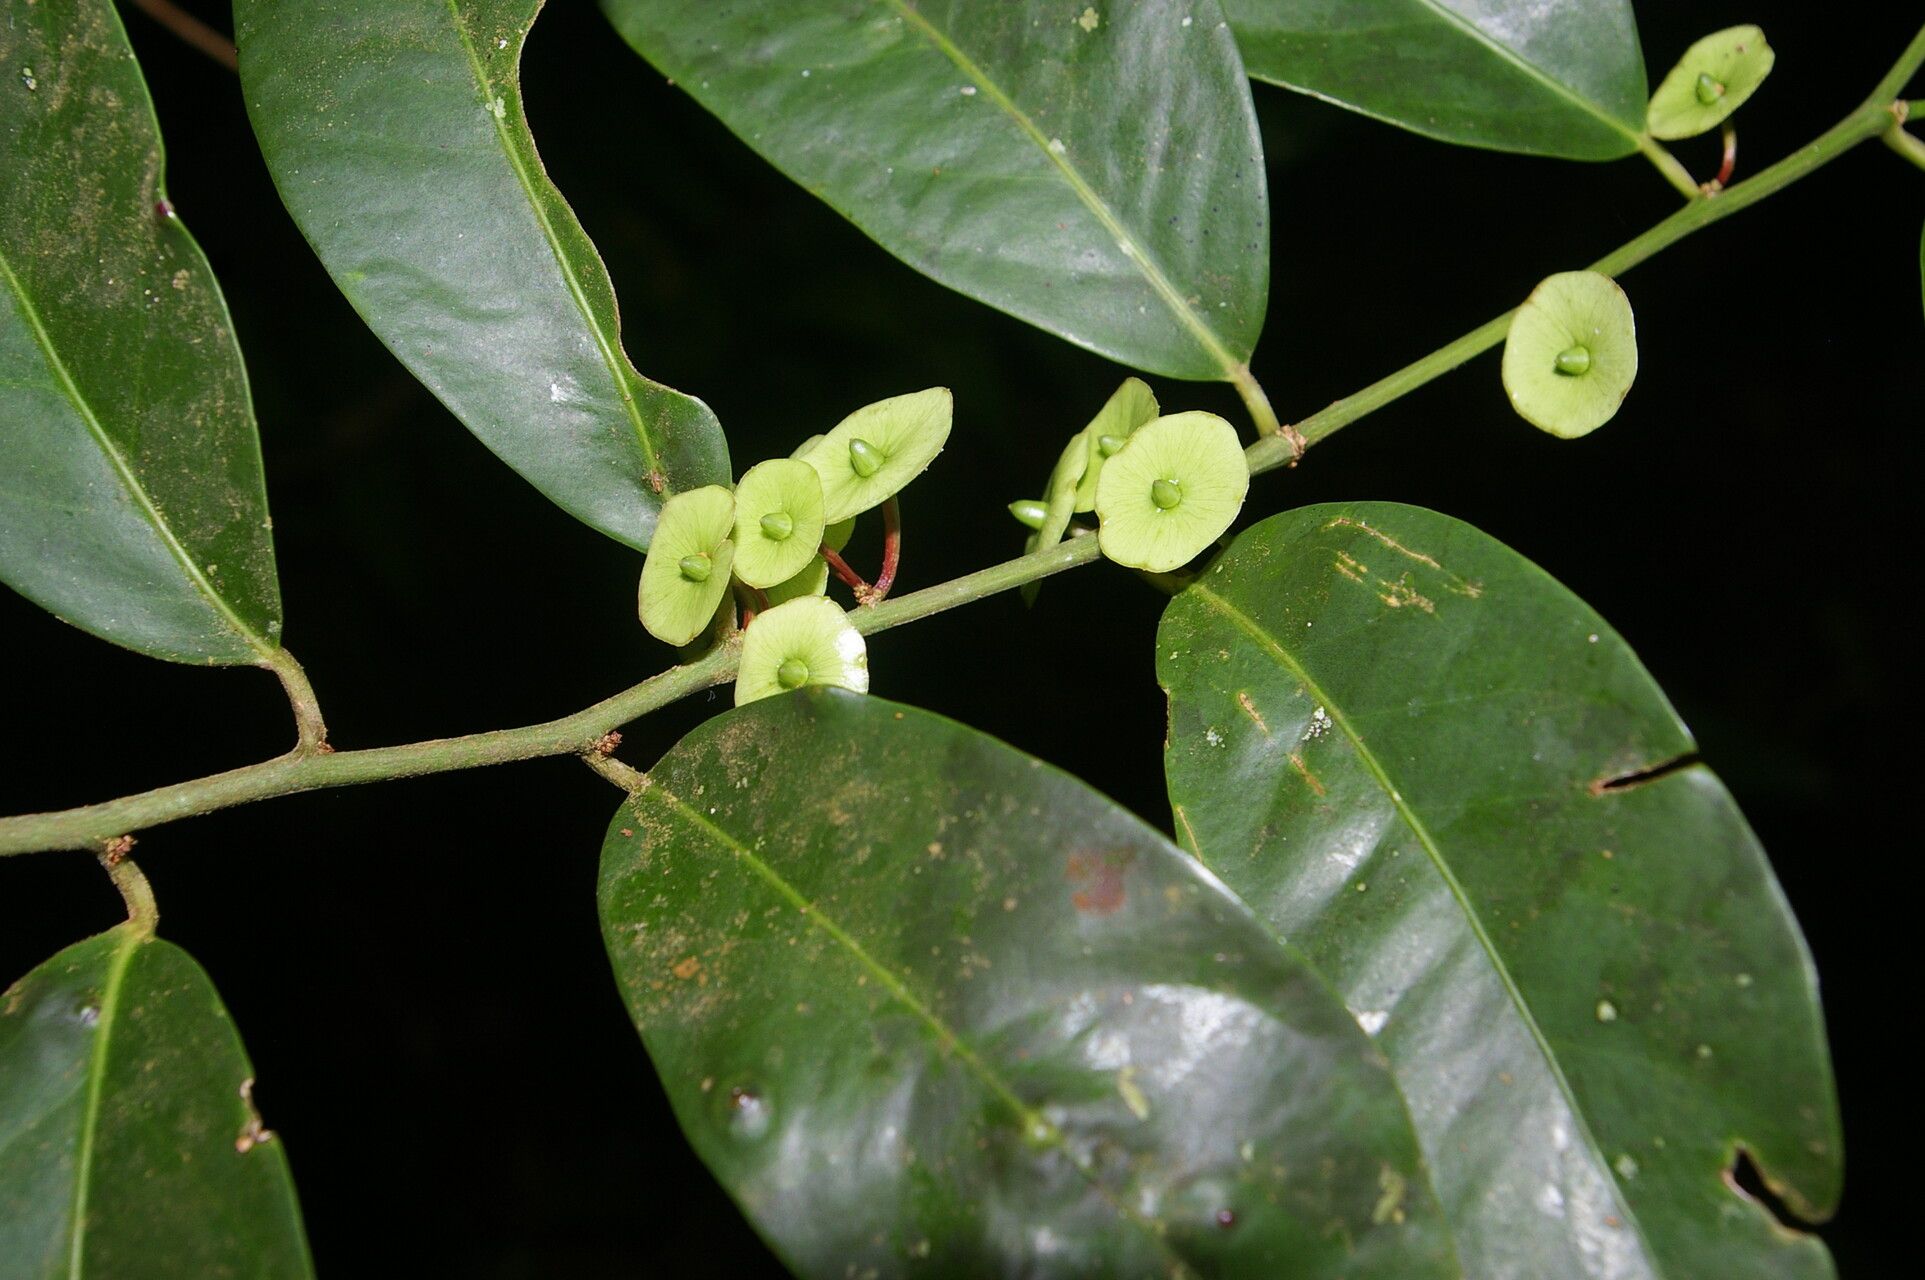
Hello fellow plant lovers! Today, we’re diving into the wonderful world of propagating Heisteria acuminata. If you’re not already familiar, this gorgeous plant often sports beautiful, glossy leaves and a graceful habit that can really elevate any indoor space. There’s something truly magical about creating new life from an existing plant, and with Heisteria acuminata, it’s a journey that’s absolutely worth taking. I’d say it’s moderately easy to propagate, a good step up for those who’ve had a few successful plant projects already.
The Best Time to Start
For the highest chance of success with propagating Heisteria acuminata, I always aim for late spring or early summer. This is when the plant is in its most vigorous growth phase, full of energy, and much more receptive to creating new roots. You’re essentially working with a plant that’s primed and ready to put out new growth.
Supplies You’ll Need
Before we get our hands dirty, let’s gather our tools. You’ll want to have these ready to go:
- Sharp Pruning Shears or a Clean Knife: For making clean cuts.
- Rooting Hormone (Optional but Recommended): This little boost can make a big difference.
- Well-Draining Potting Mix: A blend of peat moss, perlite, and a bit of compost works wonderfully. Or, you can buy a specific “seed starting” or “cutting” mix.
- Small Pots or Seedling Trays: Clean containers are key to preventing disease.
- Clear Plastic Bag or Propagator Lid: To create a humid environment.
- Watering Can or Spray Bottle: For gentle moisture.
Propagation Methods
Let’s talk about getting those new Heisteria acuminata babies started!
1. Stem Cuttings (My Go-To Method)
This is my favorite way to multiply Heisteria acuminata.
- Select a Healthy Stem: Look for a semi-hardwood stem that’s not too new and tender, but also not woody. A stem that bends slightly without snapping is usually perfect.
- Take Your Cutting: Using your sharp shears, make a clean cut just below a leaf node (where a leaf attaches to the stem). Aim for cuttings that are about 4-6 inches long.
- Prepare the Cutting: Gently remove the lower leaves, leaving just two or three at the top of the cutting. This reduces water loss.
- Apply Rooting Hormone (Optional): Dip the cut end into your rooting hormone, tapping off any excess.
- pot it Up: Fill your small pot with your prepared potting mix. Make a hole in the center with your finger or a pencil and insert the cutting. Gently firm the soil around the base.
- Water Gently: Water the soil thoroughly but gently.
2. Water Propagation (A Visual Treat)
If you love watching roots grow, this is for you!
- Take Your Cutting: Follow the same steps as above for selecting and preparing your stem cutting.
- Place in Water: Fill a clean jar or glass with fresh water and place your cutting in it. Make sure the leaf nodes where you removed the leaves are submerged, but try to keep the remaining leaves out of the water.
- Location: Place the container in a bright spot with indirect light.
- Water Changes: Change the water every few days to keep it fresh and prevent rot.
The “Secret Sauce” (Pro Tips)
Here are a few little tricks I’ve learned over the years that can really boost your success:
- Bottom Heat is Your Friend: If you’re using stem cuttings, placing your pots on a gentle heating mat designed for propagation can significantly speed up root development. It mimics the warmth of spring soil. You don’t need it super hot, just a gentle warmth.
- Humidity is Key, but Avoid Soggy Leaves: While high humidity is crucial for cuttings to stay turgid, don’t let the leaves of your cuttings sit in standing water in the propagation vessel or on the soil. This is a common invitation for fungal issues and rot. A good spray with water is fine, but avoid saturation.
- Patience, and a Gentle Tug: When you think your cuttings might be rooted (they’ll often show new leaf growth), give them a very gentle tug. If you feel resistance, that’s a good sign roots have formed. If it pulls out easily, you know roots haven’t developed yet.
Aftercare & Troubleshooting
Once you see those beautiful tiny roots appearing, it’s time for the next stage!
- For Water Cuttings: When the roots are about an inch long, it’s time to pot them up into your well-draining potting mix. Handle them very carefully.
- For Soil Cuttings: Once you see new growth above the soil line and feel that gentle resistance when tugged, your cutting has likely rooted.
- Initial Watering: Water your newly potted cuttings thoroughly, then allow the soil to dry out slightly between waterings.
- Gradual Acclimatization: If you’ve been using a humidity dome or plastic bag, gradually introduce your new plants to the regular air over a week or two. This prevents shock.
Now, what if things go wrong? The most common issue is rot. If your cutting turns mushy or black, it’s usually due to too much moisture and not enough air circulation. If you see this, it’s best to discard the affected cutting and try again, ensuring your soil is well-draining and you’re not overwatering. A cutting that just wilts and never bounces back might not have rooted, or perhaps the conditions weren’t quite right.
A Little Encouragement
Don’t be discouraged if your first attempt isn’t a fairytale success story. Plant propagation is a skill that develops with practice. Each cutting is a learning experience. Savor the process, enjoy watching new life emerge, and soon you’ll have a small collection of your own beautiful Heisteria acuminata to share or display. Happy propagating!
Resource:
https://identify.plantnet.org/k-world-flora/species/Heisteria%20acuminata%20(Bonpl.)%20Engl./data