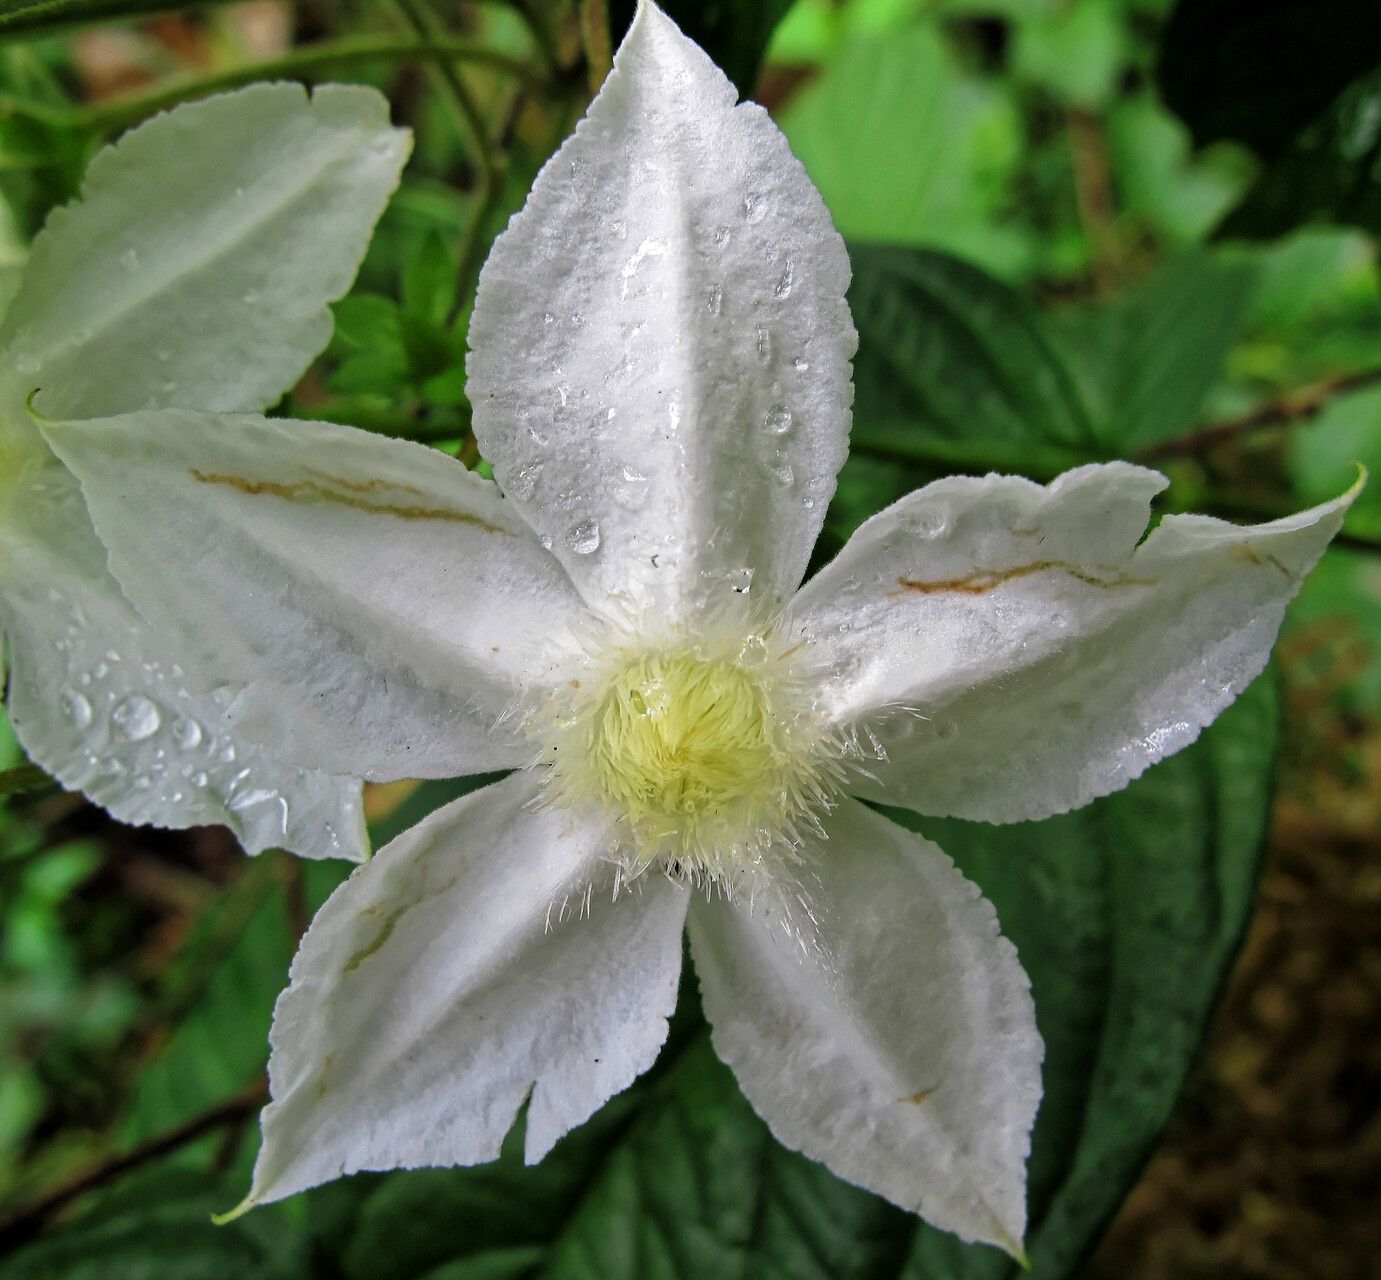
Hello fellow garden enthusiasts! Today, I want to chat about a plant that’s really captured my heart over the years: Heinsia crinita. If you’re looking for a vibrant splash of color and a touch of the exotic without too much fuss, this is definitely one to consider. Its delicate, star-shaped flowers are simply breathtaking, and growing your own is a wonderfully rewarding experience. Now, for the big question: is it easy for beginners? I’d say it’s moderately easy. With a little bit of attention and the right approach, you’ll be well on your way to success.
When to Get Your Hands Dirty
The sweet spot for propagating Heinsia crinita is during the active growing season. Think late spring through summer. This is when the plant is bursting with energy and ready to put out new growth, which is exactly what we want when we’re trying to get a jumpstart on new plants. You’ll have the best luck taking cuttings from healthy, mature stems that aren’t flowering.
Gather Your Garden Toolkit
Before we dive in, let’s make sure you have everything you need. It’s always better to be prepared!
- Sharp Pruning Shears or a Cutting Knife: Cleanliness is key to prevent disease.
- Rooting Hormone (Optional but recommended): This can really boost your success rate. Look for one specifically for stem cuttings.
- Well-Draining Potting Mix: I like a blend of equal parts peat moss or coco coir, perlite, and a little bit of compost.
- Small Pots or Seed Starting Trays: Clean ones, of course!
- Plastic Bags or a Small Greenhouse: To create a humid environment.
- Soft Watering Can or Spray Bottle: To gently water your cuttings.
Let’s Get Propagating!
There are a couple of tried-and-true methods that work wonderfully for Heinsia crinita.
Stem Cuttings: My Go-To Method
This is probably the most reliable way to get new plants.
- Select a Healthy Stem: Look for a non-flowering stem that’s about 4-6 inches long.
- Make Your Cut: Using your sharp pruning shears, make a clean cut just below a leaf node (where a leaf attaches to the stem). This is where roots are most likely to form.
- Prepare the Cutting: Gently remove the lower leaves from the cutting. You want to expose at least two leaf nodes so they can root. If the remaining leaves are very large, you can trim them in half to reduce water loss.
- Apply Rooting Hormone (Optional): Dip the cut end of the stem into your rooting hormone, tapping off any excess.
- Plant Your Cutting: Fill your small pots with your well-draining potting mix. Make a small hole with a pencil or your finger, insert the cutting, and gently firm the soil around it.
- Water Gently: Water the soil lightly until it’s moist but not waterlogged.
Water Propagation: A Simple Start
This method can be satisfying as you watch the roots develop.
- Follow Steps 1-3 above for preparing your stem cutting.
- Place in Water: Put your prepared cutting into a clean jar or glass of clean water. Make sure that no leaves are submerged. Leaves sitting in water will rot and can affect the whole cutting.
- Find a Bright Spot: Place the jar in a bright location, out of direct, harsh sunlight.
- Change Water Regularly: Change the water every few days to keep it fresh. Once you see a good network of roots forming (usually a few weeks), you can then pot them up into your well-draining soil mix.
The “Secret Sauce” – My Insider Tips
After years of trial and error, I’ve picked up a few tricks that can really make a difference.
- Humidity is Your Friend: Once your cuttings are planted, cover the pot with a clear plastic bag or place it in a mini-greenhouse. This creates a humid environment that helps prevent the cuttings from drying out while they’re trying to root. Just make sure to open it up for a bit of air circulation every day or two to prevent fungal issues.
- Bottom Heat Works Wonders: If you have a heating mat designed for seedlings, placing your pots on top of it can significantly speed up rooting. This gentle warmth encourages root development. It’s like giving them a little cozy incubator!
- Patience, Grasshopper: Don’t be discouraged if you don’t see immediate results. Some plants are slow rollers. Check for tiny signs of new growth or gently tug on the cutting to feel for resistance – this indicates roots have formed.
Aftercare and When Things Go Wrong
Once your cuttings have developed a healthy root system (you’ll see roots peeking out of the drainage holes or feel good resistance when gently tugged), it’s time to treat them like the little baby plants they are. Gradually acclimate them to their new environment by removing the plastic covering over a few days. Keep the soil consistently moist but not soggy.
Now, about troubleshooting. The most common culprit for failure is rot. If your cuttings turn mushy, black, or smell funky, it’s a sign of too much moisture and not enough air circulation. This is why that well-draining soil and occasional airing are so important! Another issue can be if they simply dry out – wilting and crispy leaves are a clear sign they’re thirsty.
Keep Growing!
Propagating Heinsia crinita is such a rewarding endeavor, allowing you to share these beautiful plants with friends or simply expand your own collection. Don’t get discouraged if your first attempt isn’t perfect. Gardening is a continuous learning process, and the joy is in the journey. Be patient, observe your little plant babies, and enjoy the magic of creating new life from a single cutting. Happy gardening!
Resource:
https://identify.plantnet.org/k-world-flora/species/Heinsia%20crinita%20(Wennberg)%20G.Taylor/data