Hello, fellow plant lovers! It’s so good to have you here. Today, we’re diving into the magical world of Hedyosmum arborescens, or as I affectionately call it, the “Bottlebrush Shrub.” If you, like me, are drawn to its elegant, architectural form and those handsome, glossy leaves, you’re in for a treat. Propagating this beauty is a truly rewarding endeavor, a chance to bring more of its unique charm into your garden or home. Now, I won’t sugarcoat it – Hedyosmum can be a tad bit fussy for absolute beginners. But don’t let that deter you! With a little care and attention, we can absolutely achieve success.
The Best Time to Start
Timing is everything, isn’t it? For Hedyosmum, I’ve found the late spring to early summer is ideal. This is when the plant is actively growing and has plenty of energy to put into developing new roots. Look for stems that are mature but not woody – think of them as “softwood” or “semi-hardwood.”
Supplies You’ll Need
Before we get our hands dirty, let’s make sure we have everything ready. A little preparation goes a long way!
- Sharp Pruning Shears or a Clean Knife: Essential for making clean cuts.
- Rooting Hormone: This is your little secret weapon to encourage root development. I prefer a powder form for stem cuttings.
- Well-Draining Potting Mix: A good blend of perlite and peat moss, or a commercial seedling starting mix works wonderfully.
- Small Pots or Seedling Trays: Clean ones, of course!
- Plastic Bags or a Propagator: To create a humid environment.
- Watering Can or Spray Bottle: For gentle watering.
- Optional: Bottom Heating Mat: This can significantly speed up rooting if your home is on the cooler side.
Propagation Methods
Let’s get down to the nitty-gritty! The most reliable method for Hedyosmum is taking stem cuttings.
- Take Your Cuttings: With your clean shears, take cuttings from healthy, actively growing stems. Aim for pieces about 4-6 inches long. Crucially, remove the lower leaves, leaving just a few at the top.
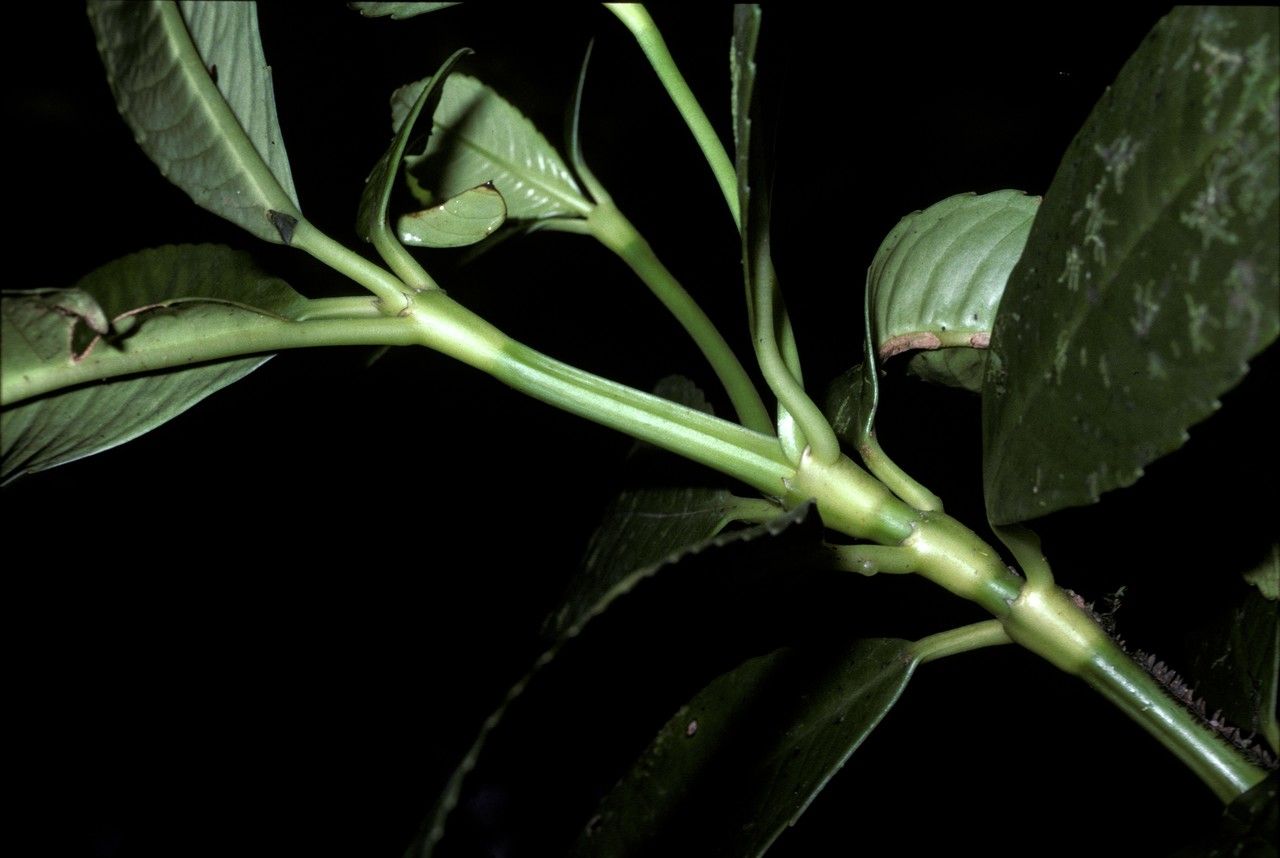
- Prepare the Cuttings: Just below a leaf node (where the leaf attaches to the stem), make a clean cut. This is where roots will ideally form.
- Dip in Rooting Hormone: Dip the cut end of each cutting into your rooting hormone, tapping off any excess.
- Plant Your Cuttings: Fill your small pots with your moist potting mix. Make a small hole with your finger or a pencil, and gently insert the prepared cutting. Firm the soil around it.
- Create Humidity: Water the soil gently. Then, cover the pot with a plastic bag, creating a mini-greenhouse effect. You can do this by placing the pot inside a larger plastic bag or using a propagator lid. Make sure the leaves do not touch the sides of the plastic bag if possible – this can lead to rot.
- Find a Warm Spot: Place your pots in a bright location, but out of direct sunlight. If you’re using a heating mat, now’s the time to plug it in!
The “Secret Sauce” (Pro Tips)
Here are a few little tricks I’ve learned over the years that can really boost your success rate.
- The “Heel” Method: Sometimes, when taking your cutting, you can gently pull a small piece of the parent stem away with your cutting. This is called taking it with a “heel” and can sometimes encourage faster rooting, as there’s more tissue for roots to emerge from.
- Bottom Heat is Your Friend: Seriously, if you can manage it, providing gentle bottom heat (around 70-75°F) from a heating mat makes a world of difference. It mimics that lovely warm soil of spring and encourages those roots to wake up.
- Don’t Drench, Mist! Overwatering is the enemy of cuttings. Instead of watering heavily, I prefer to mist the cuttings and the inside of the plastic bag regularly to maintain humidity without waterlogging the soil.
Aftercare & Troubleshooting
Patience is key here! It can take anywhere from 4 to 8 weeks for your Hedyosmum cuttings to develop sufficient roots. You’ll know they’re ready when you gently tug on a cutting and feel resistance, or when you see new leaf growth.
Once roots appear, gradually acclimate your new plant to normal conditions by opening the plastic bag a little more each day over a week. Continue watering gently when the top inch of soil feels dry.
The most common issue you’ll encounter is rot. If you see your cuttings turning black or mushy, it’s usually a sign of too much moisture. If this happens, try to improve air circulation by opening the bag more and letting the soil dry out slightly between waterings. Sometimes, unfortunately, a rotten cutting is a goner, but don’t get discouraged! Just try again.
A Little Encouraging Word
Propagating plants is a bit of an art, and it’s also a wonderful way to connect with nature. Don’t be disheartened if your first attempt isn’t perfect. Each time you try, you learn something new. So, gather your supplies, find your sunny spot, and get propagating. Enjoy the journey and the thrill of watching new life emerge! Happy gardening!
Resource:
https://identify.plantnet.org/k-world-flora/species/Hedyosmum%20arborescens%20Sw./data