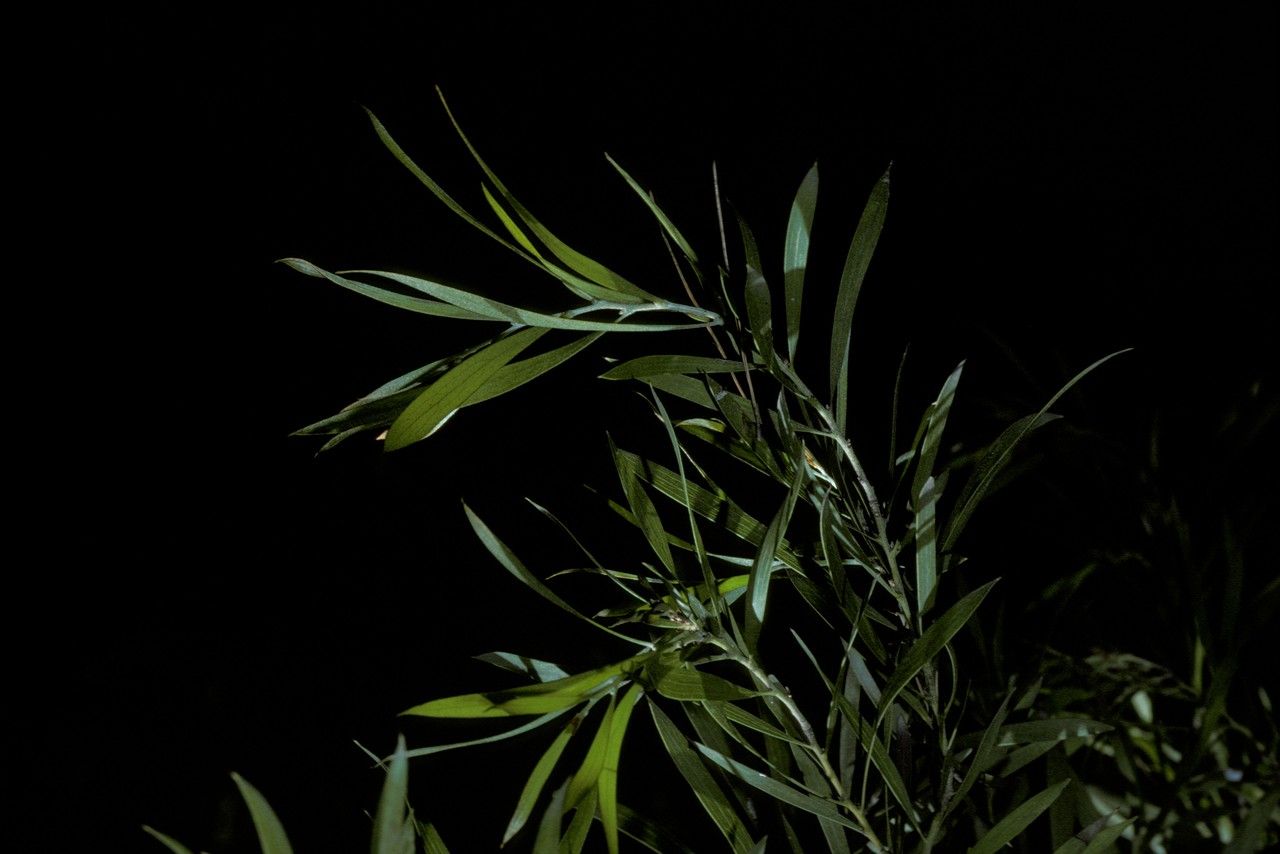
Hey there, fellow plant lovers! I’ve been coaxing life from soil for two decades now, and trust me, there’s a special kind of magic in creating new plants from existing ones. Today, we’re diving into the world of Hakea dactyloides, or the Finger Hakea as it’s affectionately known. I adore its delicate, sometimes almost feathery foliage and those beautiful, star-shaped blossoms that bring such interest to the garden. Propagating it yourself? It’s incredibly rewarding and, honestly, not as daunting as you might think. For beginners, I’d say it falls into the moderately easy category – a little patience and the right technique go a long way!
The Best Time to Start
For Hakea dactyloides, the late spring to early summer is your sweet spot. This is when the plant is actively growing and has plenty of energy to put into rooting. Look for stems that are mature but still somewhat flexible – we call these “semi-hardwood” cuttings. Avoid taking cuttings from brand new, very soft growth or from old, woody stems.
Supplies You’ll Need
Gathering your supplies beforehand makes the whole process smoother. Here’s what I’ve found essential:
- Sharp Pruning Shears or a Clean Knife: For making clean cuts. Sterilize them with rubbing alcohol between each cut!
- Rooting Hormone: A good quality powder or gel will significantly boost your success rate.
- Well-Draining Potting Mix: I use a 50/50 blend of coarse sand and coco coir, or a specialized seed-starting mix. Hakeas hate wet feet.
- Small Pots or Propagation Trays: With drainage holes, of course.
- Plastic Bags or a Propagation Dome: To create a humid environment.
- Perlite or Vermiculite: To add to your potting mix for aeration.
- Watering Can with a Fine Rose: For gentle watering.
Propagation Methods: Stem Cuttings
This is generally the most successful way to propagate Hakea dactyloides.
- Take Your Cuttings: Select a healthy stem. Using your sterilized shears or knife, cut a piece that’s about 4-6 inches long. Make the cut just below a leaf node (where a leaf attaches to the stem).
- Prepare the Cuttings: Gently remove the lower leaves, leaving just a few at the top. If the leaves are large, you can even cut them in half to reduce water loss.
- Dip in Rooting Hormone: Dip the cut end of the stem into your rooting hormone, tapping off any excess. Make sure the entire bottom inch or so is coated.
- Potting Up: Fill your small pots with your prepared potting mix. Make a hole in the center of the mix with a pencil or your finger – this prevents the rooting hormone from rubbing off. Insert the cutting into the hole, firming the mix around it gently.
- Water Gently: Water the soil thoroughly but very gently. You don’t want to dislodge the cuttings.
- Create Humidity: Place the pots inside a plastic bag, sealing it loosely with twist ties or rubber bands, or cover them with a clear propagation dome. Make sure the leaves don’t touch the plastic if possible.
The “Secret Sauce” (Pro Tips)
Here are a few things I’ve learned that can make a real difference:
- Bottom Heat is Your Friend: Hakea cuttings absolutely love a bit of warmth from below. Using a heated propagation mat can drastically speed up root development. It encourages root formation without overheating the foliage.
- Don’t Be Afraid of a Little Shake: Once you think they might be rooted (usually after 6-8 weeks), give a cutting a gentle tug. If there’s resistance, you likely have roots! If it pulls out easily, it hasn’t rooted yet.
- Sterility is Paramount: I can’t stress this enough! Any sign of mold or mildew and you’re likely to lose your cuttings. Keep your tools, pots, and workspace spotlessly clean.
Aftercare & Troubleshooting
Once your cuttings have started to root, it’s time for a bit of attentive care.
- Acclimatize Slowly: Gradually introduce your rooted cuttings to drier air by opening the plastic bag or propagation dome for increasing periods each day.
- Water Sparingly: Continue to water gently, allowing the top inch of soil to dry out slightly between waterings. Overwatering is the quickest way to invite root rot, which often looks like yellowing leaves followed by the whole cutting going limp and mushy. If you see this, unfortunately, it’s usually too late to save.
- Move to Brighter Light: Once they are well-rooted and acclimatized, move them to a brighter location, but avoid harsh direct sunlight initially.
Don’t get discouraged if not every cutting takes. Gardening is a journey of learning and experimentation. Be patient, enjoy the process of nurturing those little cuttings, and celebrate every success. Happy propagating!
Resource:
https://identify.plantnet.org/k-world-flora/species/Hakea%20dactyloides%20(Gaertn.)%20Cav./data