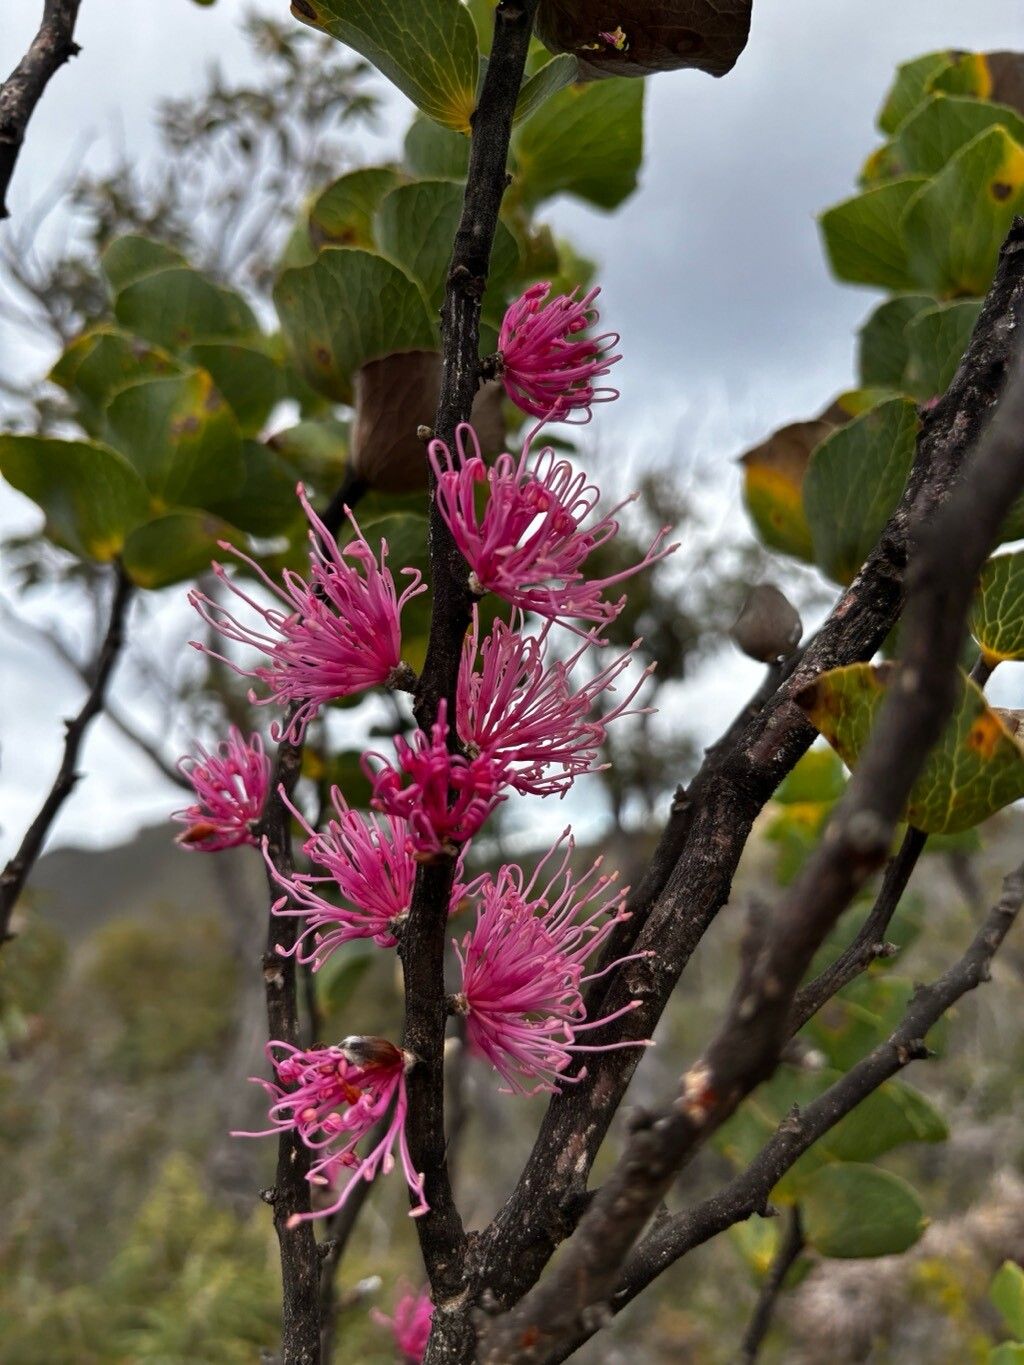
Oh, Hakea cucullata! If you’ve ever seen this delightful shrub gracing a garden with its unique hooded flowers and attractive foliage, you know exactly why I’m excited to talk about propagating it. It’s like getting a little piece of sunshine to share. And let me tell you, coaxing a new plant from a cutting or seed is one of the most satisfying gardening feats you can achieve. Now, for those wondering, Hakea cucullata isn’t necessarily a beginner’s plant for propagation, but with a little care and patience, it’s absolutely achievable. Don’t let that deter you!
The Best Time to Start
Timing is a big part of success, isn’t it? For Hakea cucullata, the sweet spot is usually late spring through summer. This is when the plant is actively growing and has plenty of energy to dedicate to forming new roots. Look for stems that are semi-hardened – not brand new, floppy growth, but also not old, woody growth. Think of it as “firm but flexible.”
Supplies You’ll Need
Before we get our hands dirty, let’s gather our tools. Having everything ready makes the whole process smoother.
- Sharp pruning shears or a craft knife: Cleanliness is key!
- Rooting hormone: A powder or gel form works well. I tend to favor powders, but it’s a personal preference really.
- Well-draining potting mix: This is crucial for Hakeas. I like to mix about 50% coarse sand or perlite with 50% good quality potting soil. Some gardeners even add a bit of charcoal to help with drainage and aeration.
- Small pots or seed trays: Clean ones, please!
- Plastic bags or a propagation dome: To create a humid environment.
- Watering can with a fine rose: For gentle watering.
- Labels and a permanent marker: So you don’t forget what you planted where!
Propagation Methods
We’ve got a few options here, but stem cuttings are generally the most straightforward and rewarding for Hakea cucullata.
Stem Cuttings:
- Select your cutting: Find a healthy stem from your parent plant. Look for a section that’s about 10-15 cm long.
- Make the cut: Using your clean shears or knife, take a clean cut just below a leaf node. This is where the plant hormones are most concentrated.
- Prepare the cutting: Gently strip away the lower leaves. You want to expose at least two nodes where you’ll be removing the leaves. This is where roots will emerge. You can leave the top few leaves on to help with photosynthesis.
- Apply rooting hormone: Dip the cut end of the stem into your rooting hormone, tapping off any excess. Give it a good coating.
- Pot it up: Fill your small pot or seed tray with your well-draining mix. Make a small hole with your finger or a dibber.
- Insert the cutting: Gently push the treated end of the cutting into the hole, making sure the leaf nodes are buried. Firm the soil gently around the cutting.
- Water lightly: Moisten the soil thoroughly but don’t waterlog it. You want it to be evenly damp.
- Create humidity: Cover the pot with a plastic bag or propagation dome. You can support the bag with stakes so it doesn’t touch the leaves.
Water Propagation: While some plants root easily in water, Hakeas can be a bit fussy with this method. If you choose to try it, ensure no leaves are submerged. Submerged leaves tend to rot, which can then affect the stem and prevent rooting. You’ll also need to change the water regularly to keep it fresh. Stem cuttings in soil are generally more successful for Hakeas.
The “Secret Sauce” (Pro Tips)
These are the little things that can make a big difference. I’ve learned these through trial and error, so hopefully, they’ll help you too!
- Bottom Heat is Your Friend: Hakeas appreciate a bit of warmth from below to encourage root development. Placing your pots on a heat mat designed for propagation can significantly speed things up and increase your success rate. You don’t need it scorching hot, just consistently warm.
- Don’t Over-Handle: Once your cuttings are in their humid environment, resist the urge to peek constantly. Every time you lift the lid, you lose that precious humidity. Trust the process; you’ll see condensation on the inside of the bag or dome when it’s working.
- A Light Mist is Better Than a Drench: When you do need to water, especially for cuttings that are struggling to root, a light misting of the leaves and soil surface can help keep them turgid without creating soggy conditions that encourage fungal diseases.
Aftercare & Troubleshooting
Once you start seeing new leaf growth or you gently tug on the cutting and feel resistance (a sign of roots!), it’s time to start transitioning.
- Gradual Acclimatization: Slowly introduce your new plants to less humid conditions by gradually opening the bag or dome over a week or two. This hardening-off process is vital.
- First Watering: Water them thoroughly but allow the soil to dry out slightly between waterings. They are succulents, after all, and hate sitting in wet feet.
- Potting Up: Once they have a good root system, you can carefully pot them into slightly larger pots with a well-draining mix, similar to what you used for propagation.
Now, what if things go wrong? The most common culprit is rot. If your cuttings turn black and mushy, or the leaves suddenly wilt and die, it’s usually a sign of too much moisture and poor drainage. This is where that excellent draining mix and avoiding overwatering really come into play. Don’t be disheartened if some cuttings don’t make it; it happens to the best of us!
A Little Patience Goes a Long Way
Propagating Hakea cucullata is a journey, not a race. It requires a bit of a green thumb and a whole lot of patience. But when you see those first tiny roots emerge, or a new flush of growth on your baby plant, you’ll feel an incredible sense of accomplishment. Enjoy the process of nurturing new life. Happy propagating!
Resource:
https://identify.plantnet.org/k-world-flora/species/Hakea%20cucullata%20R.Br./data