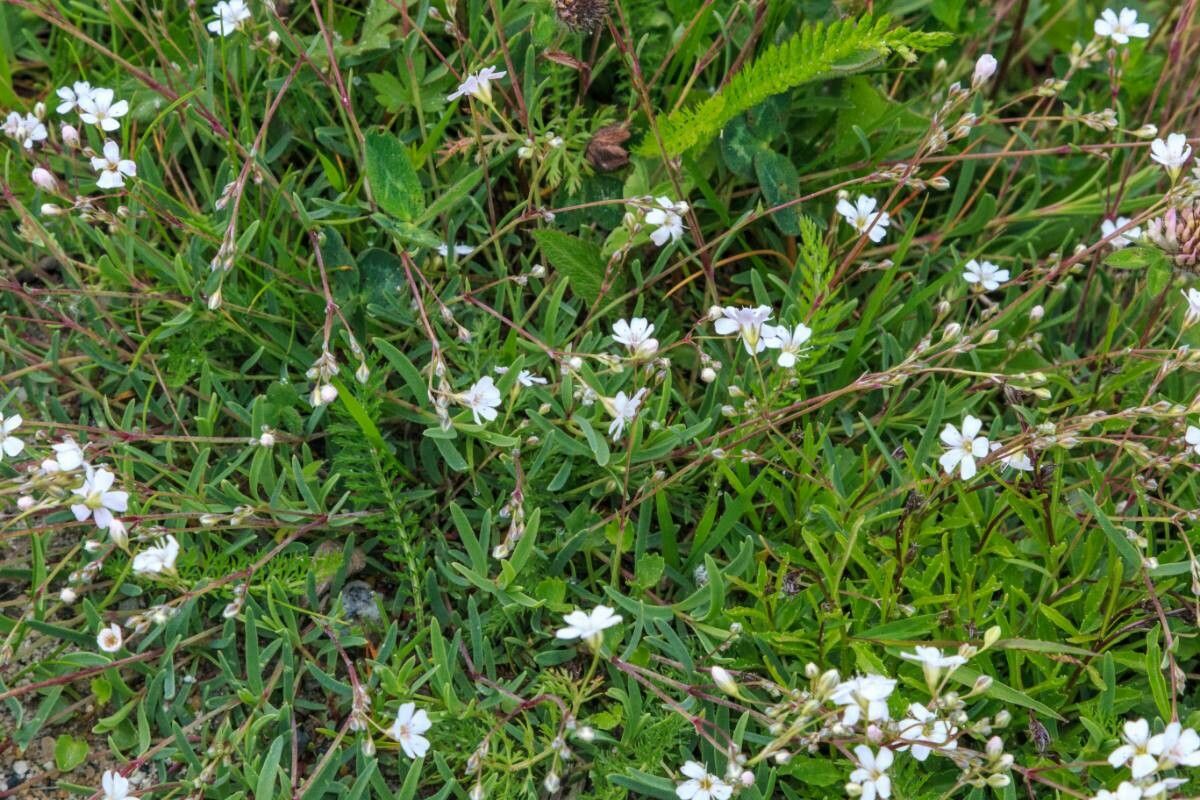
Oh, Gypsophila repens! Isn’t it just the sweetest little thing? That cloud of tiny, delicate white (or sometimes pink!) blooms just brings such a lovely, airy quality to any garden. It’s perfect for trailing over walls, spilling out of containers, or weaving through other, bolder perennials. And the best part? You can easily grow more of these beauties yourself! Propagating Gypsophila repens is a genuinely rewarding experience, and I’m happy to share how I do it. It’s a fairly straightforward plant to propagate, even for those just starting their green-thumb journey.
The Best Time to Start
For me, the sweet spot for propagating Gypsophila repens is late spring to early summer. This is when the plant is actively growing and has nice, pliable new stems that are perfect for taking cuttings. You’re looking for stems that are green and flexible, not woody or old.
Supplies You’ll Need
Here’s what I usually gather before I get my hands dirty:
- Sharp pruning shears or a clean, sharp knife: For making clean cuts.
- Rooting hormone (optional but very helpful): A hormone powder or gel can give your cuttings a nice boost.
- Well-draining potting mix: A good mix for cuttings is key. I often use a blend of seed starting mix and perlite (about 50/50) to ensure it’s airy and doesn’t hold too much moisture.
- Small pots or trays: You’ll need something to put your cuttings in. Make sure they have drainage holes!
- Watering can or spray bottle: For gentle watering.
- Plastic bag or propagation dome: To create a humid environment for your cuttings.
- (Optional, but recommended) Heating mat: For bottom heat, which can speed up rooting.
Propagation Methods
I find stem cuttings to be the most reliable and easiest method for Gypsophila repens.
- Take Your Cuttings: On a pleasant morning, select healthy, non-flowering stems. Using your clean shears, cut stems that are about 4-6 inches long. Make the cut just below a leaf node (where a leaf attaches to the stem).
- Prepare the Cuttings: Gently remove the lower leaves from your cuttings, leaving only the top few leaves intact. This prevents them from rotting in the soil and encourages the plant to focus its energy on root development.
- Dip in Rooting Hormone (Optional): If you’re using rooting hormone, lightly dip the cut end of each stem into the powder or gel. Tap off any excess.
- Pot Your Cuttings: Fill your small pots or trays with the well-draining potting mix. Make small holes in the soil with your finger or a pencil. Carefully insert the cut end of each cutting into a hole, ensuring the leaf nodes you removed are below the soil surface. Gently firm the soil around the cuttings.
- Water Gently: Water the soil thoroughly but gently. You want it moist, not soggy. A spray bottle is great for this initial watering.
- Create Humidity: This is crucial! Cover the pots with a plastic bag or a clear propagation dome. This traps moisture and creates the high humidity your cuttings need to prevent drying out before they can form roots. If you use a bag, try to ensure it doesn’t touch the leaves too much.
- Provide Light and Warmth: Place the pots in a bright location that receives indirect sunlight. Direct sun can scorch the delicate cuttings. If you have a heating mat, place the pots on top of it. Bottom heat is a game-changer for encouraging root growth.
The “Secret Sauce” (Pro Tips)
- The “Heel” Trick: Sometimes, when taking cuttings, I’ll try to take a piece that includes a tiny sliver of the older stem, almost like a little heel. This can sometimes give the cutting a bit of an advantage in rooting. It’s not always possible, but worth a try!
- Air Circulation is Key: While humidity is vital, stagnant air can lead to fungal issues. If you’re using a plastic bag, open it up for a few minutes every day or two to allow for some air exchange. This helps prevent mold and mildew.
- Patience with the Watering: Don’t be tempted to overwater! New cuttings don’t have roots yet and can easily succumb to rot. Let the top inch of soil dry out slightly between waterings.
Aftercare & Troubleshooting
Once you see signs of new growth – tiny leaves unfurling at the top – it’s a good sign that roots are forming! You can gently tug on a cutting to feel for resistance.
- Gradual Acclimation: Once roots are established (usually after 3-6 weeks), begin to gradually acclimate your new plants to drier air. This means slowly opening up the plastic bag or ventilation dome more each day until they’re fully exposed.
- Repotting: When the new plants are robust enough to handle, you can transplant them into slightly larger pots with a standard potting mix.
- Troubleshooting: The most common issue is stem rot. This usually happens from overwatering and poor drainage. If you see a cutting turning black and mushy, unfortunately, it’s likely lost. Remove it promptly to prevent the rot from spreading. Lack of rooting could be due to insufficient humidity, not enough light, or taking cuttings at the wrong time.
A Quick Encouraging Word
Propagating plants is a wonderful way to connect with nature and fill your garden with even more of the plants you love. Don’t get discouraged if every single cutting doesn’t make it. Gardening is a journey of learning, and each attempt teaches you something new. Be patient, enjoy the process, and you’ll soon be admiring your very own little clouds of Gypsophila repens! Happy gardening!
Resource:
https://identify.plantnet.org/k-world-flora/species/Gypsophila%20repens%20L./data