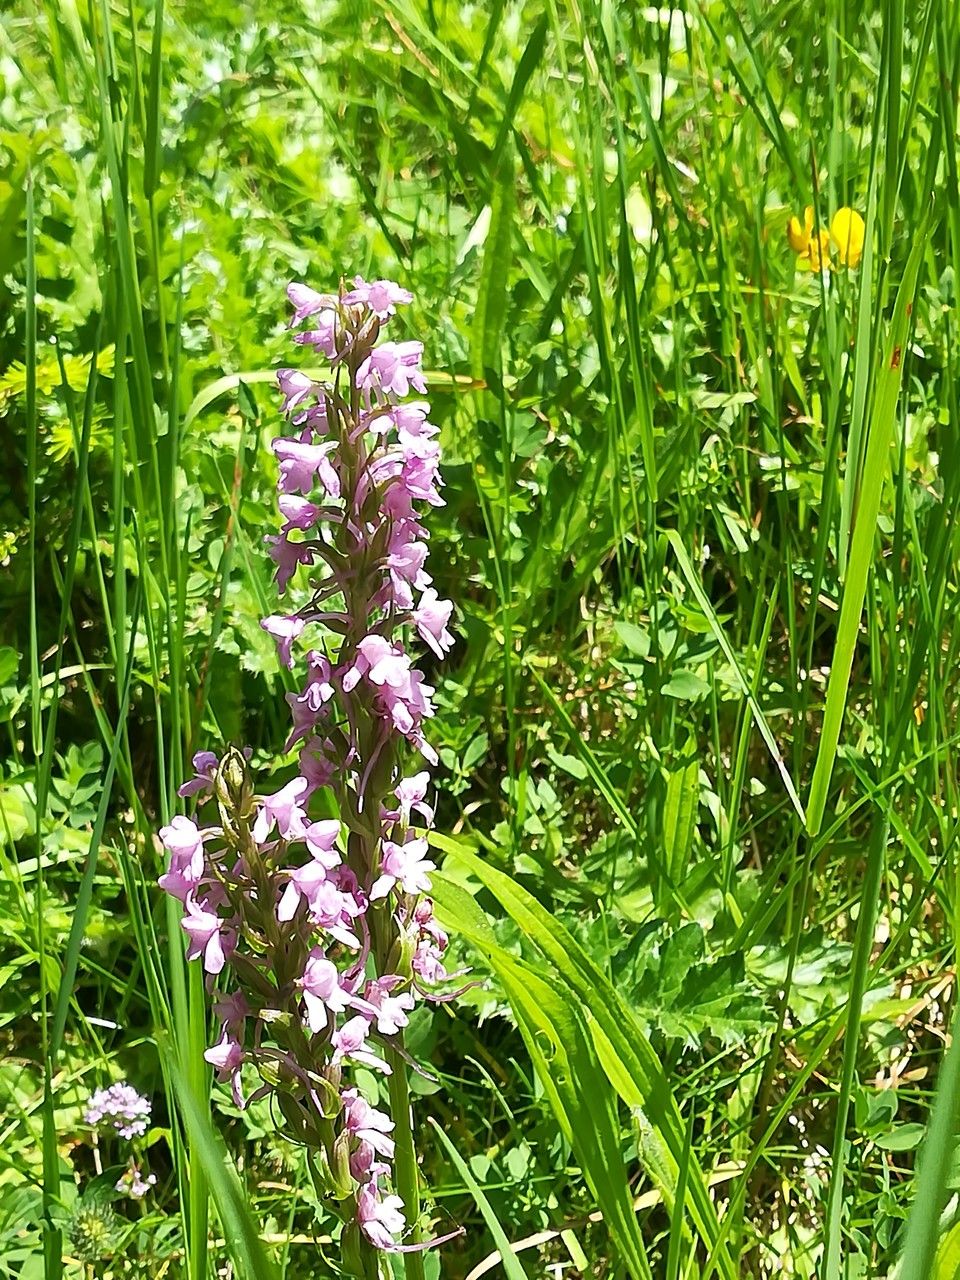
Oh, hello there! Come on in, pull up a chair. Let’s chat about something truly special today: Gymnadenia conopsea, or as many of us lovingly call it, the Fragrant Orchid or Marsh Orchid.
You know, there’s something utterly enchanting about these delicate beauties. Their airy spikes of sweet-scented, pale pink to lilac flowers bring a touch of wild elegance to any garden. And the scent! It’s subtle and inviting, a real treat on a warm evening. For me, propagating these gems is like unlocking a little bit of garden magic. It’s a deeply rewarding feeling to see a tiny piece of a plant you cherish take root and grow into its own. Now, I’ll be honest, Gymnadenia conopsea isn’t the easiest plant for a complete beginner to propagate. It has a few specific needs, but with a little care and insider knowledge, you absolutely can succeed.
The Best Time to Start
Timing is everything with plants, isn’t it? For our Gymnadenia, the ideal window for propagation is during its active growth phase, generally in late spring or early summer. This is when the plant is full of energy and has plenty of resources to dedicate to developing new roots. After it has finished flowering is also a good time, as the plant will be putting its energy into vegetative growth. Avoid propagating when the plant is dormant or stressed, as your chances of success will drop considerably.
Supplies You’ll Need
Let’s get our tools gathered. Having the right equipment makes all the difference:
- Sharp, sterile pruning shears or a sharp knife: For clean cuts that minimize disease.
- A well-draining potting mix: This is crucial. I prefer a blend of peat moss, perlite, and a little bit of orchid bark. You want good aeration.
- Small pots or seedling trays: Clean ones, of course!
- Rooting hormone powder or gel: This is often helpful, especially for plants that can be a bit more fussy.
- A spray bottle: For gentle misting.
- A clear plastic bag or propagation dome: To create a humid environment.
- Optional: Bottom heat mat: This can significantly speed up root development.
Propagation Methods: Let’s Get Our Hands Dirty!
Gymnadenia conopsea is best propagated through division, which is really just giving a mature plant a gentle haircut and dividing its root structure. Stem cuttings aren’t typically successful with this particular orchid.
Here’s how we’ll do it:
- Gently Excavate: Wait until the plant has finished blooming and the foliage is still green but starting to mature. Carefully dig around the base of the plant, loosening the soil. You want to lift the entire root ball out of the ground or pot.
- Inspect the Roots: Gently shake off excess soil. You’re looking for natural divisions in the root structure. You should see distinct lumps or growths that look like they could become new, independent plants. Ideally, you want each division to have at least one healthy pseudobulb (that swollen part of the stem) and a good network of roots.
- Make the Cut: Using your sharp, sterile pruning shears or knife, carefully divide the plant. Make a clean cut between the sections you want to separate. Don’t be afraid to get in there, but be gentle. The goal is to separate it into pieces that can stand on their own.
- Prepare the New Divisions: If there are any damaged or mushy roots, trim them away. You can lightly dust the cut surfaces with cinnamon or a fungicide powder if you’re concerned about rot, though I often find a clean cut and good drainage is enough.
- Pot Them Up: Plant each division in its own small pot filled with your well-draining orchid mix. Ensure the top of the pseudobulb is just at or slightly above the soil surface. Don’t bury it too deep. Water them in gently.
The “Secret Sauce” (Pro Tips)
Now, for those little nuggets of wisdom that make all the difference:
- The “Don’t Drown It” Rule: Orchids, especially our Gymnadenia, absolutely hate sitting in soggy soil. Make sure your potting mix is airy, and after you water, allow the top inch or so of the soil to dry out before watering again. This prevents root rot, which is the number one killer of new orchid babies.
- Embrace the Cloche Life: After potting your divisions, giving them a humid environment is key. Place a clear plastic bag over the pot or cover it with a propagation dome. This keeps the humidity high, which helps the plant conserve moisture while it establishes new roots. Make sure the leaves don’t touch the plastic bag, as this can encourage fungal issues. Open it up for a bit of fresh air each day.
- A Little Warmth Goes a Long Way: If you can, place your pots on a bottom heat mat set to a mild temperature (around 70-75°F or 21-24°C). This gentle warmth encourages root development from beneath, giving your new Gymnadenia divisions a real head start.
Aftercare & Troubleshooting
Once you see signs of new growth, or tiny new roots emerging from the drainage holes, you know things are on the right track! Continue to mist regularly, but always allow the soil to dry slightly between waterings. Gradually introduce your new plants to brighter light, but avoid direct scorching sun.
The most common sign of failure is rot. If your division starts to look yellow, mushy, or collapses, it’s likely due to overwatering. If you catch it early, you might be able to cut away the rotten parts, let the division dry out for a few days, and repot in fresh, dry mix. Sadly, sometimes rot is a clear signal that the division isn’t going to make it. Don’t beat yourself up – it happens to the best of us!
A Little Patience, A Lot of Joy
Propagating Gymnadenia conopsea is a journey, not a race. Some divisions might take their sweet time to show signs of life. The key is to be patient, observe your plants, and trust the process. Enjoy the quiet satisfaction of nurturing these delicate flowers. With a little love and the right approach, you’ll soon have more of these fragrant beauties gracing your garden. Happy planting!
Resource:
https://identify.plantnet.org/k-world-flora/species/Gymnadenia%20conopsea%20(L.)%20R.Br./data